The recycling bag leans against the refrigerator, dinner scraps sit in a bowl, and opening the trash can means stepping into the hallway. Without a dedicated bin cabinet, waste can spread across a kitchen surprisingly quickly. The answer isn’t necessarily a larger can. It’s a small, deliberate system: separate only what your collection service accepts, give each stream a workable container, and decide when it leaves the kitchen.
1. Audit what actually leaves your kitchen
For three ordinary days, note what you discard as you cook and unpack groceries. Count bulky items separately from messy ones: cereal boxes occupy space differently from coffee grounds. Include takeout nights and pet-food packaging if those are regular parts of your household. A paper tally is enough; you don’t need to save waste or spread used trash across the counter.
Use that record to identify your real streams before choosing containers. One household might need trash, accepted recycling, and food scraps; another also needs a small returnables tote. If cardboard accounts for most of the apparent volume, a bigger trash can won’t solve the problem. Keep batteries, chemicals, and other special-disposal items out of this kitchen sorting experiment, and check their separate disposal instructions.
2. Check collection rules before assigning space
Check your municipal or hauler instructions and your building’s actual collection setup before reserving floor space. Confirm accepted materials, whether recycling must be loose, and whether food-scrap collection exists. Then tape out tentative container footprints along an unused wall. A single recycling outline might be enough; separate glass collection could require another. Don’t assume a symbol on packaging guarantees local acceptance.
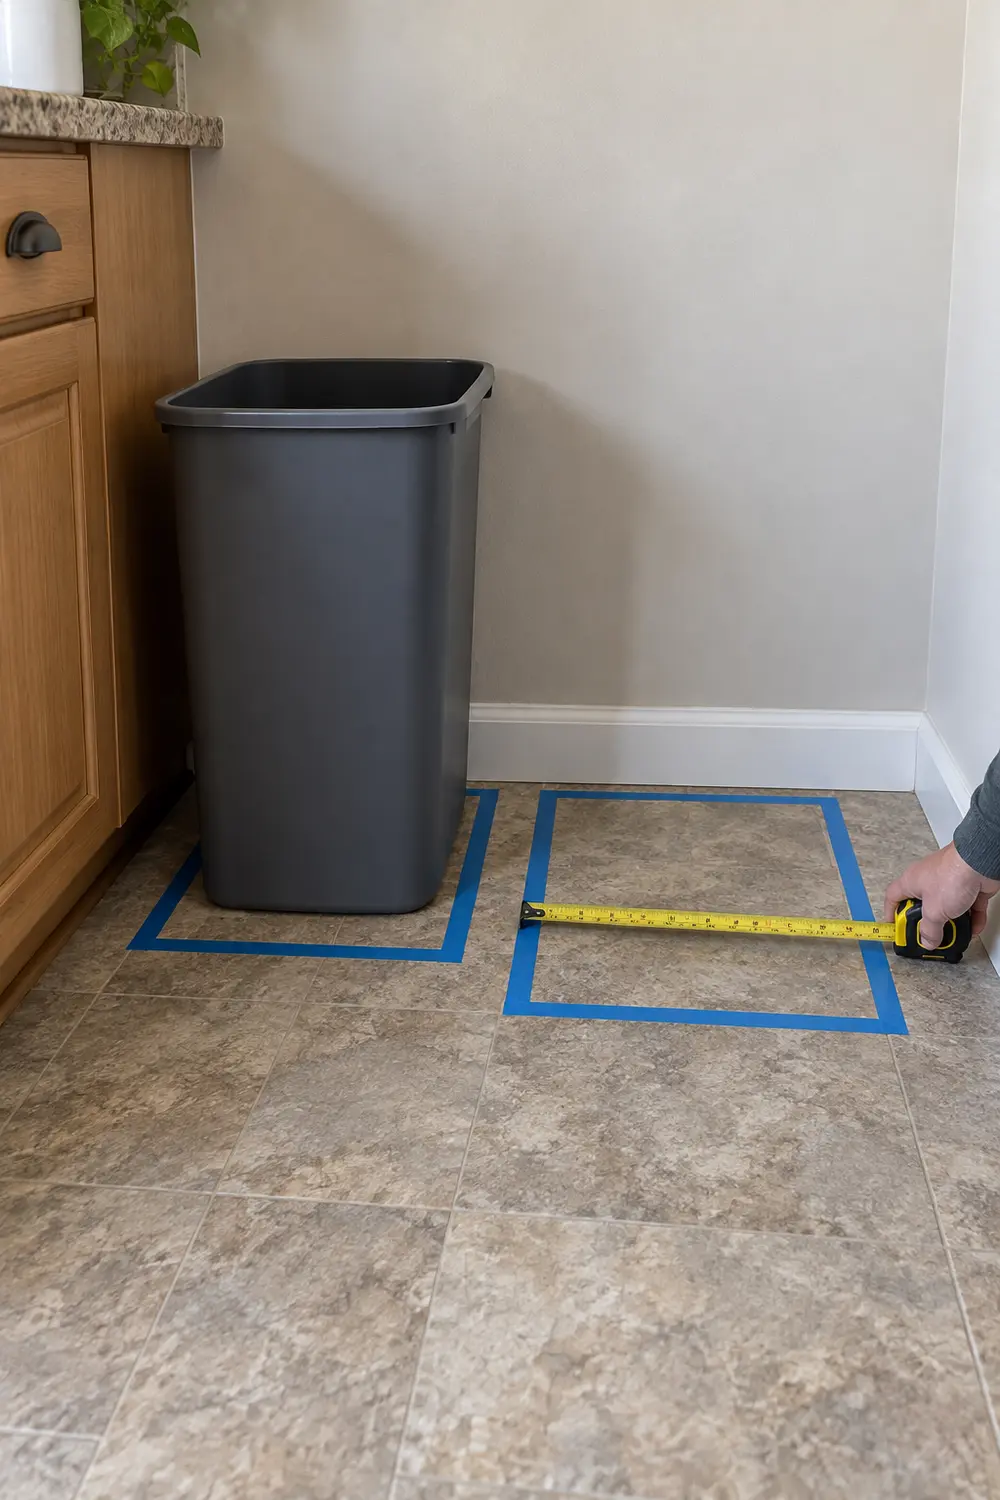
Look up preparation requirements too: emptying, rinsing, drying, caps, and liners can be treated differently by different programs. If your building’s signs conflict with published instructions, ask management or the collector for clarification. Put a short, locally accurate reminder near the station. Avoid a generic recycling poster that encourages everyone to toss in items your service cannot take.
3. Size containers around volume and emptying frequency
Choose capacity from your audit and the trips you can realistically make. A slim 4- to 8-gallon trash can may suit a household that empties it frequently, but those sizes are only starting points. Check exterior dimensions, not gallons alone: two containers with the same capacity can have very different bases, handles, and lid overhangs.
Mock up the proposed footprint with a cardboard box before buying anything. Walk past it carrying groceries, open the oven and dishwasher, and check the refrigerator door. Measure your room, appliance swings, and route to the exit. A narrow can that needs daily emptying is sometimes the better compromise; one that repeatedly overflows is undersized, regardless of how neatly it fits.
4. Choose a lid you can open in its actual location
Test lid movement where the can will stand, not in open space. A hinged lid beneath a counter overhang may hit the underside before opening far enough to accept a dinner plate’s scraps. Measure the container’s fully open height and any rear clearance specified by the manufacturer. Moving it to a nearby unobstructed wall can make the same can usable without changing its size.
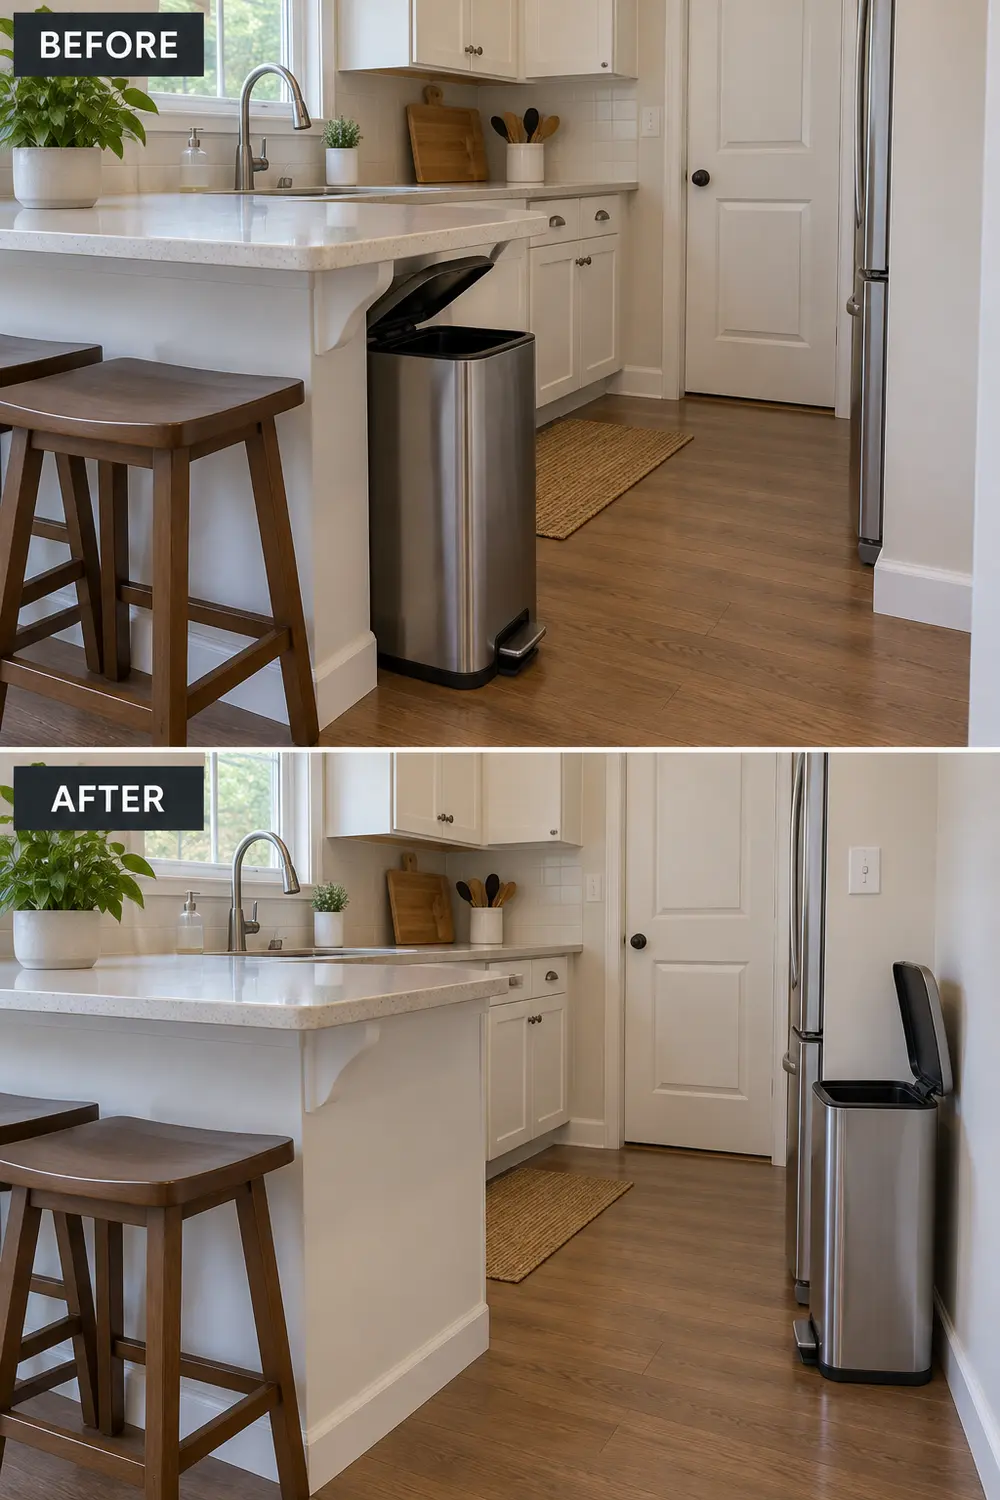
Match the mechanism to the people using it. A pedal requires room for a foot and a stable stance; a push flap can get messy when food brushes against it. Try the motion with an empty container first. In homes with curious pets or children, prioritize a closure they cannot readily open, and don’t mistake a lightweight swing lid for secure containment.
5. Make one compact station outside the aisle
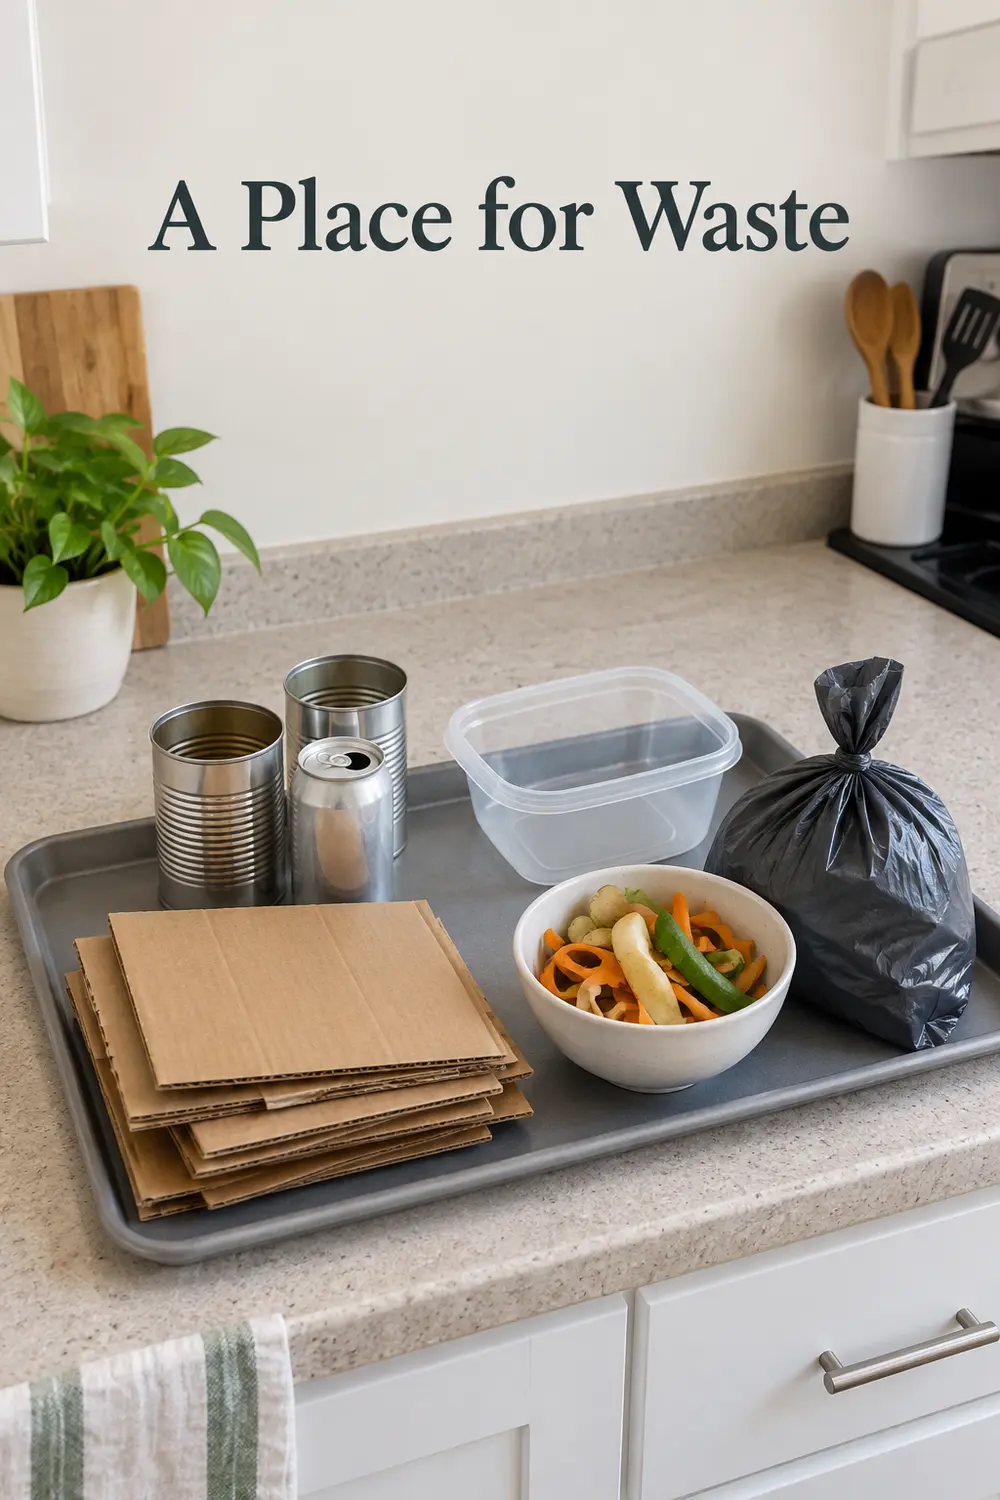
Group the everyday containers on a short wall, beside the end of a counter, or on the bottom shelf of a stable freestanding unit. Keep trash easiest to reach and less-used streams slightly farther away. A washable tray can define the station and catch small drips, provided its edge doesn’t become a trip hazard or interfere with the pedal.
Don’t squeeze bins between the cook and an open appliance, against a heater, or across an exit. Follow appliance clearance instructions and preserve ventilation. If the only apparent location is your chopping surface, first reconsider the layout using these ways to create a practical prep zone. A station is useful only if cooking and carrying out the waste remain straightforward.
6. Reduce clean packaging before it reaches the bin
Flatten accepted paperboard boxes as you empty them rather than balancing whole boxes on top of the recycling. Keep larger flattened cardboard together in a narrow reusable tote if your collection rules allow it. Check instructions before crushing cans or bottles; some return systems need containers intact. The aim is less trapped air, not indiscriminate compression of every material.
Empty packaging and prepare it as your collector specifies before adding it to storage. Drain rinsed containers so the recycling station doesn’t become a puddle. Don’t flatten greasy packaging into clean cardboard simply to hide it; check whether it belongs in trash or an accepted organics stream. Avoid creating sharp edges or stacking cardboard against cooking equipment while waiting for collection.
7. Contain wet food scraps separately
Use a small, washable, lidded container for scraps accepted by your collection or drop-off program. During prep, place it beside the cutting board, then close it and return it to its storage spot. A modest container holding one evening’s peelings is easier to empty promptly than a large bucket that quietly accumulates several meals. Keep its exterior and handles clean.
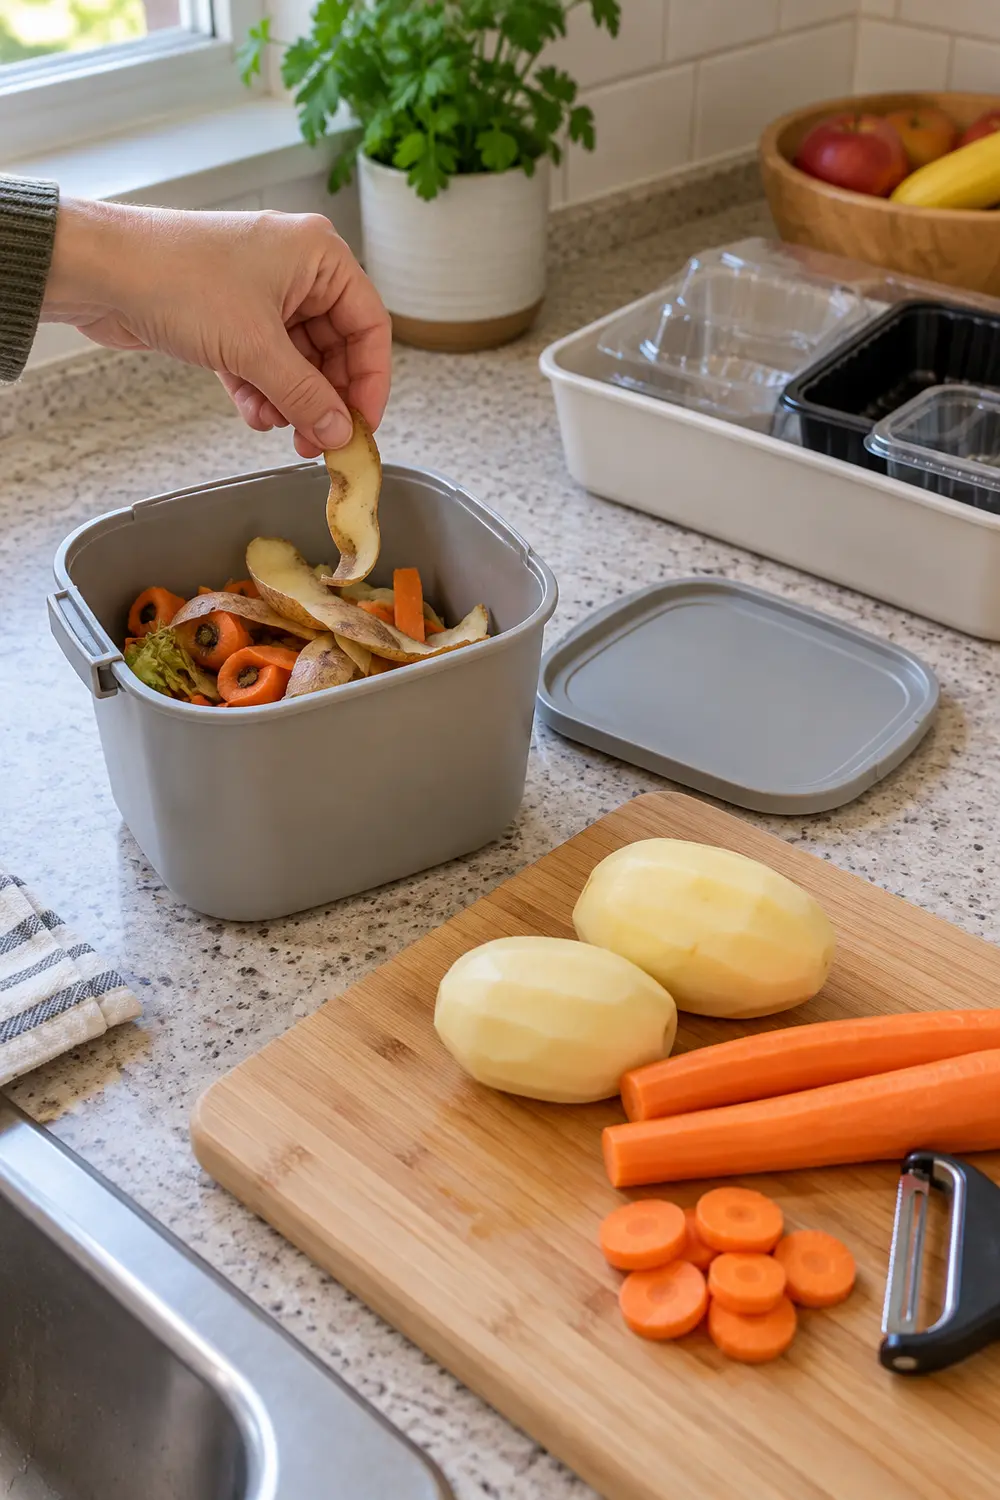
If pickup is infrequent, a sealed, clearly identified freezer container can hold accepted scraps until removal, if you have room. That trades freezer space for less time at room temperature; it doesn’t change what the program accepts. Use liners only when permitted. Without an organics option, contain wet food waste within your trash system and remove it promptly rather than maintaining an unused compost bucket.
8. Give returnable containers a separate limit
If you redeem eligible beverage containers, store them separately from routine recycling so they don’t need to be sorted twice. Empty and drain them, then use a washable tote with handles. Confirm the return program’s requirements before removing labels or crushing containers. A tote that fits the trip—car, bus, or walk—is more useful than a large sack you struggle to carry.
Choose a firm capacity limit, such as one tote, and schedule the return when it fills. Storing another month’s worth behind the first bag usually shifts the problem into a doorway or closet. If redemption trips are impractical, investigate locally permitted alternatives rather than assuming every deposit container belongs in curbside recycling. Sticky residue still needs attention even when the containers have cash value.
9. Set removal triggers that everyone understands
Agree on visible triggers: trash leaves before it prevents the lid from closing, recycling leaves at the marked fill line, and the scrap container is checked after dinner. Wet or strong-smelling waste may need an earlier trip. Tie removal to an existing routine, such as the evening dog walk, only if the collection point is accessible and the bag can be carried safely.
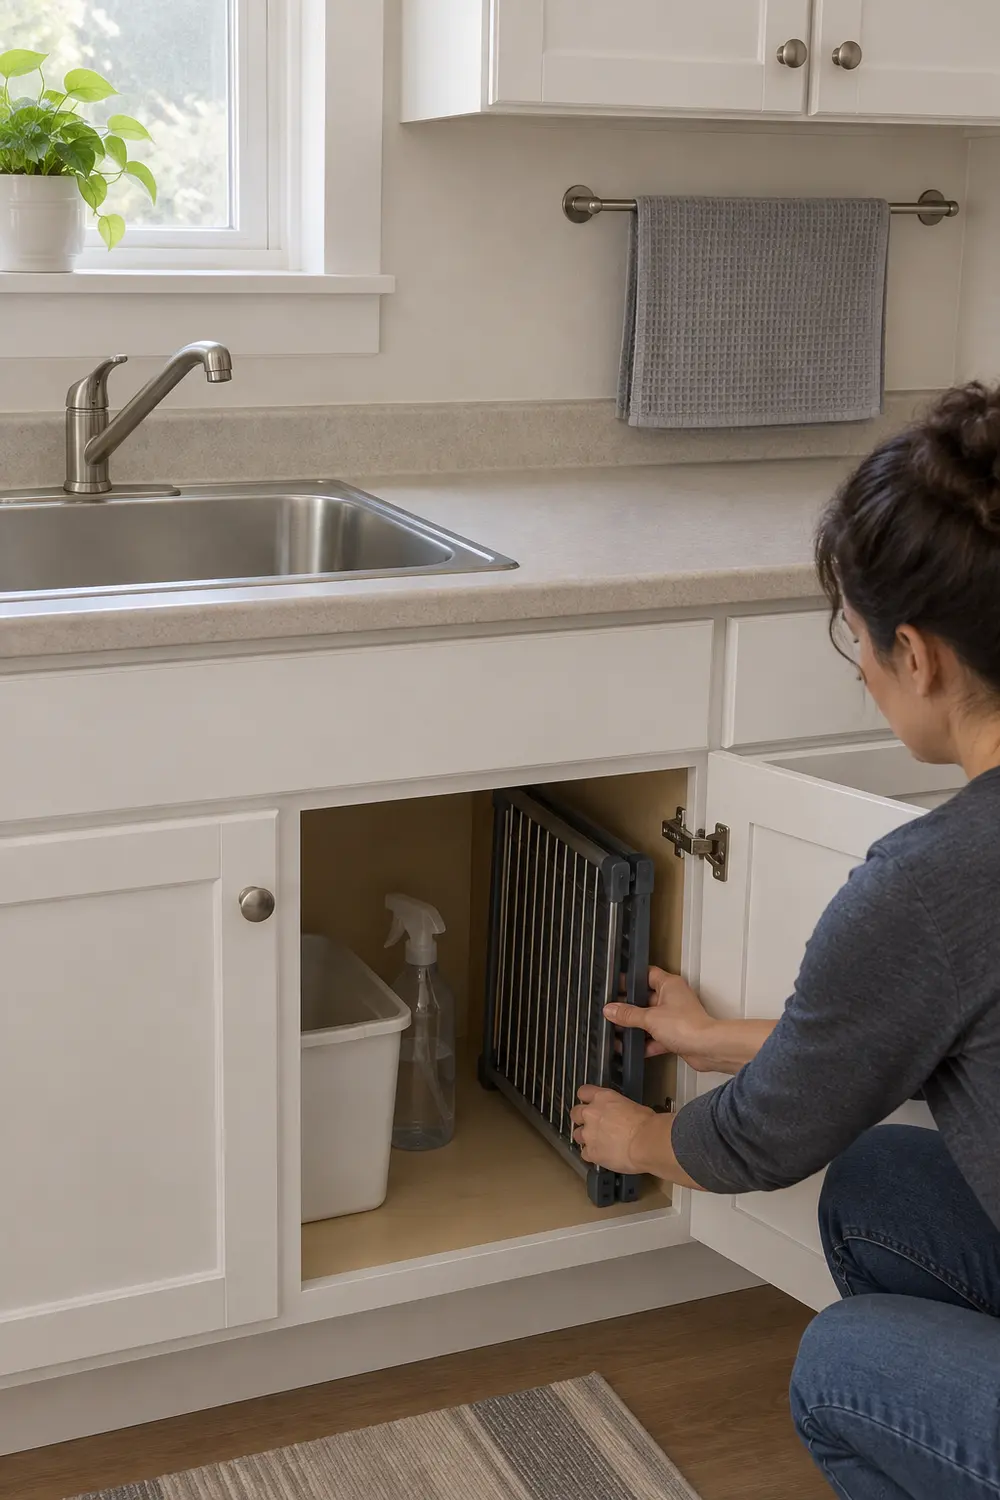
Assign responsibility rather than relying on whoever notices first. Keep spare liners nearby, but don’t bury them behind appliances or pantry overflow. These ways to make deep kitchen cabinets easier to reach can help you give supplies an accessible home outside the sink cabinet. Never compensate for missed trips by leaving extra bags in the hall, where they obstruct movement and invite pest access.
10. Clean the whole station, not just the liners
When a bag leaks, remove the bin and clean both it and the surface underneath. During a regular weekly check, wipe lids, handles, pedals, and the nearby wall or cabinet side; wash the tray as needed. Use a cleaner appropriate for each material and follow its label. Let washed containers dry before relining so moisture isn’t trapped beneath the next bag.
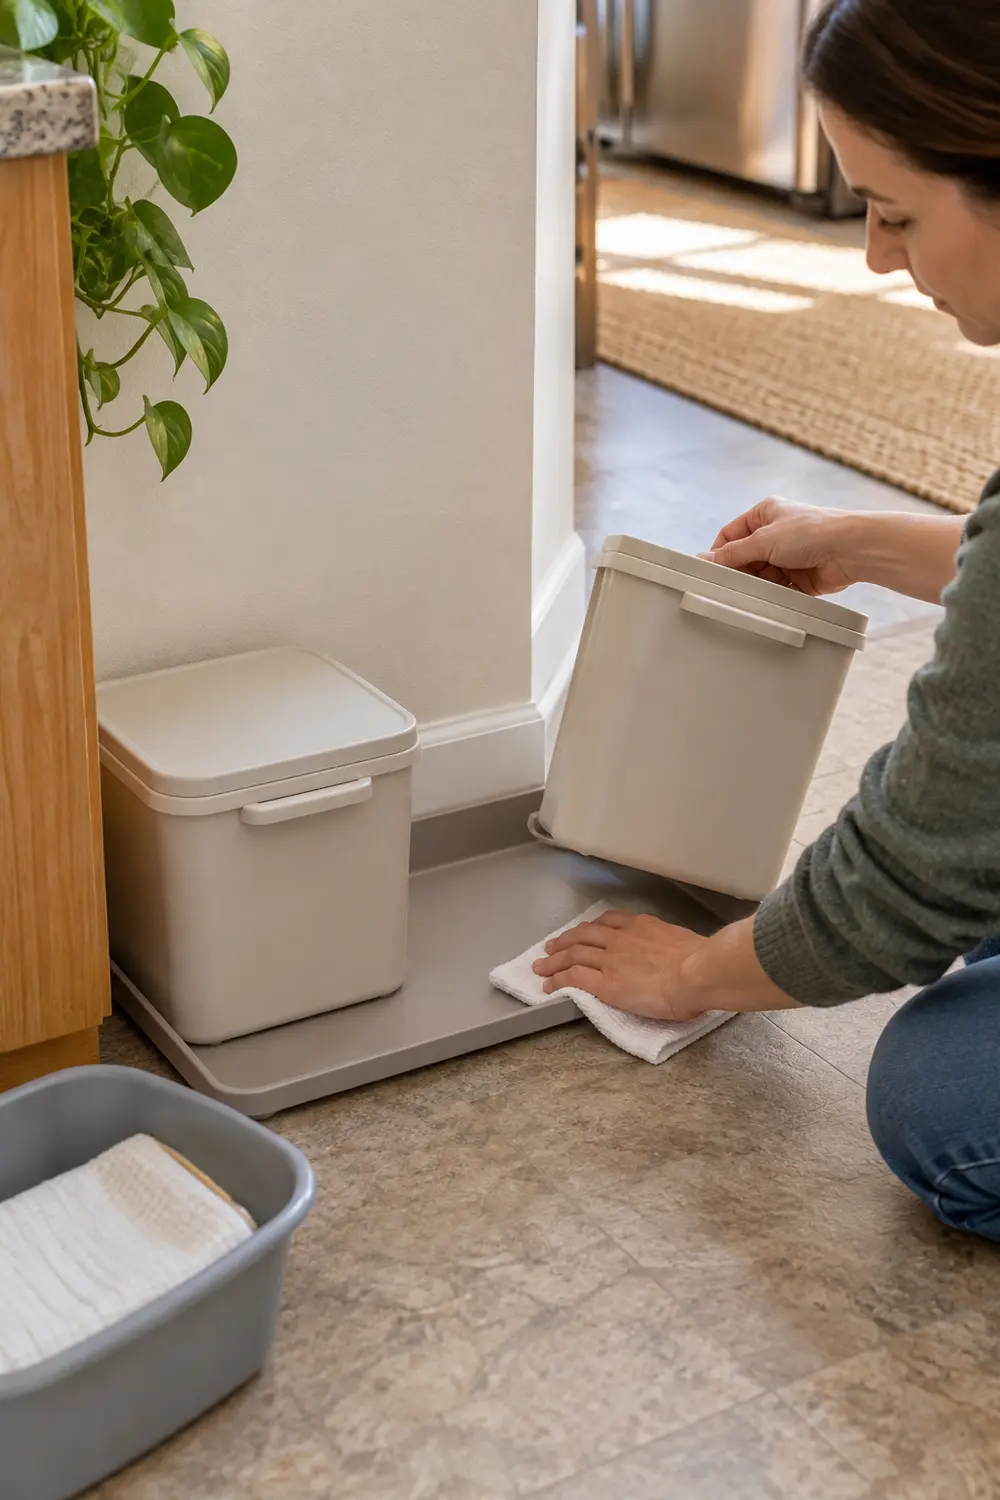
Inspect lid edges, seams, and the floor behind the station for residue or signs of pests. Closed lids help limit access, but spills, overfilled bags, and stored cardboard can undermine the setup. Remove problem waste and clean promptly; report persistent pest activity or gaps around building services to your landlord or an appropriate professional. A fragrance insert cannot replace cleaning or timely removal.
Start with a three-day waste tally and your local collection instructions. Then mock up one station with containers you already own. If the doors open, the lids work, and everyone can empty it comfortably, you’ll know which—if any—new containers are worth buying.