Two people are talking, the dishwasher is running, and suddenly everyone seems to be raising their voice. In a small living room, sound bouncing off glass, bare floors, and painted walls can make conversation feel sharp or muddled. The goal is to reduce those reflections and competing sounds—not seal out the neighbors. Soft furnishings can help, but their thickness, coverage, and placement matter more than simply adding pillows.
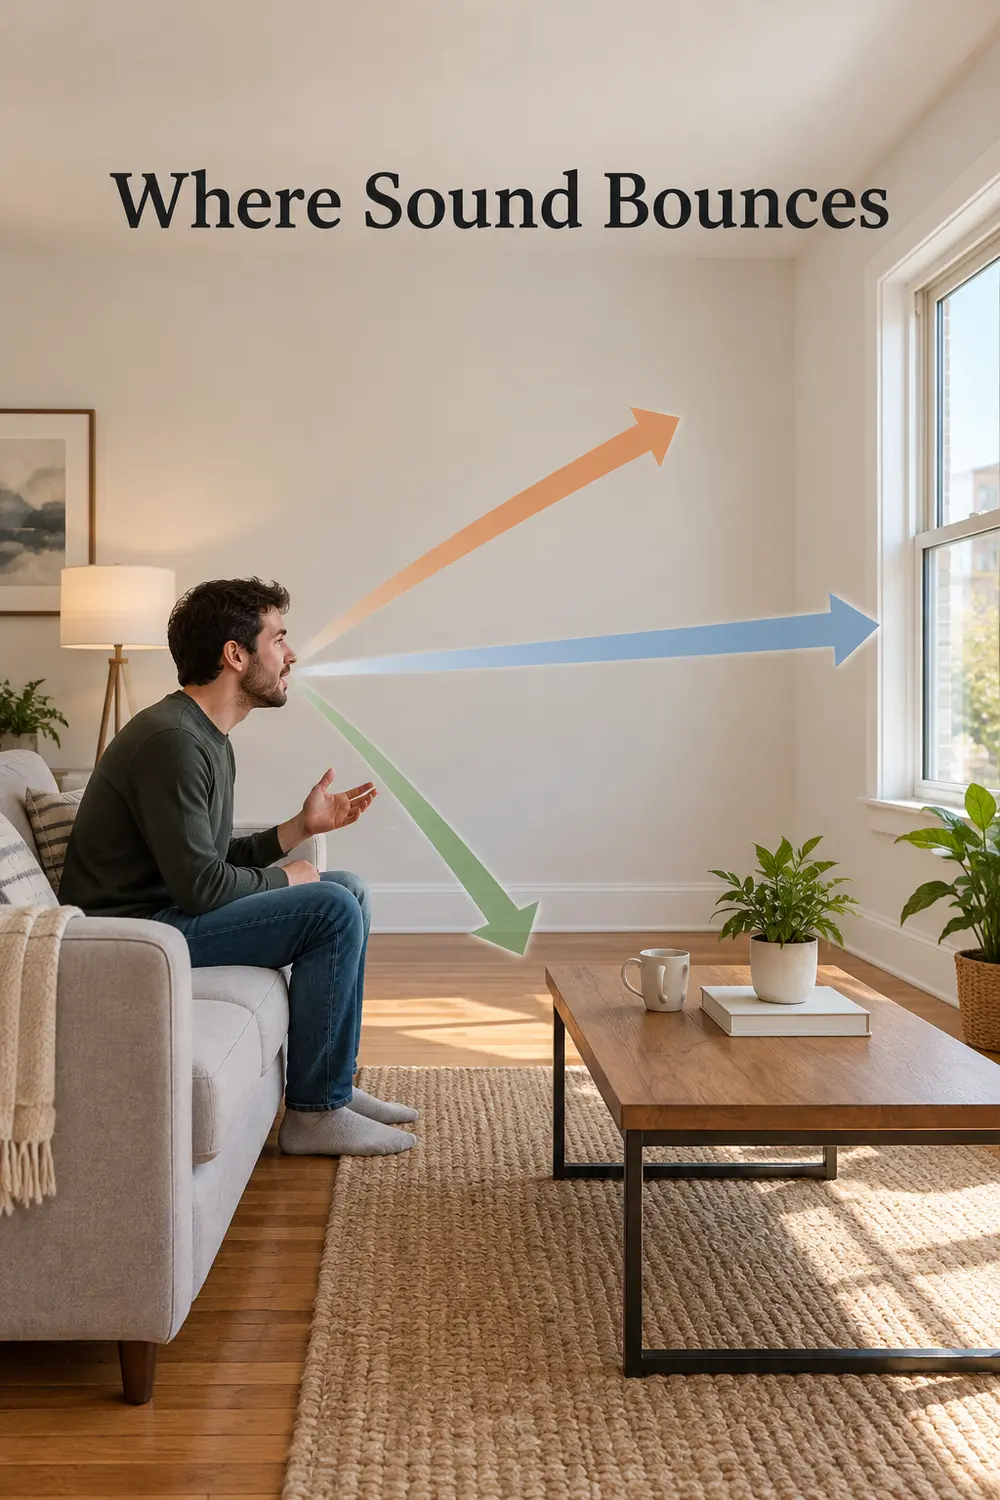
1. Find the surfaces that keep sound bouncing
Start with the room as you normally use it. Turn off music and listen while someone speaks from the usual chair. Notice exposed flooring, glass doors, a large mirror, and long stretches of bare wall. A single handclap may reveal a brief ringing or flutter, though it cannot tell you precisely which surface needs treatment.
Sketch a quick floor plan and mark those hard surfaces, especially around and between the seats. Then temporarily hang a blanket over a broad bare area, safely away from heat, and repeat the conversation. A noticeable improvement gives you a useful lead before spending money. This is a comparison, not an acoustic measurement; one test will not diagnose every source of harshness.
2. Give substantial curtains enough coverage
A thin sheer offers privacy but little material to absorb reflected speech. If the window occupies much of one wall, try heavier, densely woven curtains with generous folds. Use panels wide enough to cover the glass when closed without stretching flat. Borrowing a substantial curtain from another room can help you judge the benefit before replacing anything.
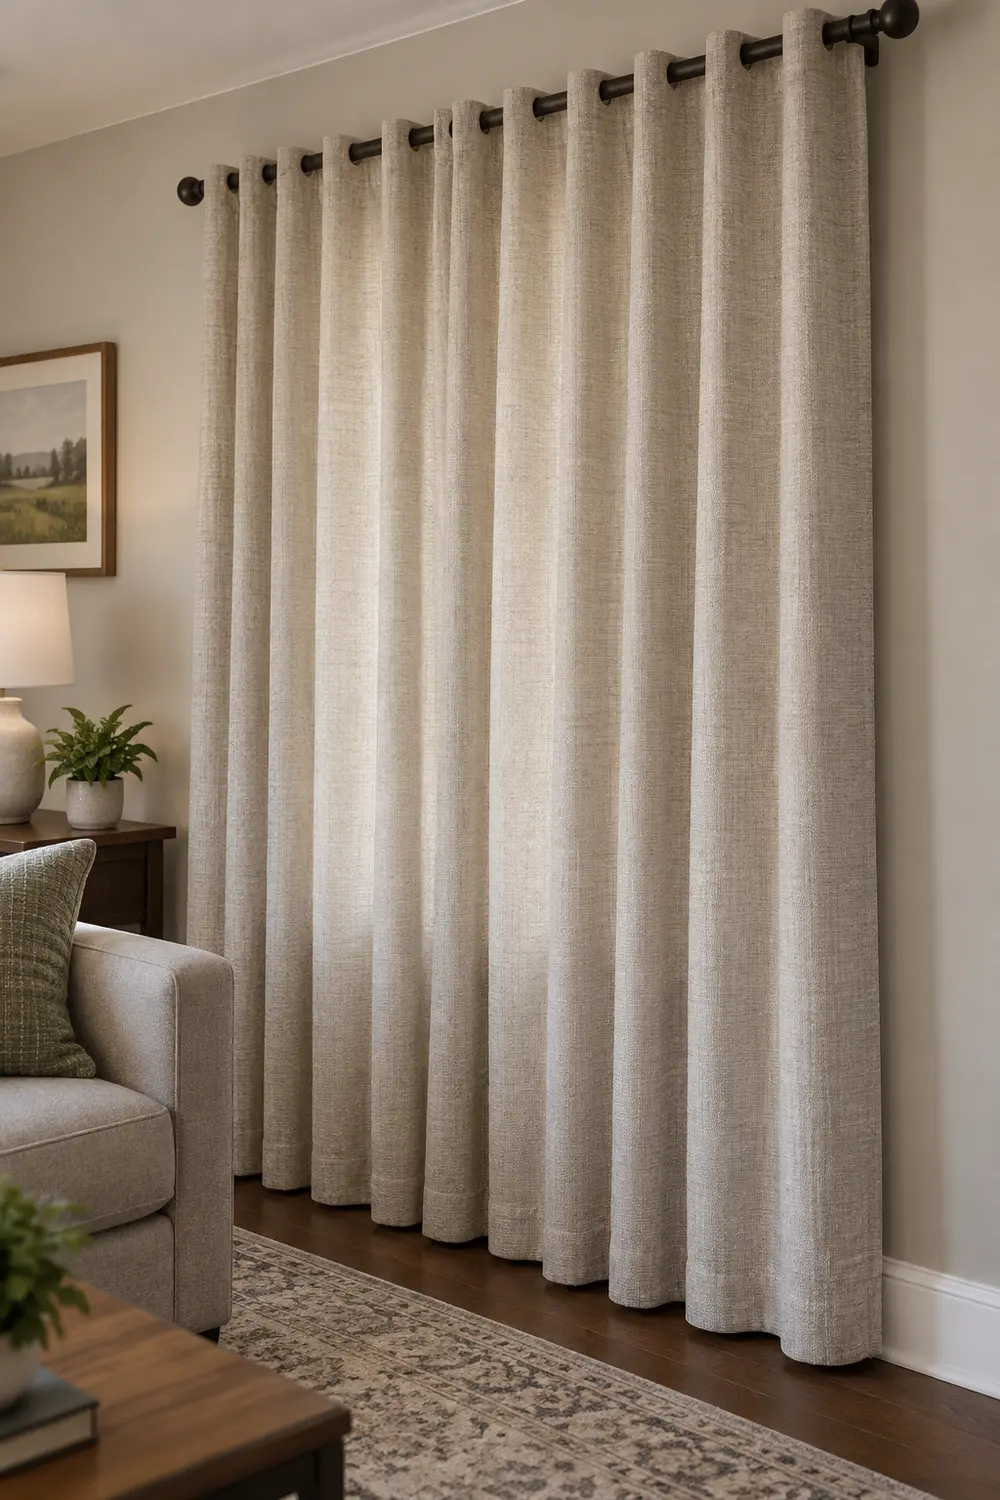
The compromise is daylight: curtains only treat the area they actually cover, so panels parked beside exposed glass do less during daytime conversation. You might close just the panel nearest your seating. Follow rod load limits and mounting instructions, observe heater clearances, and keep fabric off vents. Heavier curtains can soften reflections; they are not a dependable barrier to street or neighbor noise.
3. Test where people sit before moving everything
Move one lightweight chair and compare the same short conversation in two positions. Try facing your companion more directly instead of speaking across the full length of the room. Bringing seats into a comfortable conversational grouping can make direct speech easier to hear without requiring everyone to speak louder.
Also test shifting a chair away from a bare corner or a wall immediately behind the listener. Even a modest adjustment may sound different, but keep the position that actually helps in your room. Measure furniture, door swings, and access routes before committing; these layout fixes for a narrow living room can help preserve a usable walking route while you regroup seats.
4. Cover more of the exposed floor between seats
A tiny rug under the coffee table leaves most of the reflective floor untouched. Aim for meaningful coverage through the conversation area, often with the front feet of the sofa and chairs resting on the rug. A substantial pile generally offers more sound-absorbing material than a thin, tightly woven mat, though neither treats the whole room.
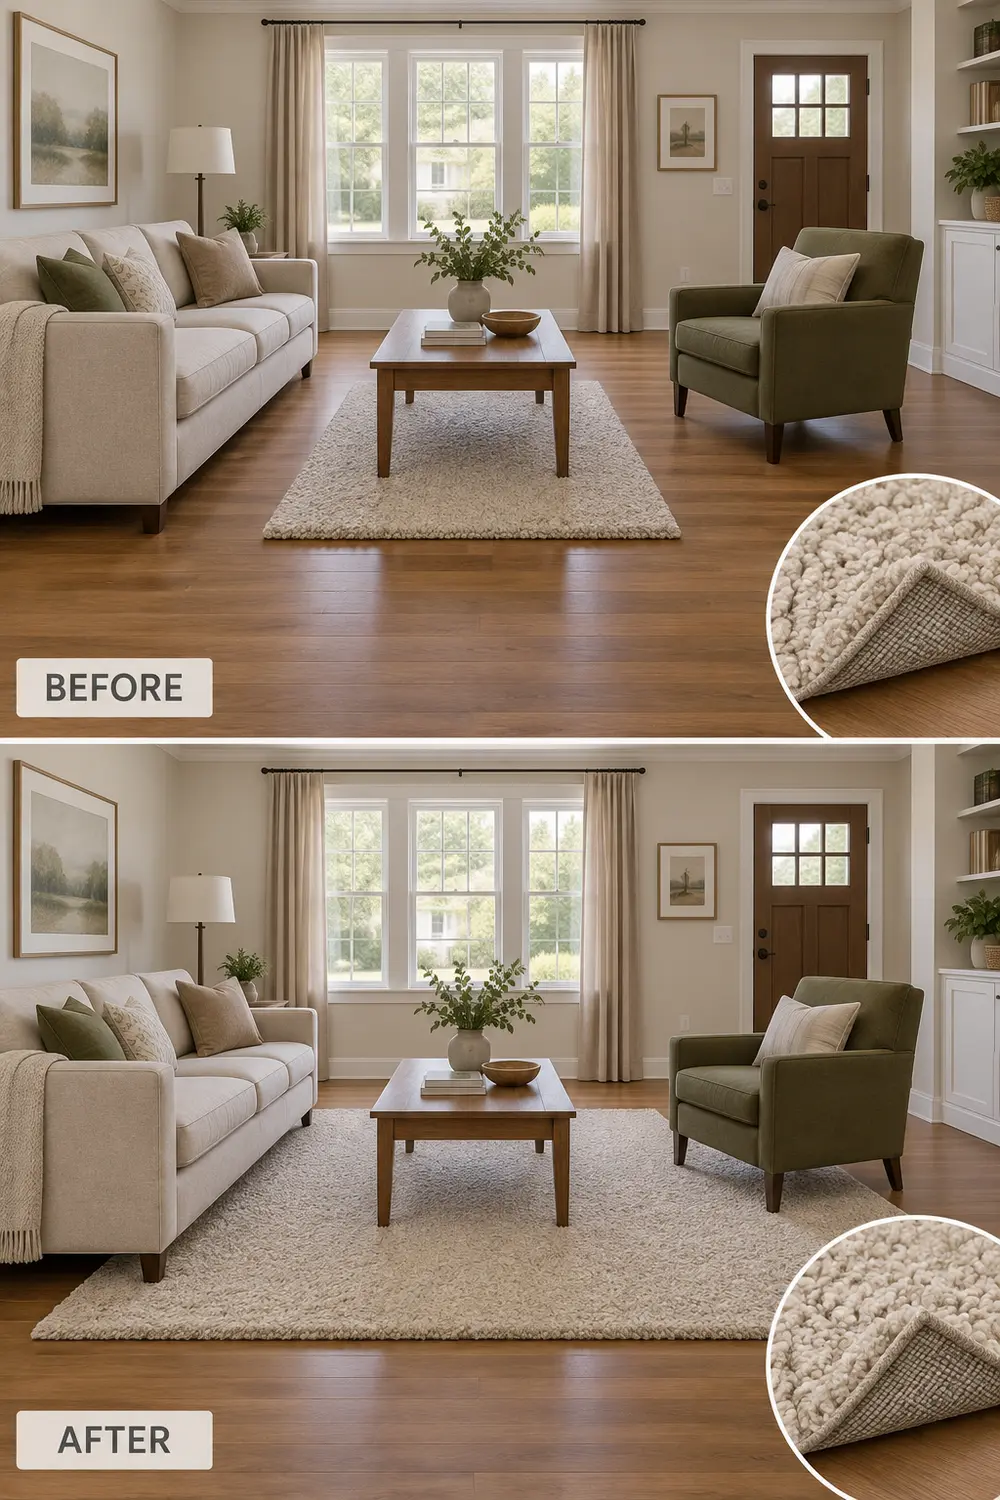
Tape out a proposed size before ordering, checking entry doors and the route around the coffee table. Our guide to rug sizing and furniture placement helps connect that coverage to the seating layout. Choose a pile you can realistically vacuum and clean; a thick rug that traps pet hair or blocks a door is not a useful improvement.
5. Choose underlay for the rug and floor you have
Check what is beneath an existing rug before replacing it. A compatible felt or felt-and-grip pad can add a cushioning layer and keep the rug more stable. Match the pad to the floor finish and rug manufacturer's recommendations; some backing materials can discolor particular floors. Trim or order it slightly smaller than the rug so the edges sit properly.
Underlay is a supporting choice, not a cure for a room full of bare walls and glass. A thin nonslip mesh mainly addresses movement and adds little absorbing material. Avoid stacking loose pads to chase thickness: that can create shifting edges and interfere with doors. Check the combined rug-and-pad height, especially where children play or people regularly cross the rug edge.
6. Soften seating that is mostly hard or smooth
If your seating is a leather sofa and two wooden chairs, work with those pieces before replacing them. Add properly fitting upholstered seat cushions to the chairs, or use a substantial washable throw across part of the sofa. These additions introduce some absorbing material close to the conversation, where a bare seating group otherwise offers little.
Keep expectations proportional to coverage. Two decorative pillows will not balance a large glass wall, and fabric stretched thinly over a hard surface does less than substantial upholstery. Choose cushions that stay secure without dangling ties in walking paths. Leave enough clear seating for actual people; repeatedly moving a pile of pillows makes an acoustic improvement feel like another household chore.
7. Use filled bookcases without treating them as acoustic panels
A bookcase along a bare wall can interrupt a broad, flat surface. Arrange books in practical groups with some variation in depth, rather than leaving most shelves empty or filling them with glass ornaments. Keep frequently used books accessible. This is a useful way to work with storage you already need, not a reason to buy books by the foot.
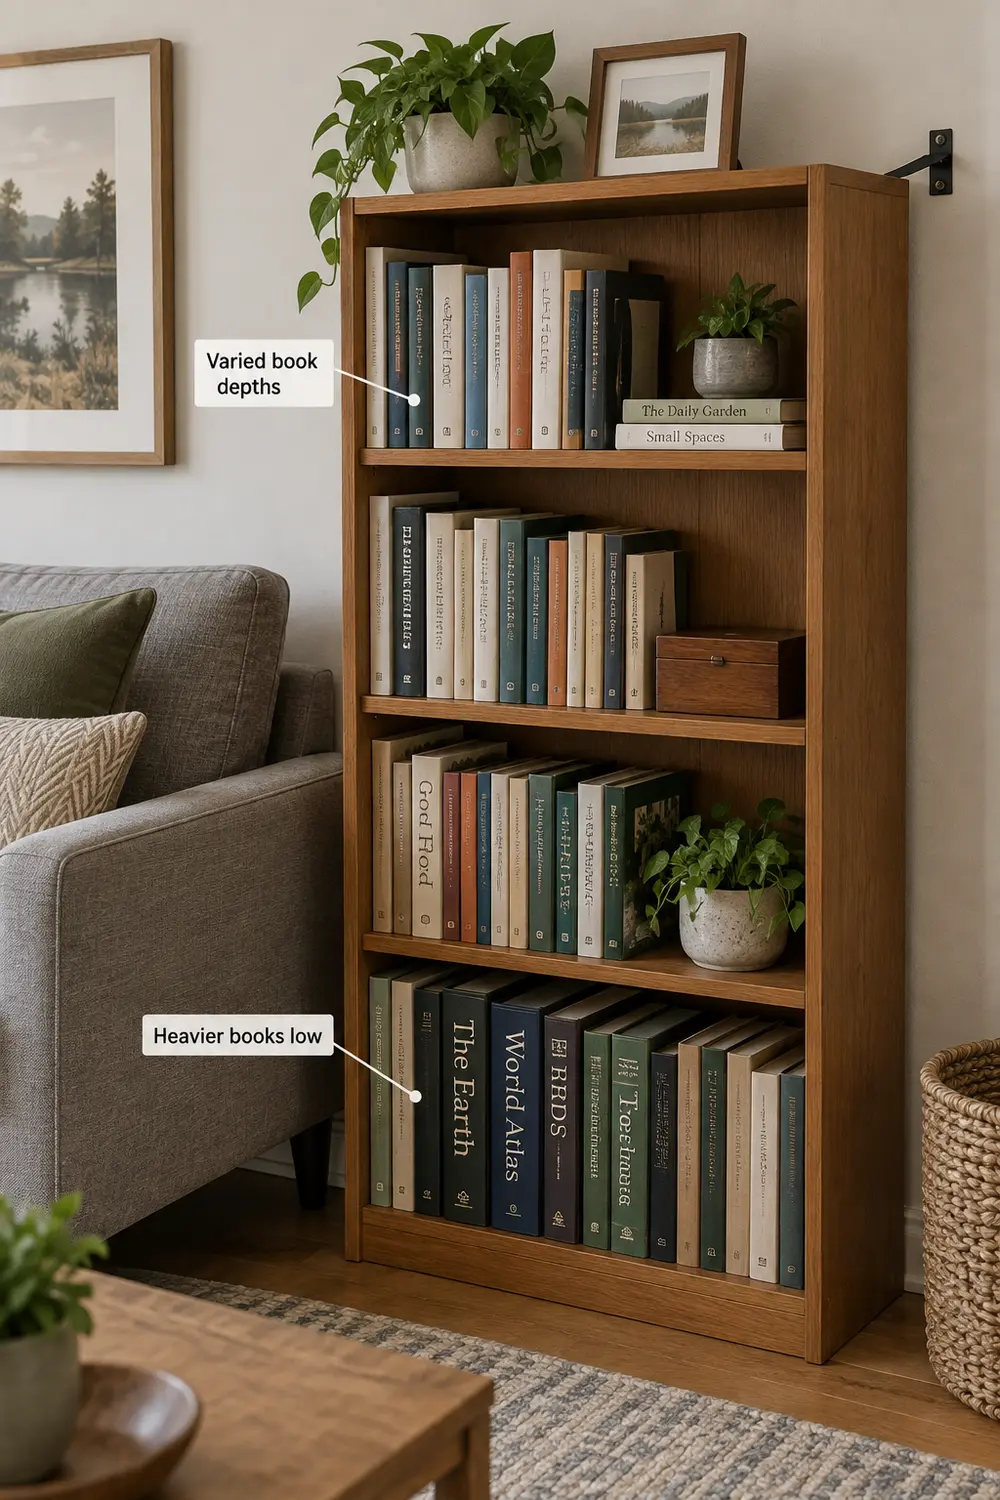
Books and shelf edges may scatter some reflected sound, but a household bookcase is not a tested diffuser or a substitute for absorption. It will not reliably stop voices traveling through a shared wall. Keep heavy volumes low and secure the unit according to its instructions. If rental restrictions prevent a safe installation, choose another treatment rather than leaving tall furniture unsecured.
8. Let necessary wall-side furniture add upholstery
When you genuinely need another seat, consider an upholstered bench or compact padded chair along an exposed wall instead of a hard bench. The upholstery adds absorbing area while serving a daily purpose. A padded reading chair beside the conversation group may be more useful than squeezing in a console that provides another smooth surface.
This is a replacement decision, not an instruction to fill every wall. Measure the piece, its delivery route, and the space needed to use it without blocking doors, ventilation, or heaters. An upholstered storage bench can help a shared room, but its acoustic contribution remains limited by size and construction. Skip it if the room already has enough seating and needs breathing room.
9. Lower the background noise competing with voices
Sometimes the immediate problem is less echo than competition. Pause the robot vacuum, move a portable fan farther from the conversation, or schedule the dishwasher for later when practical. In an open-plan apartment, one appliance can make everyone talk louder. Compare the room with those optional sounds off before deciding you need more furnishings.
Do not disable necessary ventilation or tolerate uncomfortable temperatures for quieter conversation. Maintain user-serviceable filters and parts only as the manufacturer directs, and report a newly rattling vent or appliance to the landlord or an appropriate technician. Rugs and curtains cannot repair mechanical vibration. Addressing a noisy source is a separate task from reducing the sound reflected around the room.
10. Place rated acoustic panels where they can help safely
If the room still sounds harsh, consider purpose-made panels with published sound-absorption ratings and installation instructions. Use your earlier listening tests to choose an exposed wall near the seating, such as the wall behind the listener. Position panels around seated ear height where practical, clear of outlets, vents, heaters, and door swings. Test the location before permanent mounting.

Compare ratings for the complete panel construction, not just the fabric covering; an NRC rating describes absorption, not soundproofing. Follow mounting, weight, and fire-safety guidance, and get rental permission where required. Do not assume adhesive strips will support a panel. Properly supported freestanding products may offer another option, but their feet need floor space and protection from tipping around children or pets.
Start with a quiet-room conversation and one reversible test: close substantial curtains, reposition a chair, or temporarily cover a reflective area. Keep the change that makes listening easier. Then decide whether better floor coverage or a targeted panel is worth the space, maintenance, and expense.
Leave a Reply