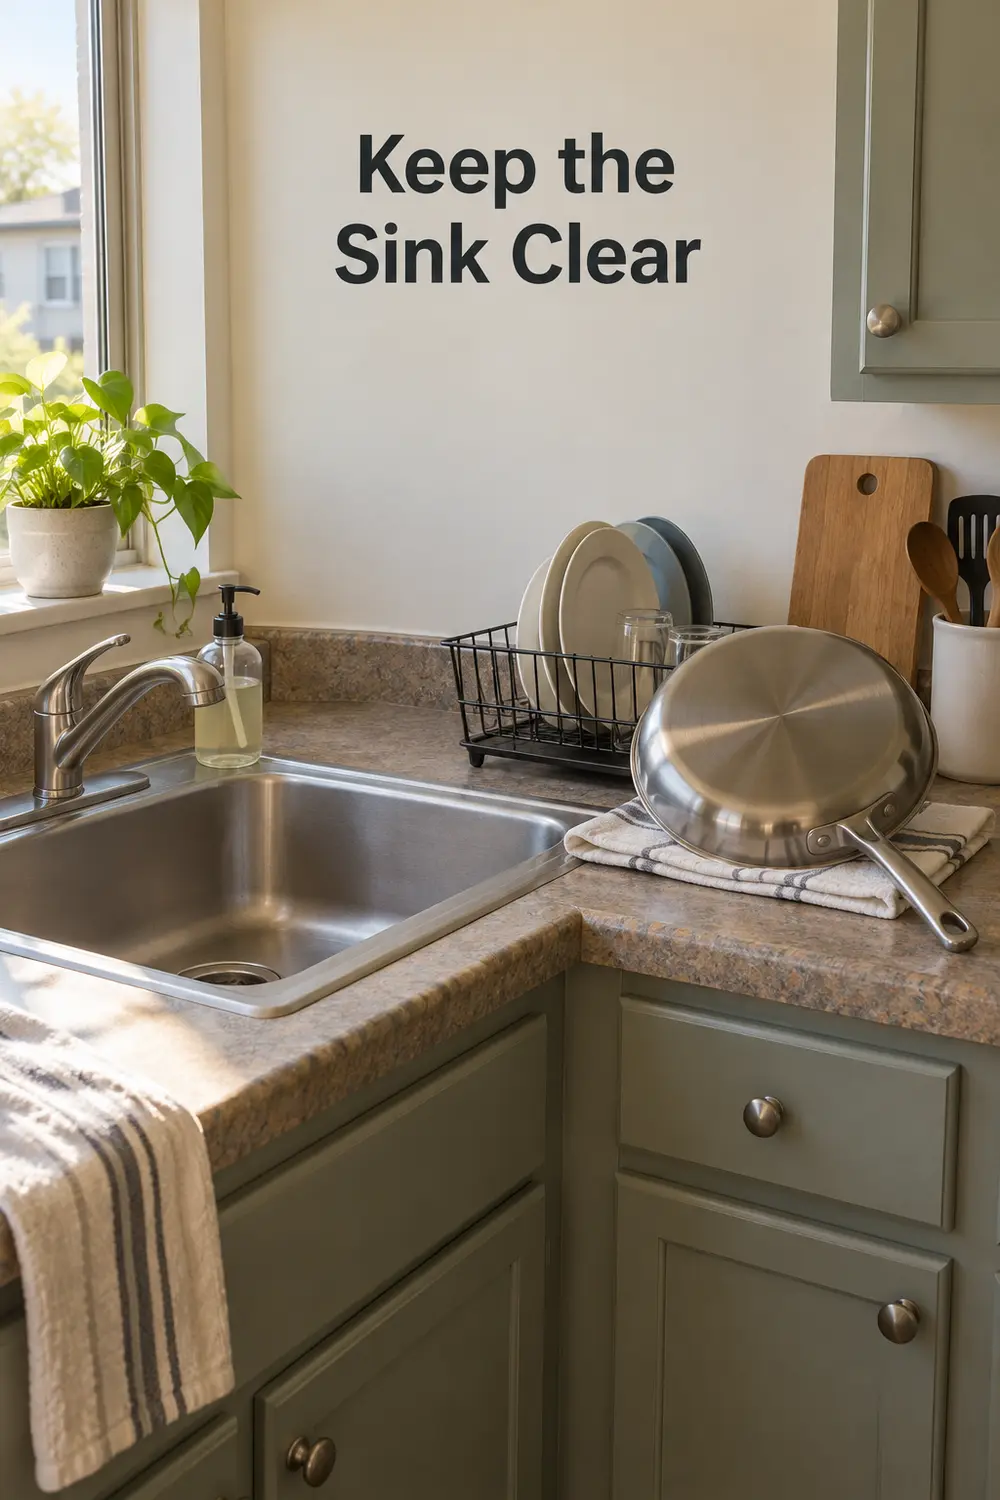
Dinner is over, but the skillet is blocking the drain, glasses are balanced on plates, and there’s nowhere to rinse a spoon. In a single-basin kitchen without a dishwasher, the problem isn’t always too many dishes. It’s that washing, rinsing, and drying are competing for the same few inches. A workable sequence gives each job a temporary place—including the oversized pan that needs its own drying spot—then returns the sink and counter to everyday use. Keep food preparation separate from this dirty-dish circuit.
1. Scrape dishes before they reach the stack
Make scraping the first stop, not something you do over a sink already full of dishes. Move leftovers into storage containers and scrape scraps into the trash or your accepted food-scrap collection. An old silicone spatula can lift rice and sauce from plates without sending everything toward the drain. Empty drinks before stacking cups, too.
Set the scraped dishes on a tray beside the sink rather than across its bottom. This keeps the drain reachable and lets you use the faucet before washing begins. A sink strainer catches stray bits, but it isn’t a substitute for scraping. Keep the dirty tray off your cutting board, and finish food preparation before that counter becomes the dish landing zone.
2. Sort a small queue in washing order
Group dishes by the order you’ll wash them: glasses and lightly soiled cups first, then flatware and plates, with greasy bowls and utensils later. Keep sharp knives visible and separate rather than hidden under dishes or in cloudy water. Two mugs nested beside a short plate stack are easier to work through than one unstable tower.
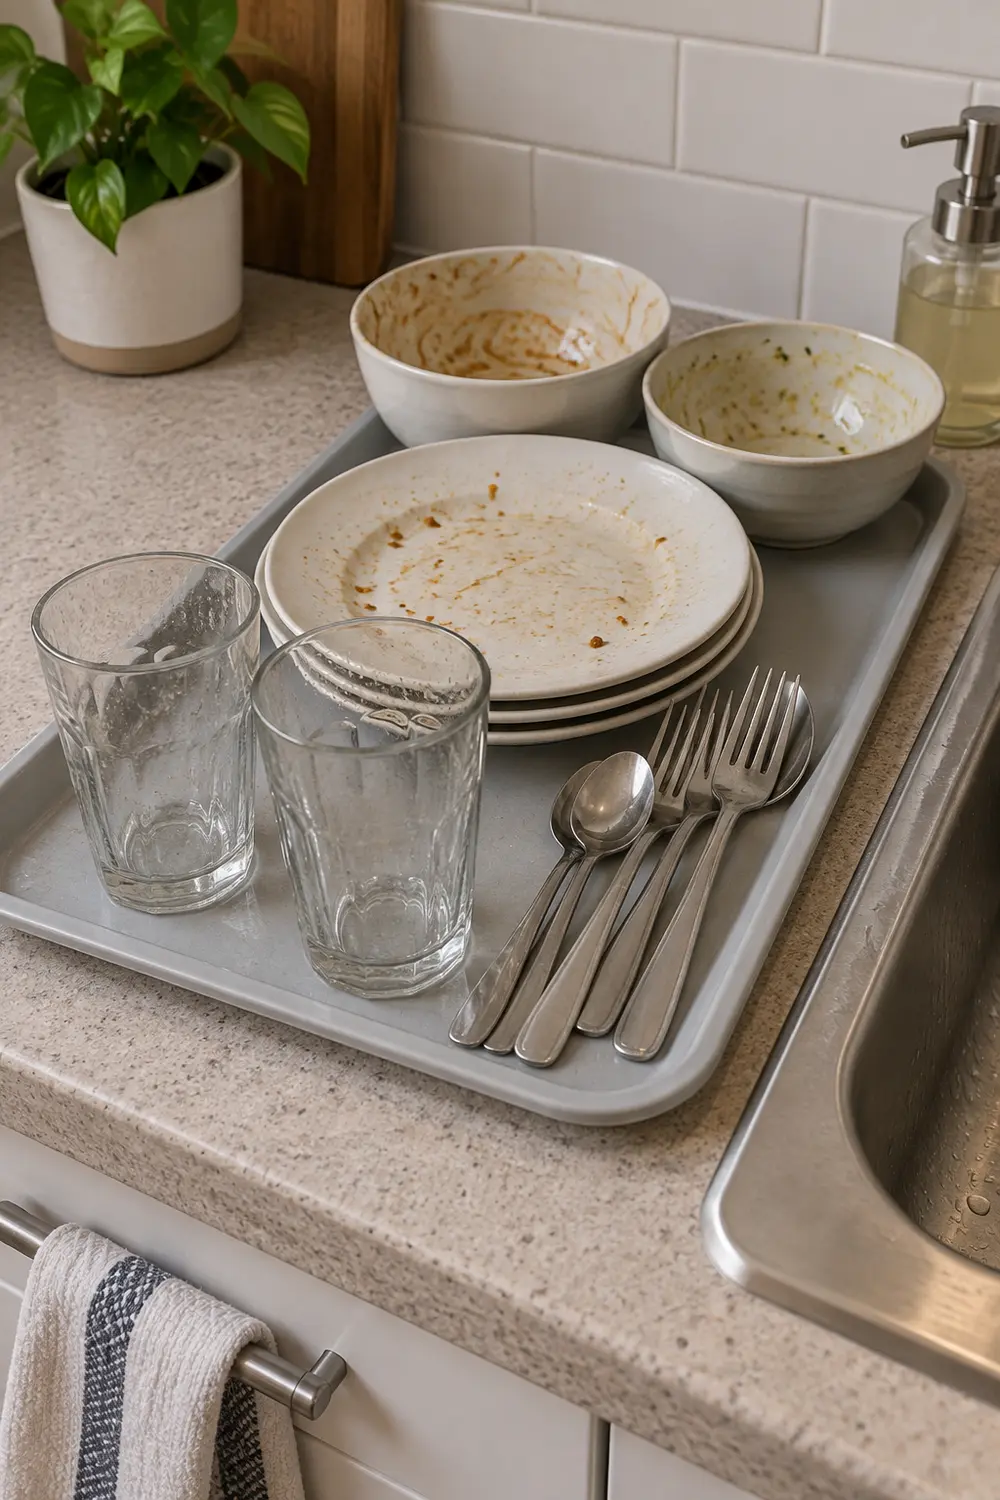
The queue should fit the counter you actually have. If dinner produced eight place settings but only four fit safely, leave the second batch on a separate washable tray at the dining table until needed. Don’t spread dirty dishes through an active prep area. Washing cleaner items first helps keep the wash water useful, but replace it when it becomes greasy or dirty.
3. Give cookware a separate washing round
Keep the stockpot and skillet out of the plate queue. Wash the smaller dishes first, move them to the rack, and then tackle cookware one piece at a time. A pot filling the basin can hide utensils, block the drain, and force you to maneuver fragile glasses around a heavy rim.
For stuck-on oatmeal, add a little water to the pot and let it loosen while you wash cups; set it on a stable, heat-safe surface out of the prep area. Let hot cookware cool before washing and follow its care instructions. Cookware or utensils used with raw meat should stay separate from the cleaner queue and be washed before that dirty landing area is cleaned.
4. Use a removable basin to make wash space temporary
A removable dish basin can hold warm, soapy water while leaving part of the sink available for rinsing. Measure the sink’s interior and faucet reach before choosing one; nominal sink dimensions won’t tell you whether it fits. In a roughly 22-inch-wide basin, a wash tub around 12 inches wide might leave a useful rinse channel, but test your actual arrangement.
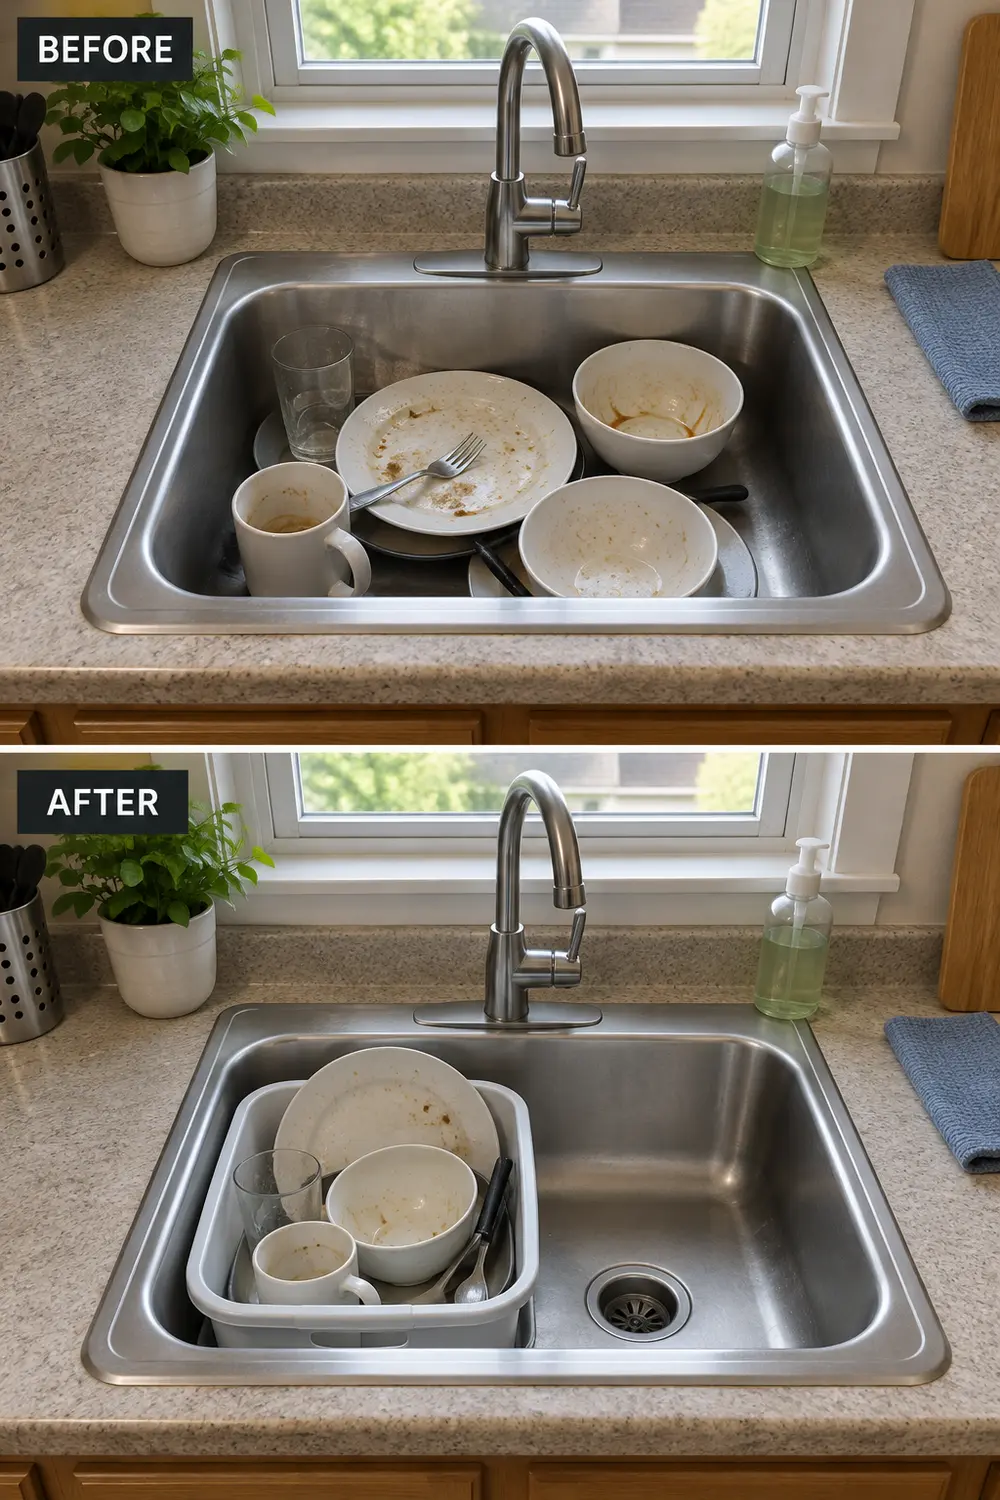
In a narrower sink, alternate tasks instead: wash a small batch in the tub, lift it onto a stable, water-resistant counter, and rinse over the empty sink. Don’t carry a heavy, brimful basin across the kitchen. The tub also needs a storage home after use; if it permanently occupies your only counter, it may create more trouble than it solves.
5. Rinse in small batches without flooding the wash water
Wash a few items, then rinse them under a controlled stream directed into the open sink—not into the soapy tub. Check where the faucet actually lands before starting. If you cannot keep rinse water out of the basin, use the lift-out sequence rather than repeatedly diluting and overflowing your washing water.
Keep the drain clear so rinse water leaves promptly instead of pooling around dishes. Three plates are often a more manageable batch than an entire dinner service, especially with a fixed faucet. Turn the water off while scrubbing, and change the wash water as needed. Don’t save used dishwater for rinsing produce or combine food preparation with the dirty-dish process.
6. Choose a rack around the dishes you actually own
Measure the available counter depth, the space beneath upper cabinets, and the rack’s full footprint, including its drain spout. Then consider your everyday dishes. Deep cereal bowls may occupy two plate slots; wide mugs may not fit tiny cup hooks. A compact rack that holds your usual meal’s dishes is more useful than one with an impressive capacity claim.
Lay out a paper rectangle matching a prospective rack before buying it, and check cabinet doors, faucet movement, and nearby appliance access. Over-sink racks save counter space but can block the very basin you’re trying to recover. If you already own a usable rack, try fewer dishes per batch before replacing it. Don’t balance heavy cookware on narrow glass supports.
7. Give every drip a route back to the sink
A draining rack needs more than a tray underneath: its outlet must actually reach the sink. Place the spout over the basin edge and check that water travels toward it rather than collecting in a low corner. Pour a small amount of clean water into the empty drainboard to see where it goes before loading dishes.
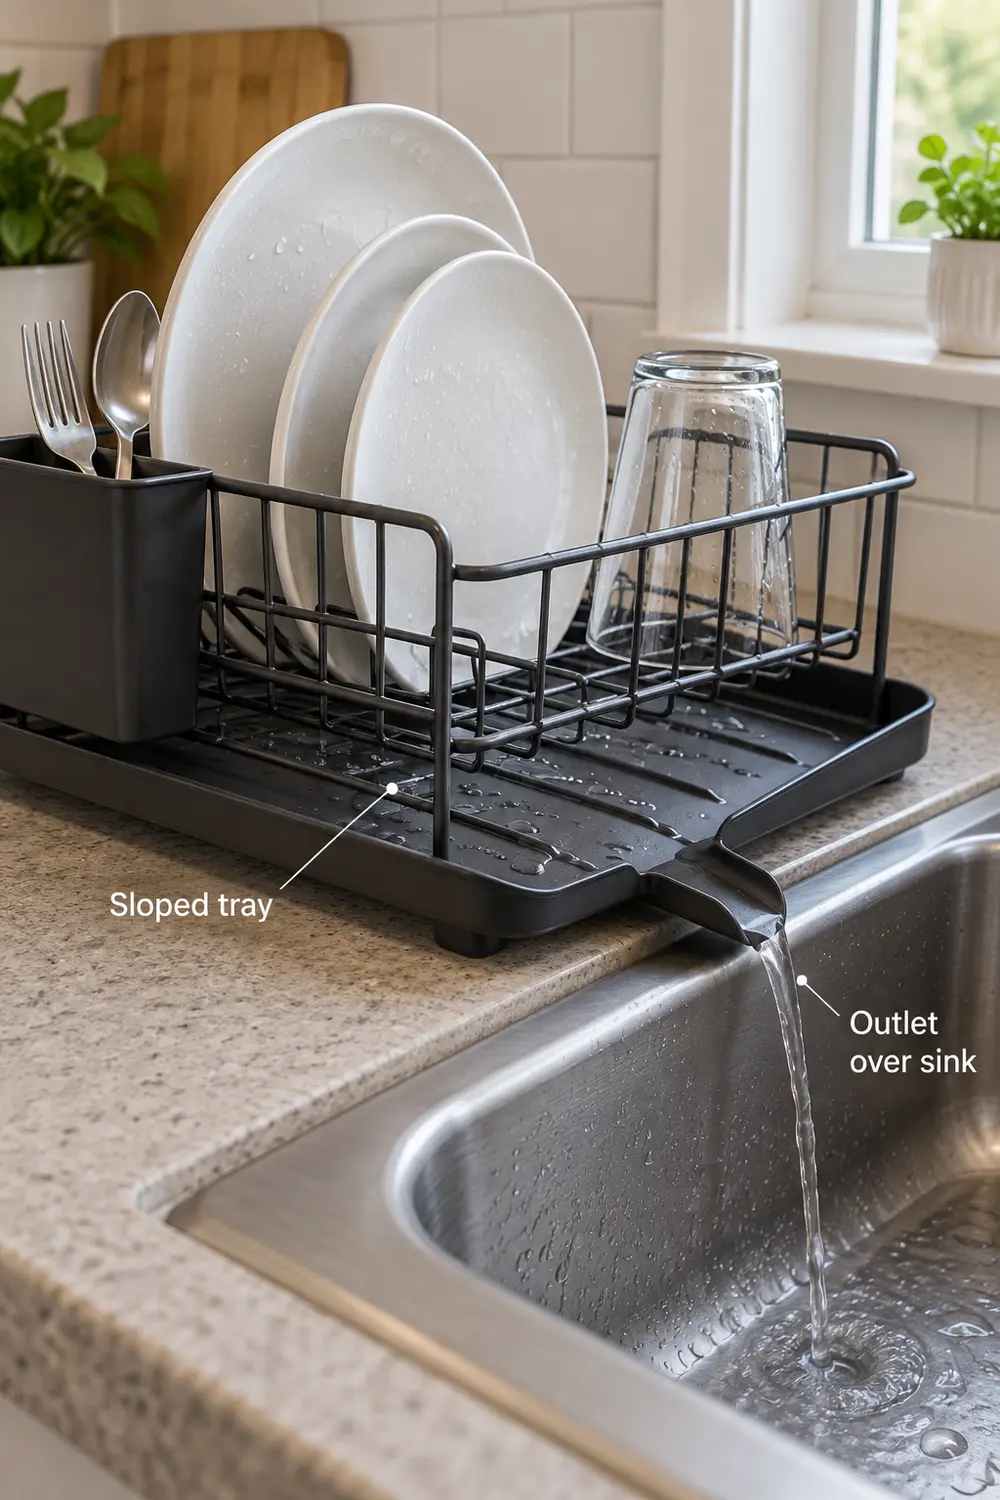
A thick sink rim can interrupt that route, so check compatibility rather than propping the rack on loose blocks. Choose a drainboard designed for the arrangement, or use a washable absorbent mat and replace it when wet. Mats contain drips but don’t drain themselves. Look beneath either setup after washing, especially near countertop seams and the wall.
8. Dry oversized pieces outside the main rack
A baking sheet laid across the rack can cover every plate and send water onto the counter. Give oversized pieces a separate, temporary spot on a clean drying mat or folded dish towel. Set a skillet securely with its handle fully over the counter, or stand a sheet pan in a support intended to hold it.
Don’t lean a heavy pan against a faucet or balance it at the counter edge. If there’s no safe drying footprint, towel-dry that piece with a clean, dry towel and put it away immediately, following its care instructions. This adds hands-on work, but frees the rack. Avoid making the stovetop your default drying area, where cookware can obstruct cooking or encounter residual heat.
9. Clean the tools instead of leaving them in the water
When the dishes are done, rinse debris from the brush, sponge, and reusable cloth rather than leaving them submerged in the basin. Clean each according to its care instructions, squeeze out excess water where appropriate, and give it an open drying position. A brush resting with its bristles in a puddle keeps the washing station wet.
A small washable holder with drainage is easier to maintain than a crowded caddy containing three old sponges. Empty and clean the holder too. Launder reusable cloths according to their care labels and let them dry completely before storage; replace tools that are worn out or remain unpleasant after cleaning. Keep dishwashing cloths separate from those used for floors or pet messes.
10. Close the drying station after unloading
Once dishes are dry, unload them, empty the drain tray, and clean and dry the sink and surrounding counter. Hang the mat to dry or store the dry rack if it is designed to fold. The endpoint is a usable sink and a recovered work surface—not a permanent display of clean dishes waiting to be put away.
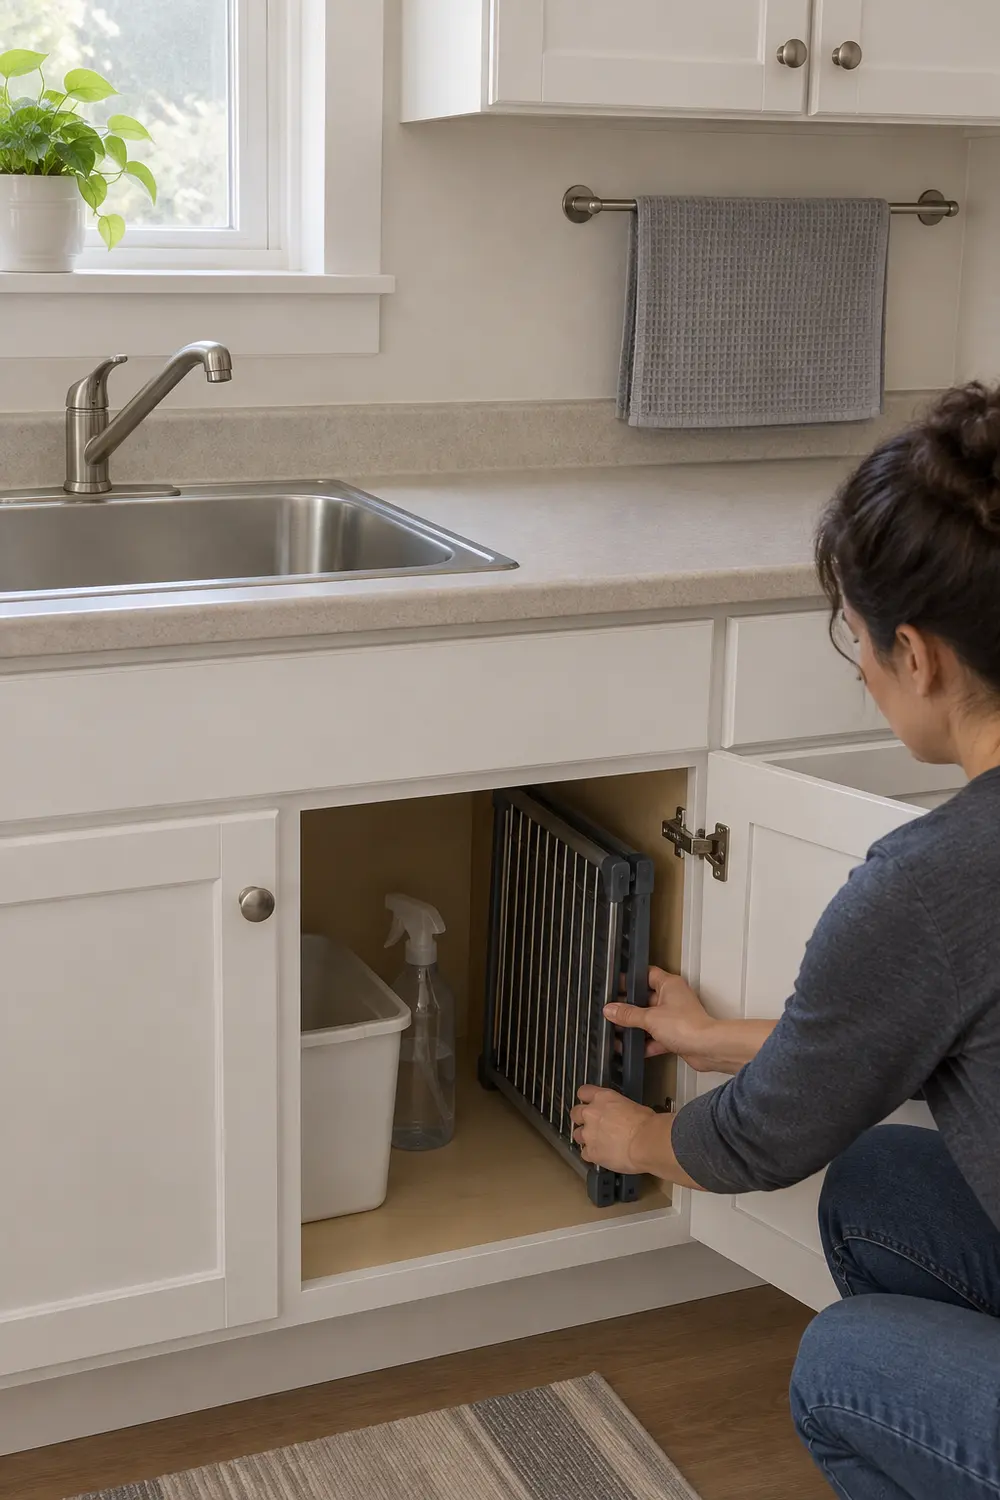
Give the rack an accessible storage slot, not a buried spot behind stockpots. If that means rearranging a lower cabinet, these ways to make deep kitchen cabinets easier to reach can help keep daily equipment near the front. A fixed rack is fine if you lack storage; unload it and dry underneath rather than forcing a daily packing routine you won’t maintain.
Start tonight by keeping the skillet out of the sink and sorting the smaller dishes into one manageable batch. Then watch where the process stalls: washing space, rinse access, or drying capacity. Fix that bottleneck first, using what you already own before adding another piece of equipment.
Leave a Reply