Category: Home Offices

  • When Home-Office Equipment Gets Too Hot in a Tight Nook

    When Home-Office Equipment Gets Too Hot in a Tight Nook

    The laptop fan gets louder after lunch, the dock sits behind a stack of mail, and the printer’s cabinet door stays closed because the desk faces the living room. Before buying a cooling accessory, trace where each device’s heat can actually go. A fan running during demanding work can be ordinary; repeated shutdowns, temperature warnings, or a fan that suddenly grinds deserve attention. Smoke, sparks, a burning smell, or battery swelling mean stop using the device—not rearrange around it.
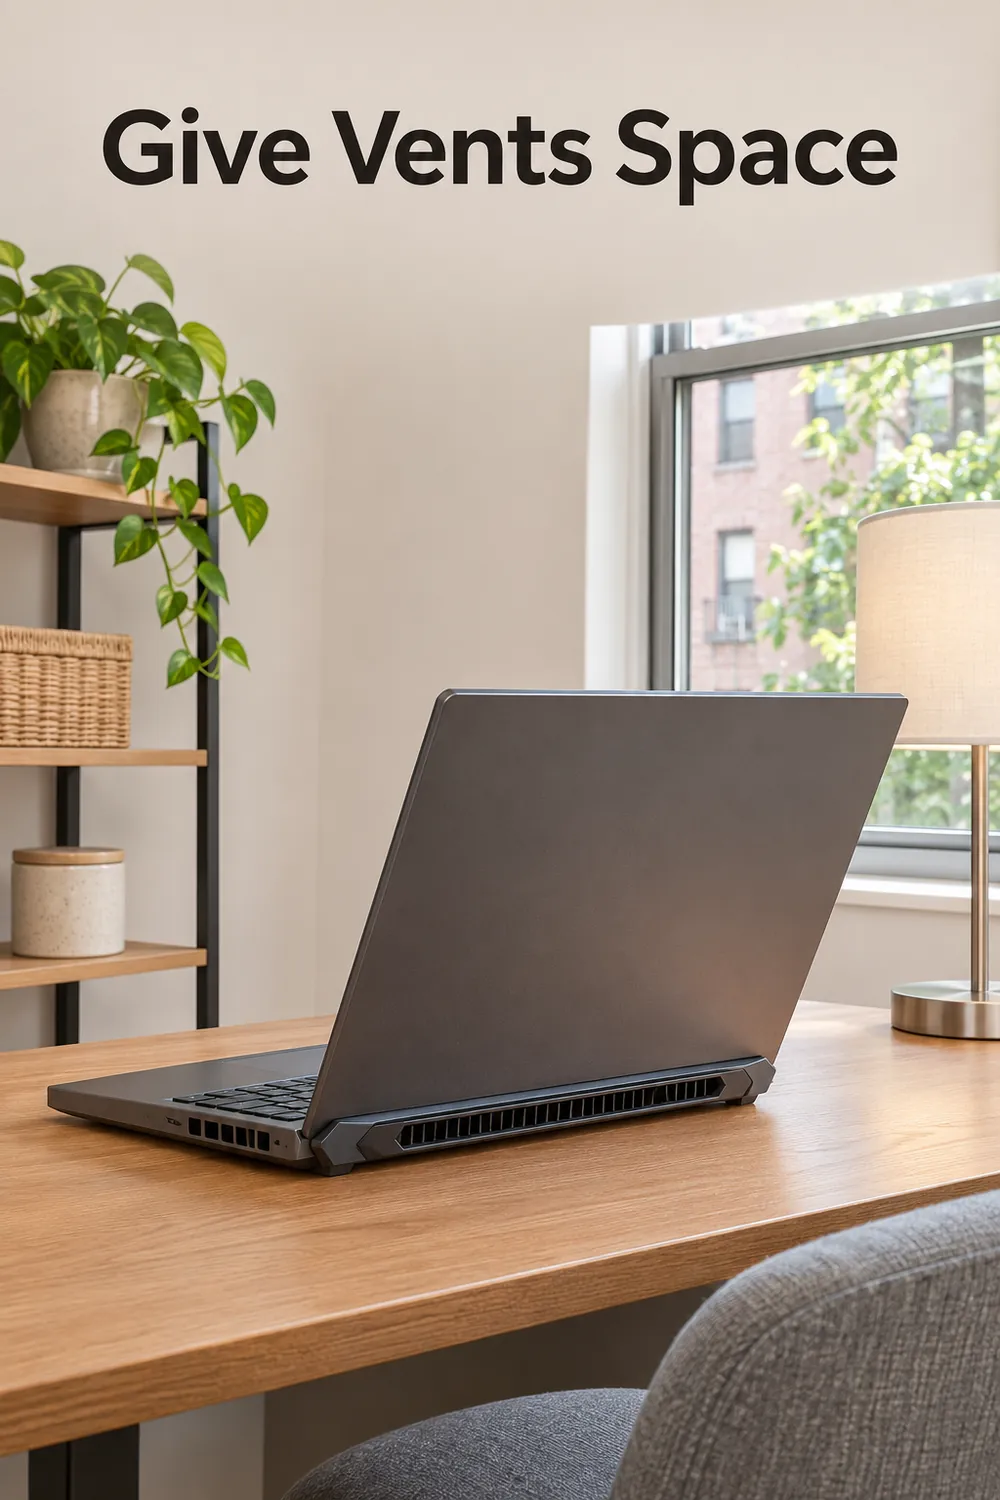
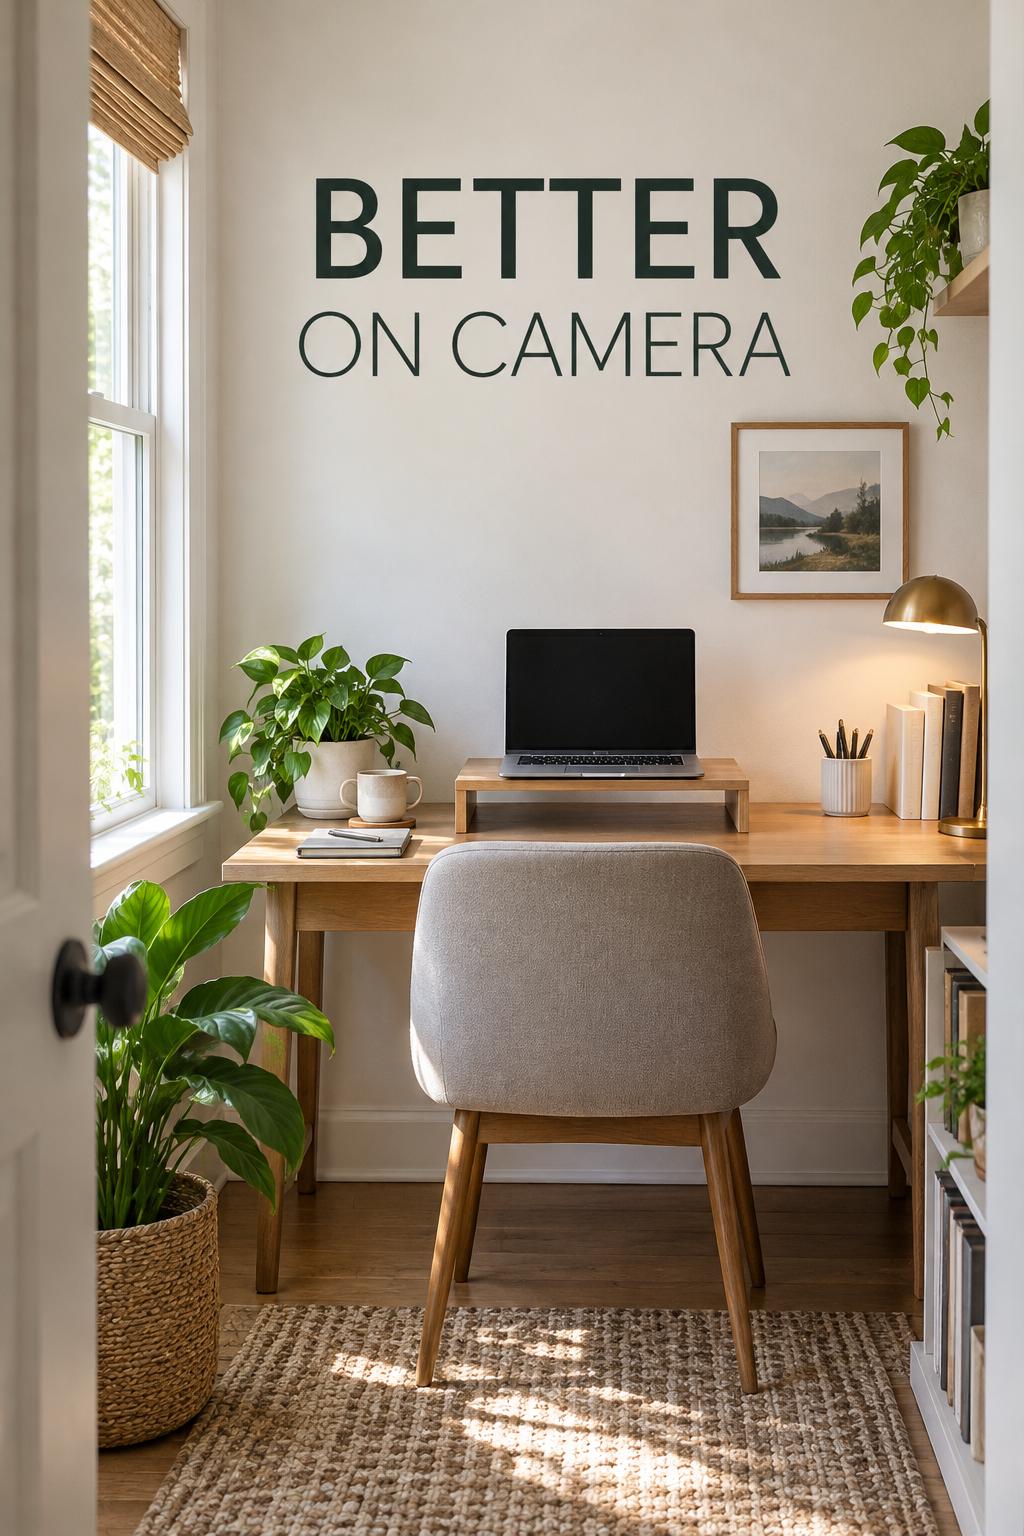
    Give Vents Space headline above an uncluttered laptop with visible vents.

    1. Map each device’s intake and exhaust

    Start with an inventory of everything powered in the nook: computer, monitor, dock, printer, external drives, router, and chargers. Find the exact model’s manual or manufacturer support page and identify its ventilation openings. A grille underneath a laptop may serve a different purpose from one beside the hinge. Appearance alone doesn’t reliably tell you which openings draw air in and which release it.

    Sketch a simple top view of the setup and mark the documented airflow directions. Include underside and rear openings that disappear once equipment is installed. On a small desktop computer, for instance, the intake might face a basket that looks harmless from your chair. Don’t insert anything into vents or use smoke to trace airflow; if the documentation is unclear, ask the manufacturer.

    2. Measure clearance against the actual instructions

    Check each manufacturer’s placement requirements before deciding that a finger-width gap is enough. With equipment shut down, measure from the relevant vent or case surface to the nearest wall, shelf, cabinet panel, or object, following the manual’s reference points. A tape measure reveals restrictions that a tidy-looking desk can hide, especially behind a monitor or beneath a shelf.
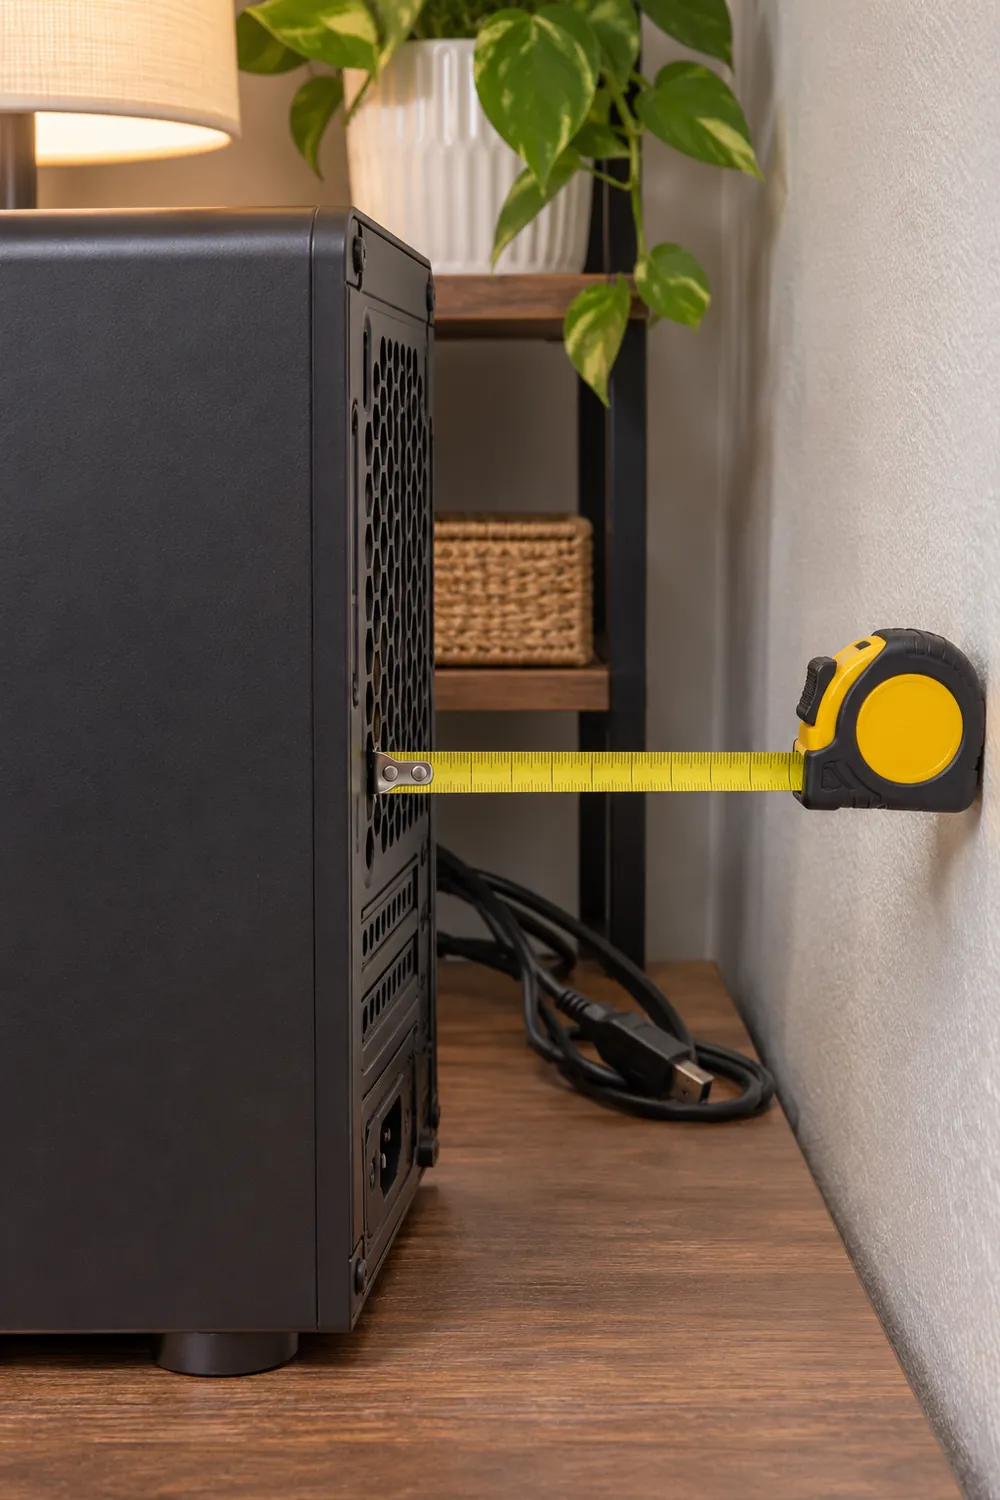
    A tape measure spans the gap between a computer's rear grille and a wall.

    If instructions call for several inches behind a device, moving it forward may leave cords exposed or reduce your usable surface. That is a real tradeoff, not a reason to ignore the requirement. Measure the furniture and available room before shifting anything, including door swings and access routes. Keep cables slack enough for the new position without pinching them behind furniture or obstructing a walkway.

    3. Give the laptop a firm, uncovered base

    Move a working laptop off a bed, upholstered chair, folded blanket, or padded sleeve. Soft materials can press against underside vents and interfere with the space provided by the laptop’s feet. Use a stable, hard surface that supports the entire machine. At a desk squeezed beside a sofa, returning the laptop to the bare desktop may be the simplest useful change.

    A stand is optional, and its platform or support rails must not cover the model’s vents. Check that it holds the laptop securely and follows the manufacturer’s placement guidance; balancing it on books or a narrow box creates a different problem. Keep fabric desk mats out from beneath vented equipment when they obstruct airflow. A stand cannot compensate for a blocked exhaust or an unsuitable cubby.

    4. Open—or retire—the equipment cubby

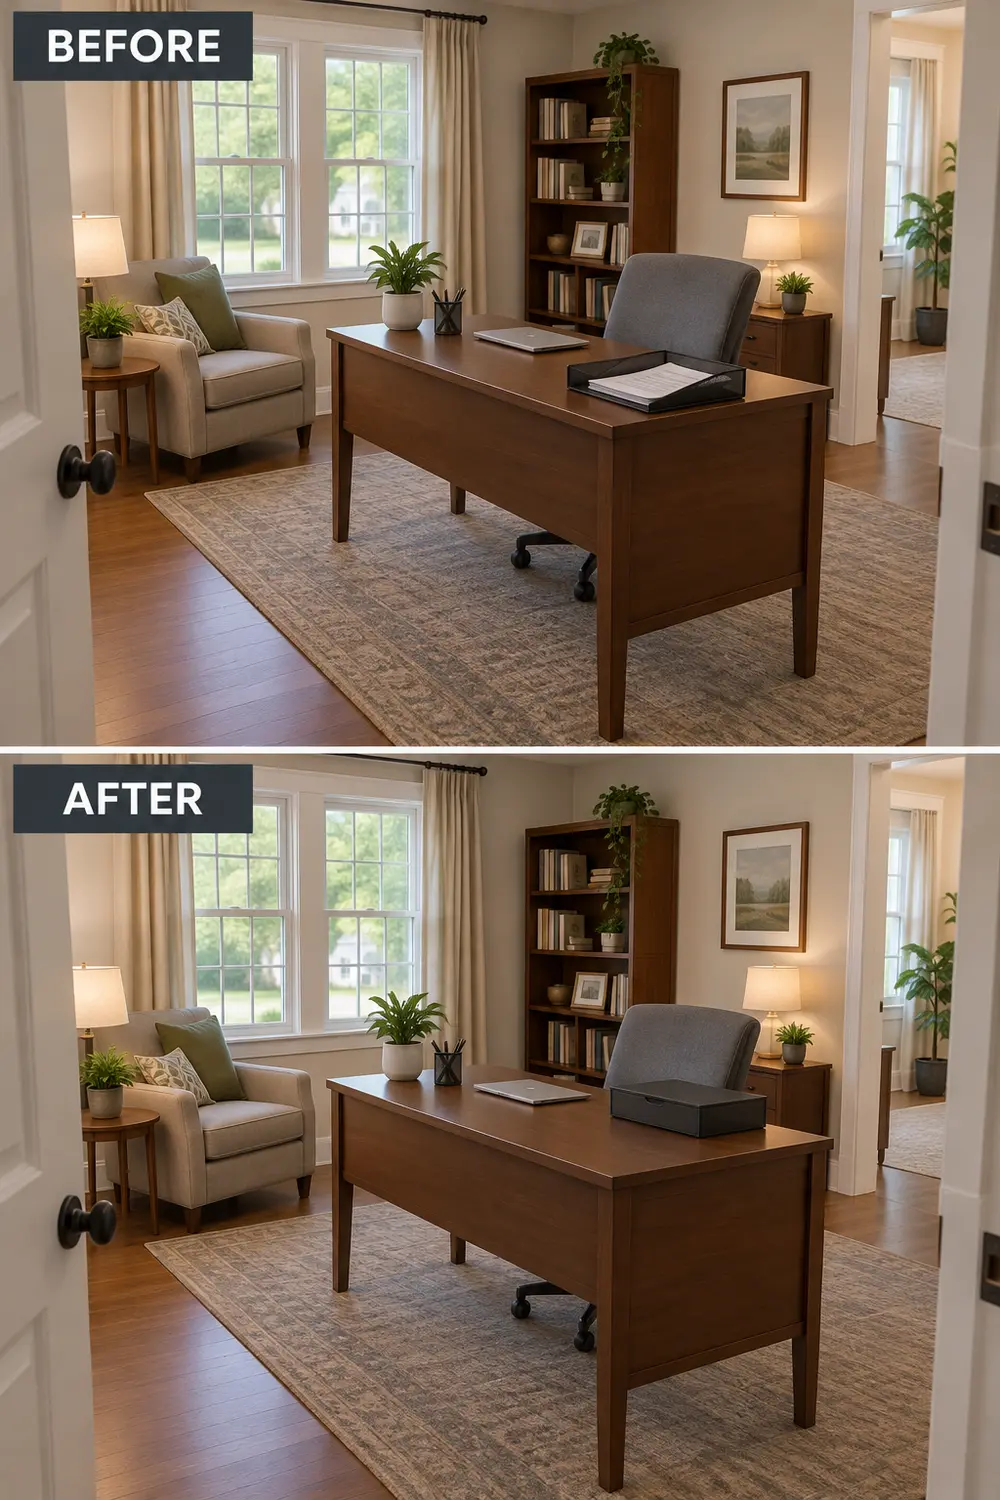
    A cabinet that hides a computer can also hold its exhaust close to the intake. If the equipment instructions allow that installation, open the cubby during operation and check every required clearance, including behind and above the device. A front door alone may not be the problem: a shallow, solid-backed compartment can remain unsuitable even with its door fully open.
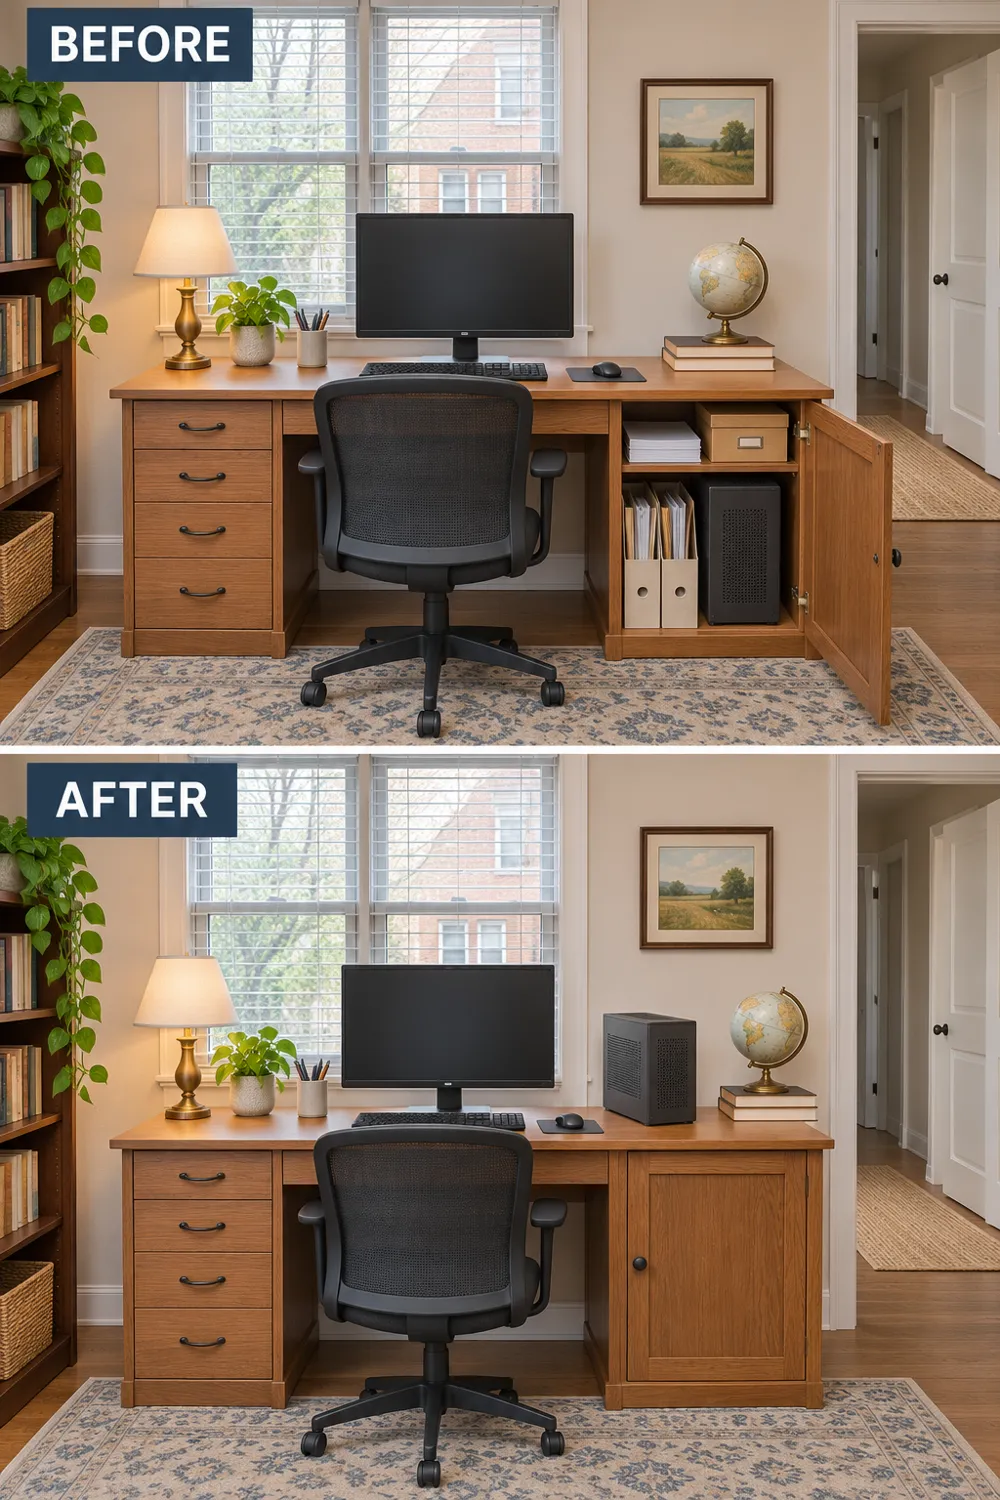
    Before and after relocating a computer from a cabinet to an open desktop.

    When the compartment cannot meet the instructions, move the powered equipment out and reserve the cubby for supplies. Avoid treating an open door as proof of adequate ventilation. In a shared workspace, make opening an approved enclosure part of the start-of-work routine; the same kind of checklist used for a shared desk’s daily handoff can keep someone else from closing it mid-session.

    5. Stop one device’s exhaust from feeding another

    Use your airflow sketch to look for a hot-air relay. A compact computer exhausting directly toward a dock’s intake gives the second device warmer air to work with. Reposition one device so its exhaust has an unobstructed path away from the other’s intake, while retaining all required clearances. Sometimes a small sideways move helps more than moving both devices farther from the wall.

    Check the result from behind the desk, not just from your seated position. Cable bundles, a monitor base, and the nook’s side panel can redirect or trap exhaust. Rotate equipment only into orientations the manufacturer permits; not every computer or drive can stand on its edge. Don’t build cardboard ducts or aim an improvised electrical cooling setup into the gap. Fix the placement rather than concealing the restriction.

    6. Keep power adapters out of hiding

    Find the power bricks that have slipped beneath papers, into a fabric cable pouch, or behind a cushion. Keep adapters uncovered on stable surfaces in locations consistent with their instructions. A laptop charger can become warm in normal use, but wrapping it in a sleeve while charging prevents its case from shedding heat as intended. Leave the sleeve for storage after use.

    Separate adapters rather than piling them together, and leave their cords free of furniture pressure and sharp bends. An open cable tray is useful only if the manufacturer permits the placement and the tray doesn’t become a packed bin. Keep adapters away from spills and reachable without dismantling the desk. Replace damaged equipment through approved channels; never open a power supply or modify its casing to add ventilation.

    7. Unstack equipment that produces heat

    Give heat-producing devices their own supported positions instead of stacking a dock, external drive, and mini computer into one tidy tower. Even without an exhaust pointing into an intake, close stacking can cover vents or hold warm surfaces together. Spread the devices across an existing shelf or desktop, with each unit in an approved orientation and the specified space around it.
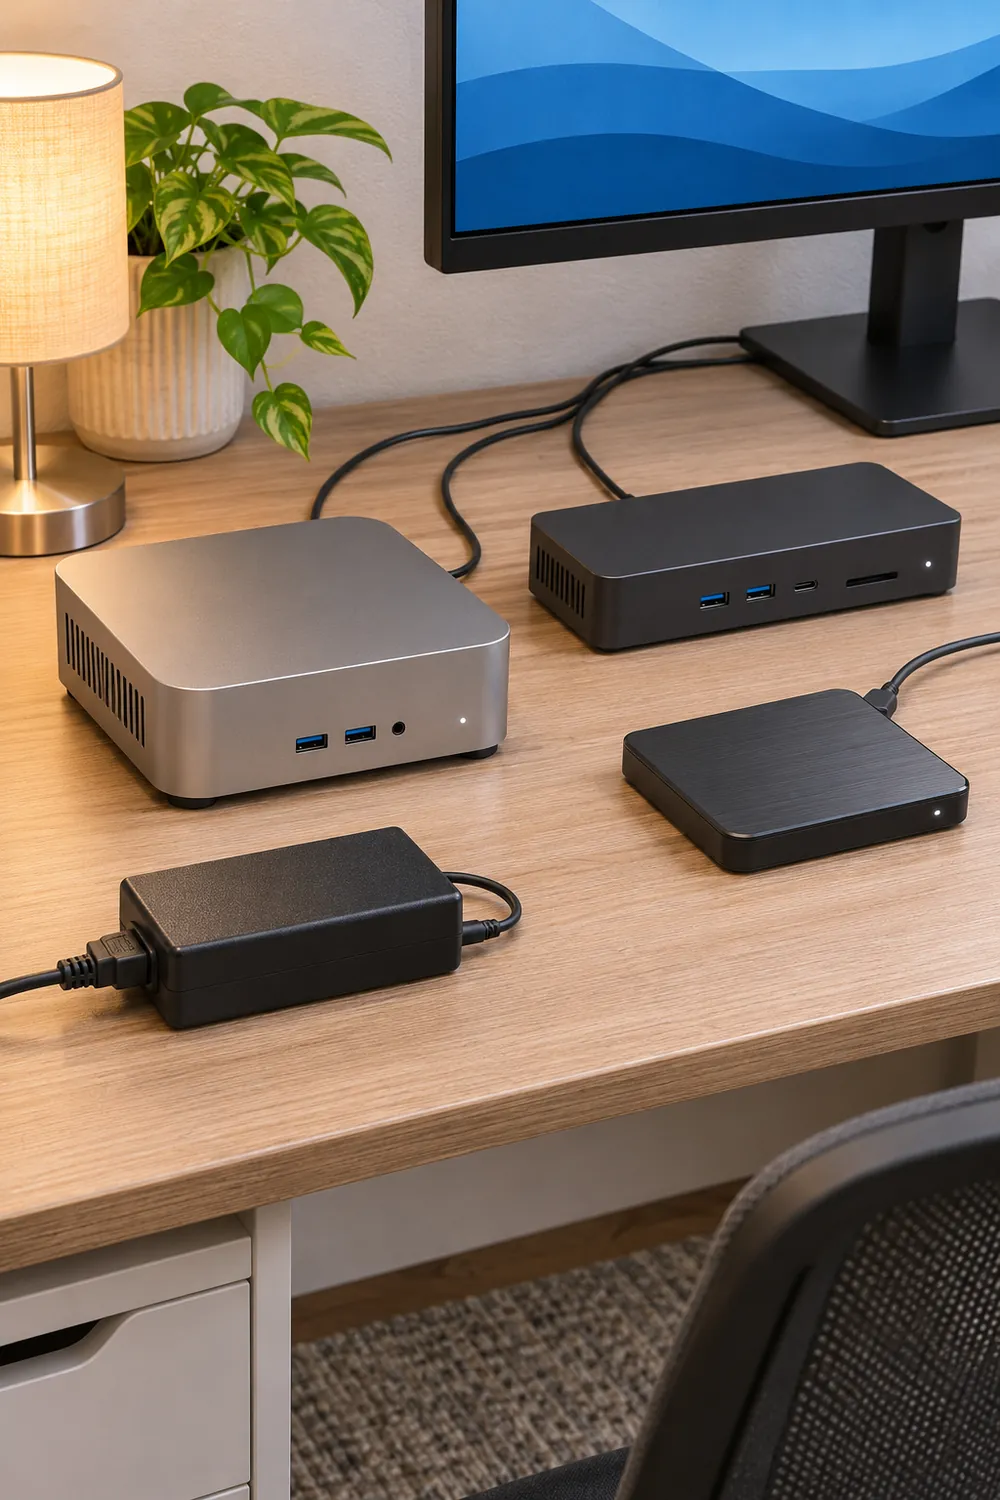
    A mini computer, dock, and external drive rest separately on a desk.

    This costs surface area, so move low-use paper storage before buying more furniture. A sturdy existing shelf may help if it meets placement requirements and leaves equipment accessible. If spreading equipment makes the work area dominate a shared room, borrow the boundary-setting approach in planning a desk in a small living room, but don’t restore a cramped stack just to hide work.

    8. Move equipment out of direct sunlight

    Notice where sunlight lands during your actual working hours. A computer that stays shaded at breakfast may sit in a bright rectangle by midafternoon. Move the device out of that beam without trading sunlight for a blocked vent. On a narrow desk, shifting the computer to the opposite side may be enough; confirm that cables reach without strain.

    If equipment cannot move, use an existing shade or curtain to interrupt direct sun, keeping fabric away from devices and ventilation openings. Check the manufacturer’s operating-environment limits as well. Blocking a sunbeam removes one source of added heat, but it doesn’t make an enclosed cabinet suitable or solve an internal fault. Never drape a cloth over a computer as a sun cover while it operates.

    9. Investigate symptoms that placement changes don’t resolve

    A fan getting louder during a video export or long call is not, by itself, proof of overheating. Follow the manufacturer’s guidance for temperature warnings, repeated thermal shutdowns, unusual fan behavior, or persistent performance problems. Note the task, warning message, and device involved, then use approved diagnostics or contact support. Don’t rely on touch alone or an arbitrary temperature found online to diagnose the problem.

    Stop using equipment that shows smoke, sparks, a burning smell, battery swelling, or other signs of damage. Disconnect power only if safe; don’t handle a smoking or swollen device, and seek emergency help for fire or immediate danger. For recurring warnings without those danger signs, follow shutdown instructions and arrange manufacturer-approved service. Repeatedly restarting to finish a deadline is not a troubleshooting method.

    10. Clean only the vents you’re instructed to service

    Once the layout is workable, inspect accessible exterior vents for dust and pet hair. Shut down and disconnect equipment as its instructions require, then use only the cleaning method the manufacturer specifies. For a device whose instructions permit exterior wiping, gently clean around the vent with the recommended dry cloth. Keep liquids, tools, and loose debris out of the openings.
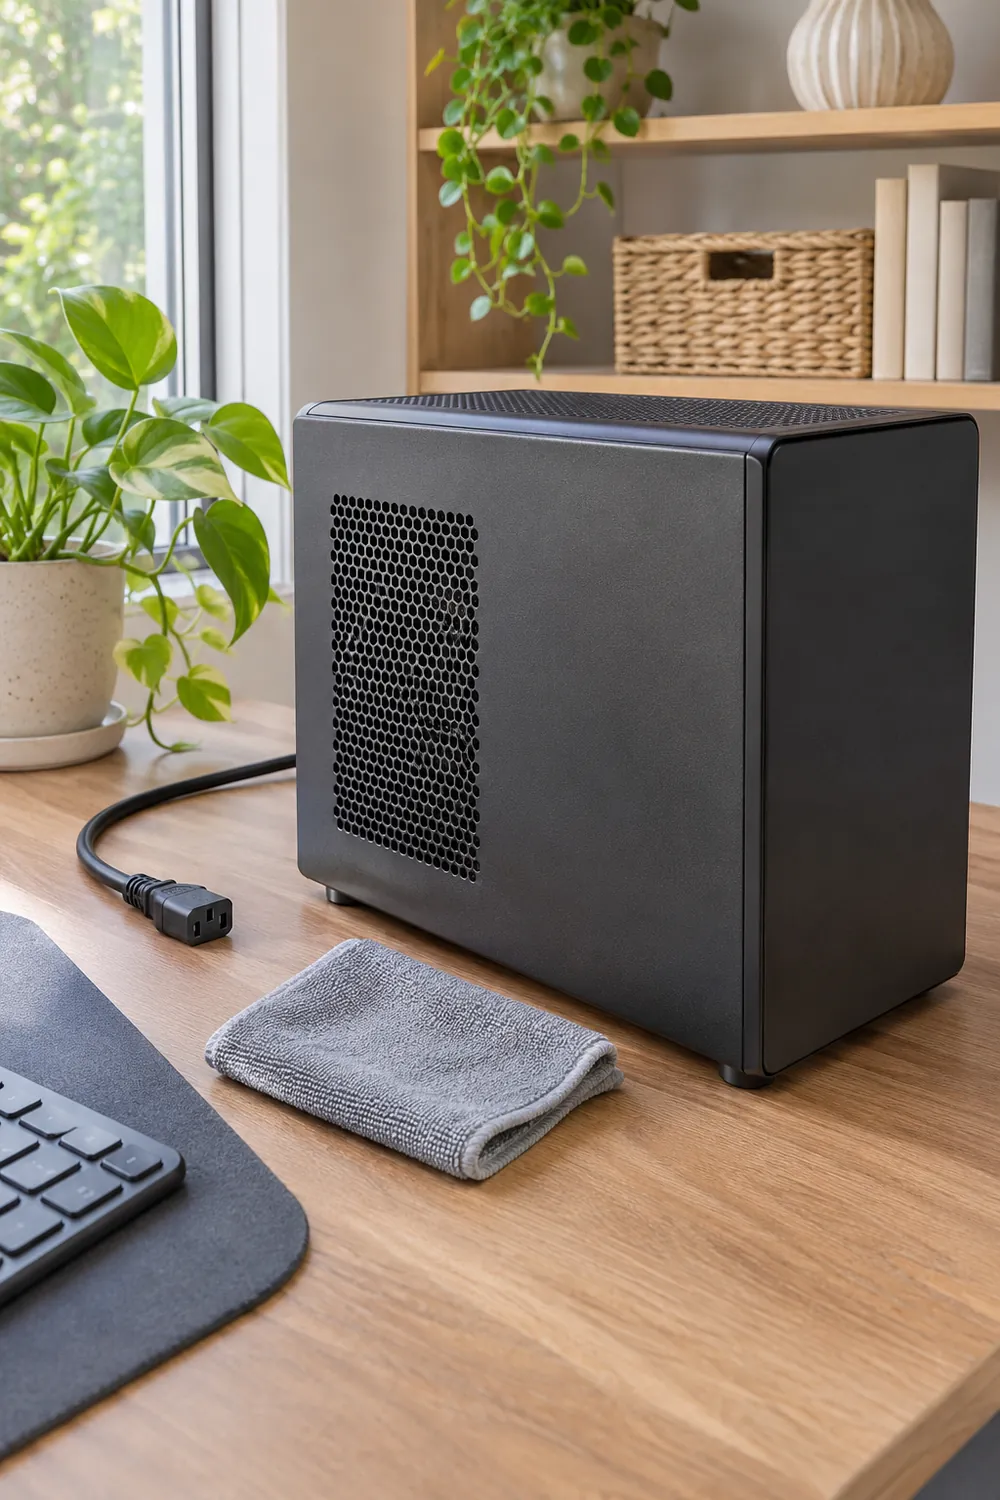
    An unplugged desktop computer stands beside a cloth for exterior vent cleaning.

    Don’t assume compressed air, a household vacuum, or removing a panel is approved for your model. If debris is beyond the user-serviceable area, leave it to authorized service rather than probing through a grille. Keep enough access to inspect the vent again without emptying the whole desk. Check periodically and adjust to visible buildup, especially in a nook near pet bedding or a lint-shedding rug.

    Start with the device showing symptoms: find its vent diagram and placement requirements, then compare them with the nook as it actually operates. Correct the clearest obstruction first. If warnings continue despite an approved setup, stop rearranging and seek diagnostics or service.
  • Keeping Client Paperwork Private in a Home Office Without a Door

    Keeping Client Paperwork Private in a Home Office Without a Door

    You step away to answer the door, leaving a client’s paperwork beside the laptop. In a living-room office, that page is now within sight of a guest, a child, or someone walking to the kitchen. Privacy needs a routine, not just a tidy-looking desk. Start with your employer’s requirements: they take precedence over these suggestions, including rules about bringing records home, printing, storage, transport, and destruction. If home paper handling isn’t permitted, a locking drawer doesn’t make it acceptable.

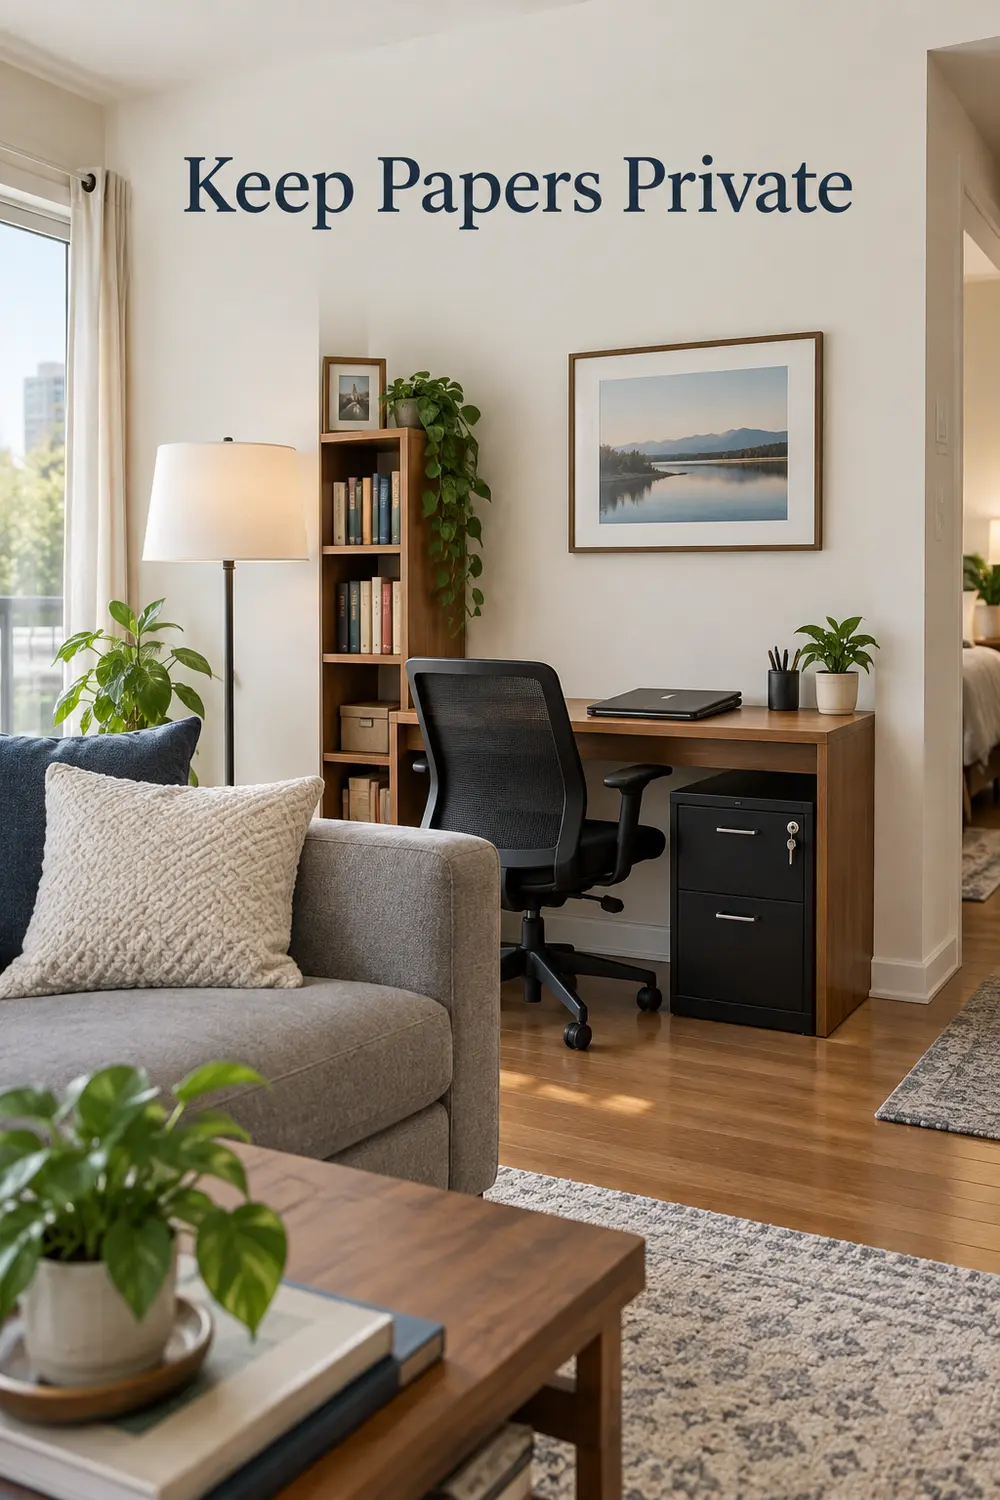
    An open living-room office keeps a closed work folder away from the visitor sightline, with locked storage below; headline reads “Keep Papers Private.”

    1. Reduce the paper that enters the nook

    The easiest page to protect is one you never print. Before starting a task, ask whether it can stay in your employer-approved digital system. Read a brief on screen, use approved electronic signatures when available, and avoid printing a whole packet for one reference page. Don’t substitute personal email, cloud storage, or a phone scan just to make paper disappear.

    Give incoming mail a deliberate intake point rather than letting it mingle with grocery flyers. Open work envelopes yourself, separate the necessary contents, and handle identifying envelopes according to the same disposal rules as their contents. Paper reduction may require changing a familiar habit; if a screen makes comparison work awkward, print only the permitted pages you actually need.

    2. Separate today’s active file from everything else

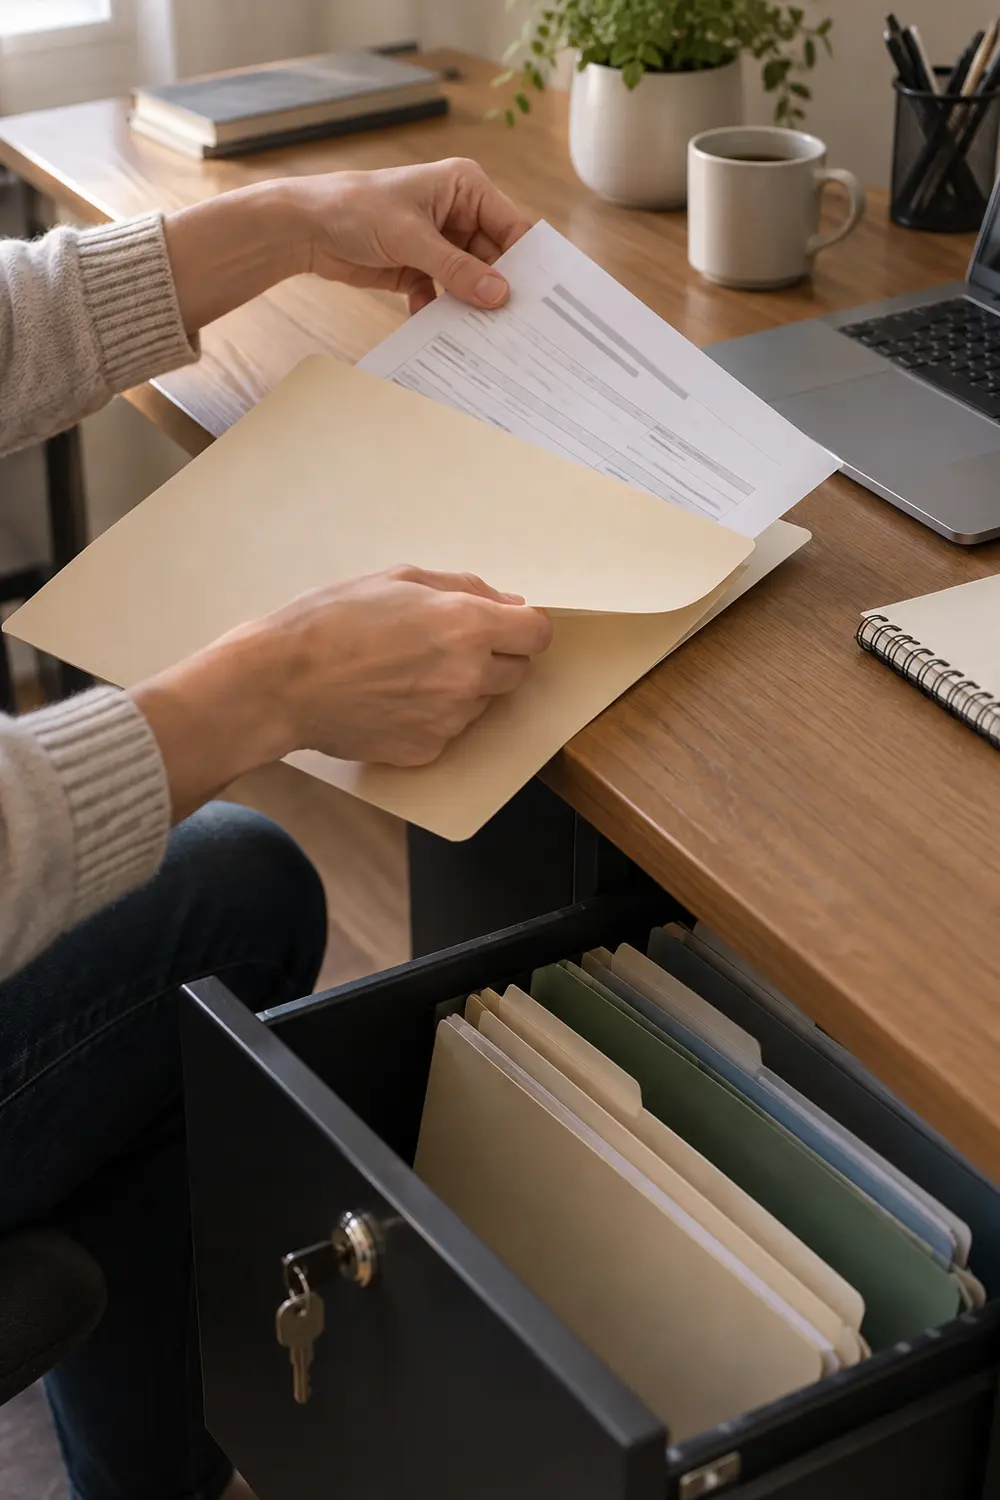
    Keep one current task in a closed, opaque folder, with other records in approved locked storage. When you switch clients, put the first file away before opening the next. This limits what is exposed and reduces the chance of slipping one client’s page into another packet. A folder containing only today’s appointment paperwork is easier to account for than a mixed stack.

    Hands return one active paper file to an opaque folder while other closed files remain separate in a lockable drawer.

    Use neutral labels or employer-approved identifiers rather than client names displayed across folder tabs. Keep any identifier key in the approved system, not on a sticky note beside the folders. A closed folder provides visual cover, not access control: whenever the papers would be unattended or accessible to others, return them to locked storage as your workplace rules require.

    3. Choose storage for the required protection, not just the fit

    Check what your employer means by secure storage before buying anything. A permitted locking file box may suit a few folders; a locking drawer may be more convenient for daily use. Neither is automatically sufficient for sensitive records, and a lightweight box can be carried away. Confirm any required lock, cabinet, anchoring, or room-security specifications rather than assuming a household furniture lock qualifies.

    Measure the nook, furniture, drawer extension, and access route before committing. A cabinet that fits under the desk but cannot open without moving your chair will invite shortcuts. Follow manufacturer stability and anchoring instructions, and resolve rental restrictions before purchase. Store keys away from household access, not in the lock or a nearby pencil cup; keep combinations private too.

    4. Move document trays out of passing sightlines

    Look at the desk from the places other people actually stand: the entry, sofa, kitchen doorway, and video-call camera position. Move an open tray from the public-facing edge to the desk’s inward side, or replace it with an opaque lidded tray for attended work. Test with a fictional page, not a real client record, to see what remains visible.

    Before, a tray exposes paperwork toward the entry; after, an opaque lid and inward placement hide the contents from the same viewpoint.

    Sightline changes reduce casual viewing; they don’t stop someone from reaching over. Avoid treating a screen, curtain, or stack of books as secure storage. If rearranging the nook also improves household circulation, these ways to define a living-room work area can help establish its footprint. Keep exits, vents, and heaters clear as you adjust the arrangement.

    5. Print only when you can collect the pages

    Treat printing as an attended task: send the job, collect every sheet immediately, and check the output tray before leaving. Don’t start a sensitive print job on your way to school pickup. With a shared household printer, reserve a moment when you can stand nearby, and confirm that the selected device is the intended, employer-permitted printer.

    Check page counts and retrieve misprints, duplicates, and pages caught during a jam, following the printer’s instructions. Those sheets need the same protection as the finished packet. A printer closer to the desk may help, but don’t crowd out working room or ventilation; these small-desk layout adjustments offer ways to preserve usable space without piling equipment around your hands.

    6. Cover papers whenever they travel

    Use an opaque, fully closing folder or permitted document case when carrying paperwork between the printer, desk, and locked storage. Loose pages held against your chest still expose the back sheet and can scatter when you reach for a handle. For a short trip across the apartment, a closed flap folder keeps the packet together and conceals its contents.

    Leaving home is a separate decision governed by your employer’s transport rules, not an extension of household filing. Use any required approved carrier and keep it under your control. Don’t leave it in the entryway with shopping bags or assume an opaque envelope makes unattended car storage acceptable. Extra packaging adds a step, but prevents exposed pages from becoming your carrying method.

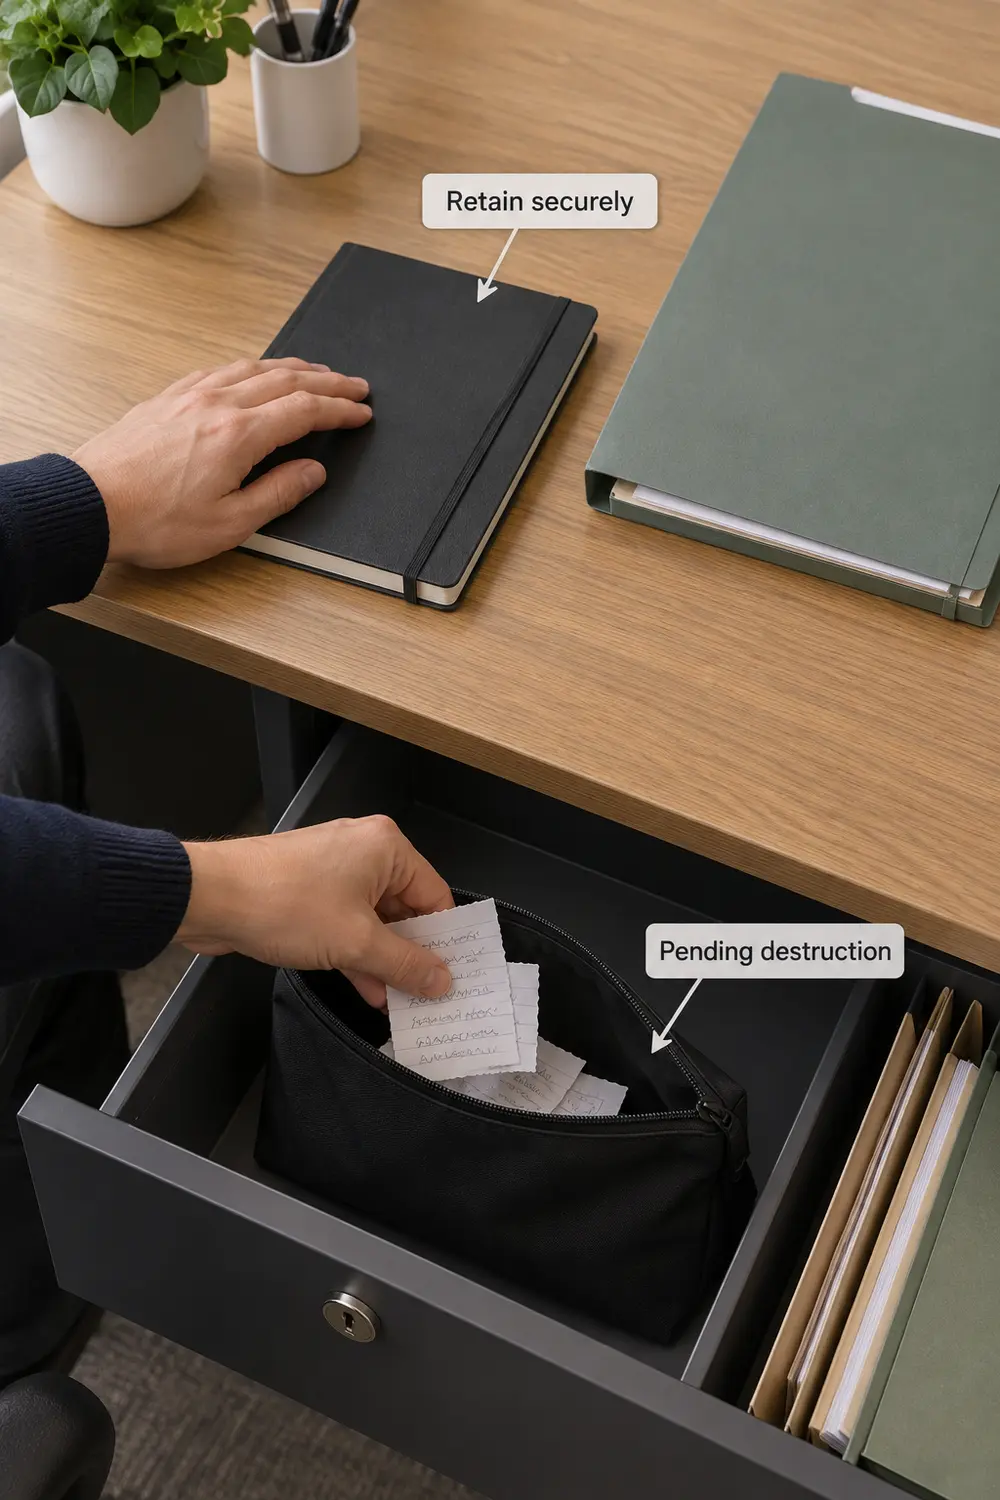
    7. Give handwritten notes the same protection as printed records

    A callback number scribbled on a pad can be just as revealing as a printed form. Use one work-only notebook or permitted note system rather than scattered sticky notes. Close it when interrupted and lock it away when unattended. A reusable cover can shield a page during attended work, but the notebook still belongs in secure storage when you leave.

    A work notebook is separated from loose notes being placed in an opaque destruction pouch inside a lockable drawer.

    After a call, move necessary information into the authorized record if your process allows, then handle the original notes under the retention policy. Don’t assume transcription permits immediate destruction. Keep work details off the household calendar, fridge, and shared shopping pad. Tearing off the top page is not a reliable privacy fix, since handwriting impressions may remain on the sheet beneath.

    8. Set retention rules before the drawer fills

    Ask your employer which records must be kept, where the official record belongs, and who authorizes disposal. Include handwritten notes, working copies, envelopes, and duplicate printouts in that conversation. Don’t invent a household rule such as keeping everything for a year: requirements differ, and instructions to preserve particular records can override an ordinary destruction schedule.

    Translate the approved policy into a simple review routine. If permitted, mark folders with a neutral review date and check them on a scheduled day, without exposing client names on the cabinet exterior. A review date means assess, not automatically discard. When storage approaches capacity, arrange an approved transfer or disposal instead of letting overflow migrate into an unlocked closet.

    9. Lock up the material awaiting destruction

    Create a distinct, secured place for papers approved for destruction. An opaque pouch inside your permitted locked cabinet can separate them from active files; a dedicated locked collection container may be required instead. Never use an open wastebasket under the desk. A visitor emptying trash—or a child looking for drawing paper—shouldn’t encounter a rejected client printout.

    Follow the employer-approved destruction method and timing. A household shredder is suitable only if it meets those requirements; tearing sheets by hand is not a substitute. If records must go back to an office or approved service, arrange that route before the container fills. Follow equipment instructions and keep children and pets away during shredding. Don’t let a disposal backlog become permanent storage.

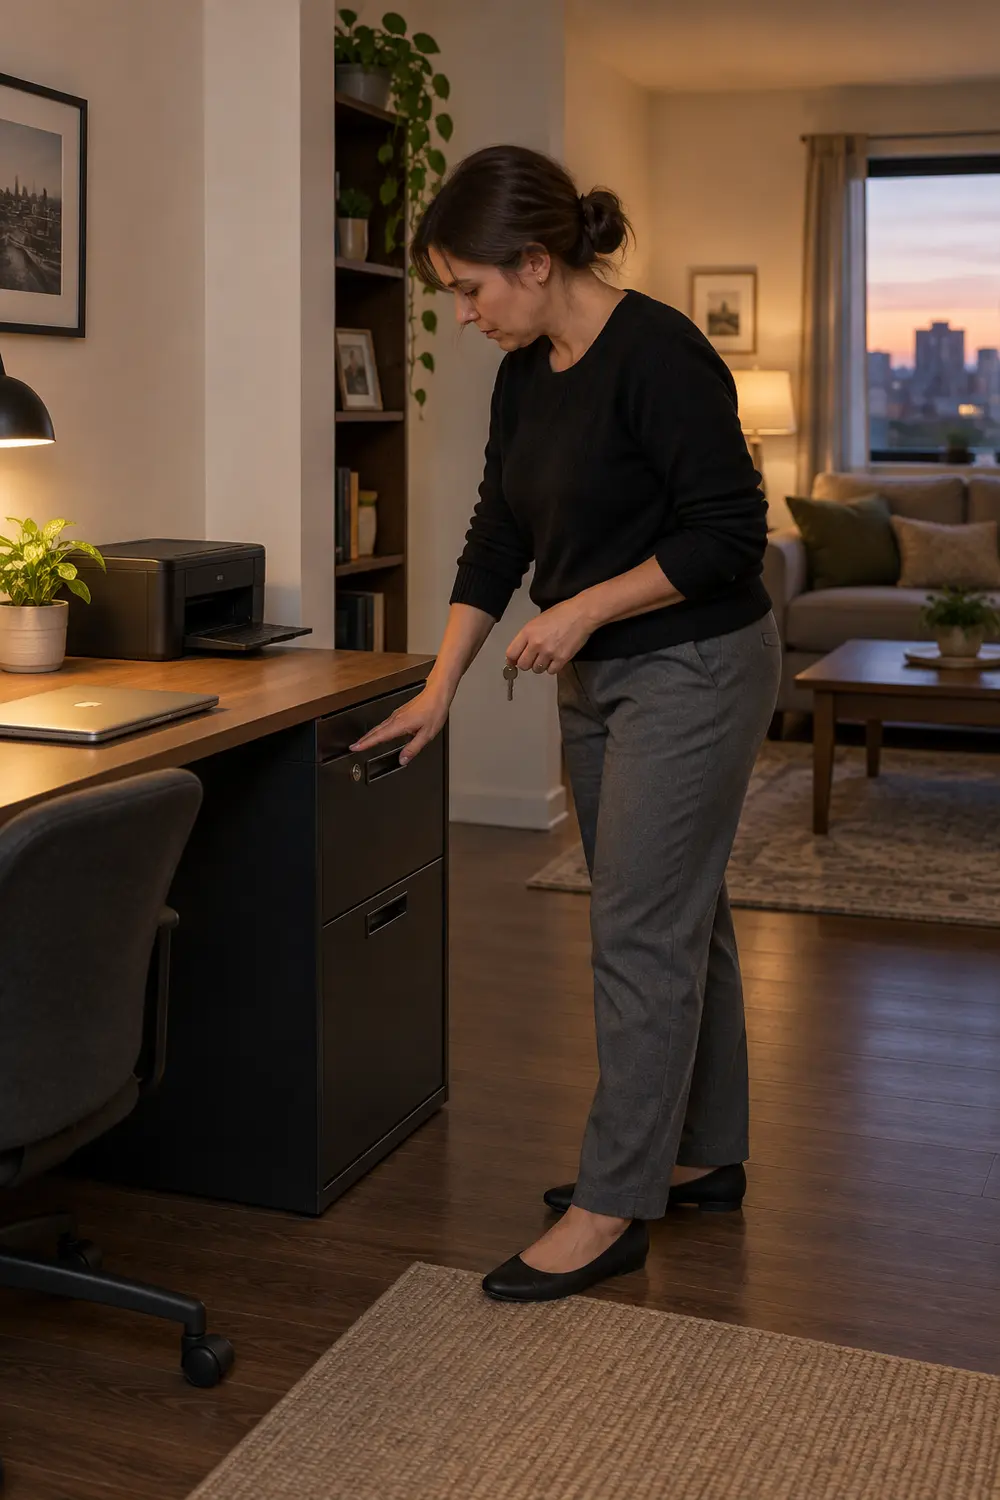
    10. Finish with a repeatable clear-desk check

    Close the workday by checking the same places in the same order: desktop, printer, notebook, transport folder, and pending-destruction container. Return retained papers to storage, secure disposal material, lock the cabinet, and remove the key. Look from the room’s public side once more. A page tucked under a keyboard or left on the chair can escape a quick glance from your usual seat.

    At day’s end, a worker checks the locked file drawer with the key removed; the desktop and printer tray are clear.

    Use a short reminder with no client information if the sequence is easy to forget. Build a shorter lock-away version for lunch, deliveries, and other interruptions; the evening routine doesn’t excuse daytime exposure. Ask household members not to use work paper or move folders, while recognizing that a family agreement supports physical safeguards rather than replacing them.

    First, confirm what paper handling your employer permits. Then walk from the entry to your desk and identify where a page could be seen or picked up. Establish an approved locked destination before adding trays, folders, or more storage.

  • Two People, One Home-Office Desk: Make the Daily Handoff Easier

    Two People, One Home-Office Desk: Make the Daily Handoff Easier

    Your partner’s meeting ends at nine, and yours starts at nine-oh-five. The chair is too low, the monitor faces the wrong way, and the cable you need has disappeared behind the desk. Sharing one workstation at different times can work without making every changeover a small setup project. The aim is not an identical setup for both people: it’s a reliable way to move between two comfortable arrangements.

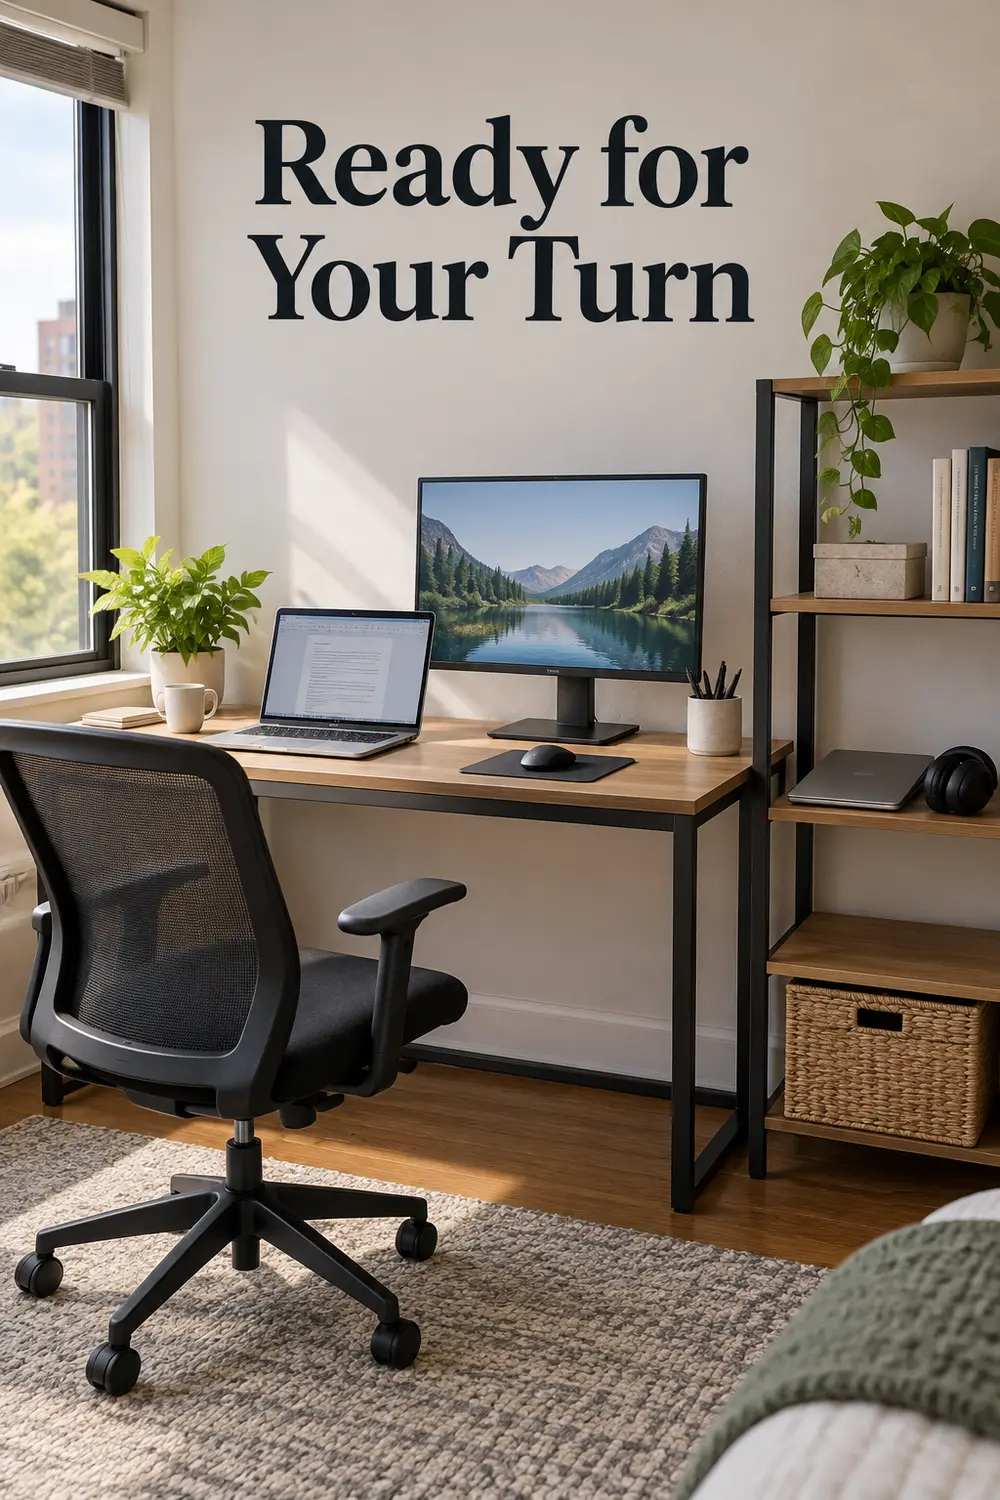
    Shared desk with an inactive laptop parked on a side shelf beneath the headline “Ready for Your Turn.”

    1. Record chair settings instead of rediscovering them

    Start with the adjustments your existing chair actually offers. Each person should sit at the desk, try the keyboard and mouse, and find a comfortable combination of seat height, back support, and armrest position. Record those settings on a small card kept in the desk drawer. A note such as “seat level with lower drawer handle” can be more useful than an unexplained lever position.

    Use removable marks on stationary surfaces only where they won’t interfere with moving parts. For adjustments without a readable scale, a quick phone photo may help. One person might also need a movable footrest that the other parks beside the desk. If the chair cannot accommodate both users comfortably, documenting its settings won’t fix that limitation; try another chair before adding more setup rituals.

    2. Give each person a repeatable monitor position

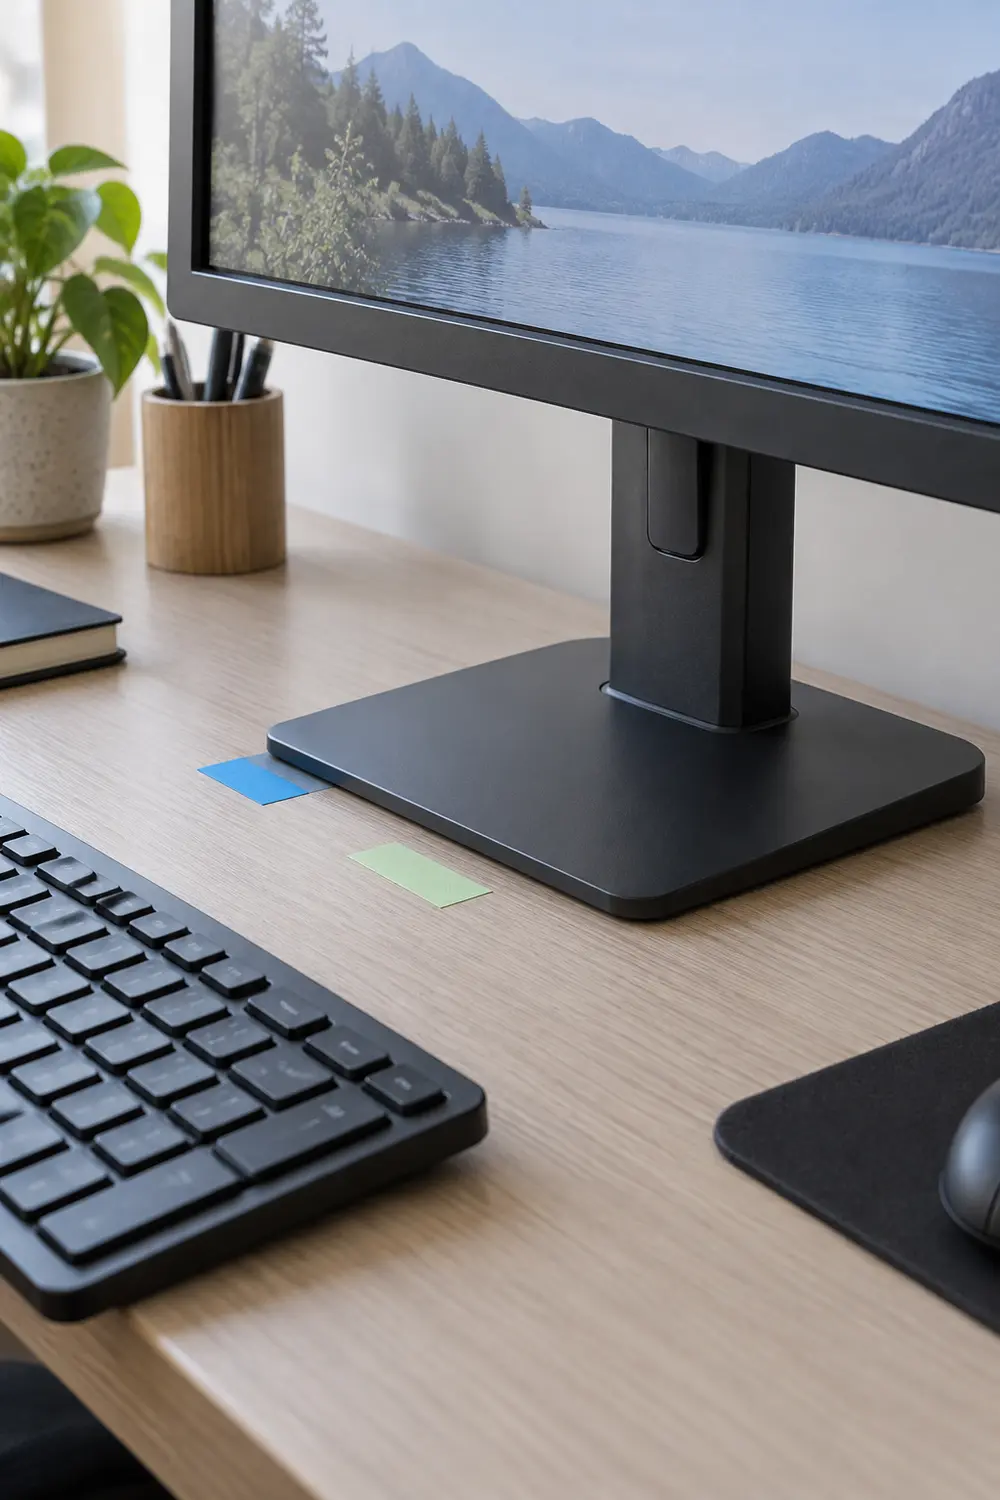
    Find each person’s monitor position while they are seated in their own chair setup, not while standing over the desk. Adjust height, distance, and angle until the screen is comfortable to read without leaning forward. Small, removable tape tabs beside a sliding monitor base can identify two positions. On a stand with a height scale, record the setting instead of adding tape to its mechanism.

    Two colored tape tabs beside a monitor base mark each person’s preferred screen position.

    Different eyesight, screen tasks, and sitting positions mean there is no single distance or height to prescribe here. Check that cables have enough slack for both arrangements without pulling on ports. If a deep monitor base leaves too little room for your hands, these ways to reclaim desk depth and comfort address the surface itself. Don’t install a monitor arm without checking its mounting requirements and your desk’s suitability.

    3. Separate input devices when preferences genuinely differ

    A shared monitor doesn’t require a shared mouse and keyboard. A left-handed user, someone who relies on a number pad, or a person who prefers a trackball may benefit from their own devices. Keep each set together, including its receiver or charging cable. Two inexpensive labels on the undersides can prevent the daily question of which nearly identical mouse belongs to whom.

    Before duplicating everything, test whether one shared keyboard works well for both people. Extra devices need storage and charging, and wireless models can reconnect to the wrong computer. Check device-switching instructions and practice the changeover. If you keep personal sets, make swapping them one deliberate step rather than leaving two keyboards on the desk and asking the incoming user to work around yesterday’s arrangement.

    4. Standardize docking around both computers

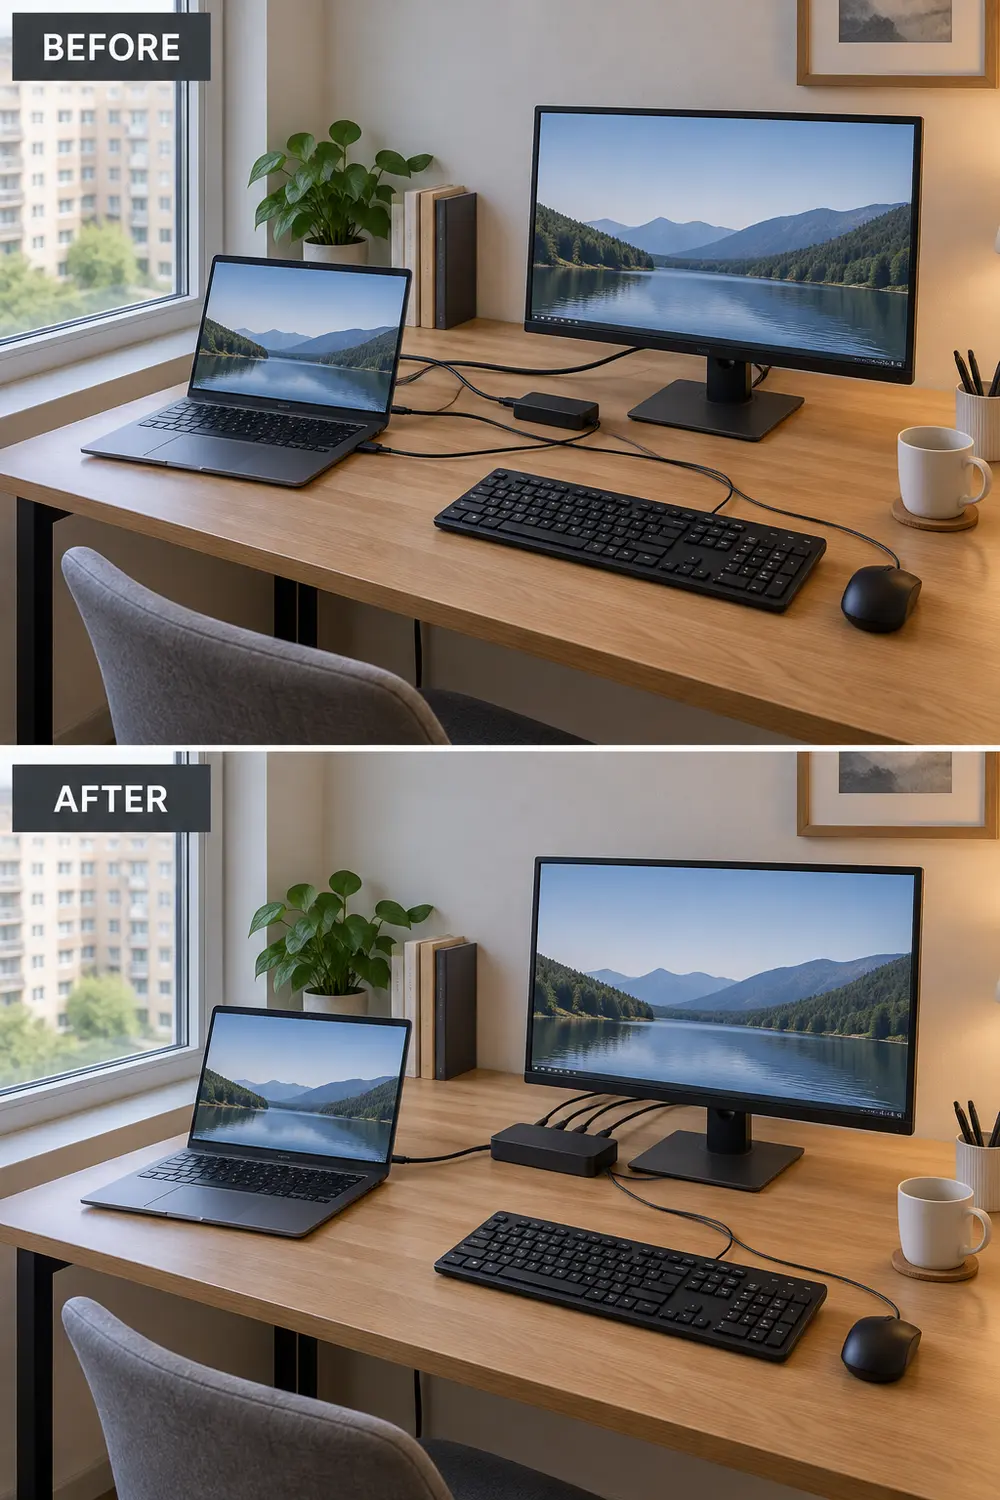
    Aim for one predictable connection routine, but verify compatibility before buying a dock. Check both computers’ specifications and the dock manufacturer’s documentation for display support, charging requirements, operating-system support, and required cables or software. Matching connector shapes do not guarantee matching capabilities. A compatible shared dock can turn several loose connections into one repeatable handoff, with the monitor and input devices staying connected at the desk.

    Before, separate cables cross the work area; after, a dock gathers the connections into one laptop handoff cable.

    If one computer needs a separate charger or adapter, give it a permanent, clearly identified place rather than pretending the system is universal. Test the full routine on both machines: display, keyboard, mouse, audio, and charging. Follow workplace IT rules for employer-owned equipment. A slightly less elegant setup that connects reliably is better than a one-cable promise that fails just before a call.

    5. Label connections where hands actually reach

    Put small cable flags near the ends you unplug, not only behind the monitor. Use functional names such as “dock to laptop,” “monitor,” and “Sam’s charger.” If two similar cables serve different purposes, matching colored tags on the cable and its destination can help. Keep labels clear of connector surfaces, vents, and any area that gets warm during normal use.

    Secure the desk-side cable ends with removable clips so they don’t fall behind the furniture between users. Leave enough slack for both laptop positions and test the adhesive on an inconspicuous spot first. Labels cannot make an incompatible cable suitable, so confirm its function before naming it. Avoid bundling everything so tightly that replacing one charger requires dismantling the whole arrangement.

    6. Keep digital workspaces separate, too

    When both people use one computer, create separate operating-system user accounts so files, browser sessions, and preferences have distinct homes. Each person should use their own credentials and follow any employer restrictions. Set up the handoff around switching users or signing out as appropriate, rather than leaving an email inbox open and expecting the next person to avoid it.

    Separate accounts are a practical boundary, not a promise of complete privacy or permission to share a work computer. Check account privileges, shared folders, and workplace policies. If each person brings a laptop, keep browser profiles and work credentials on that device instead. Agree what happens to unfinished tasks before the switch; closing someone else’s application can discard work even when the physical desk looks ready.

    7. Give each person a lift-away work tray

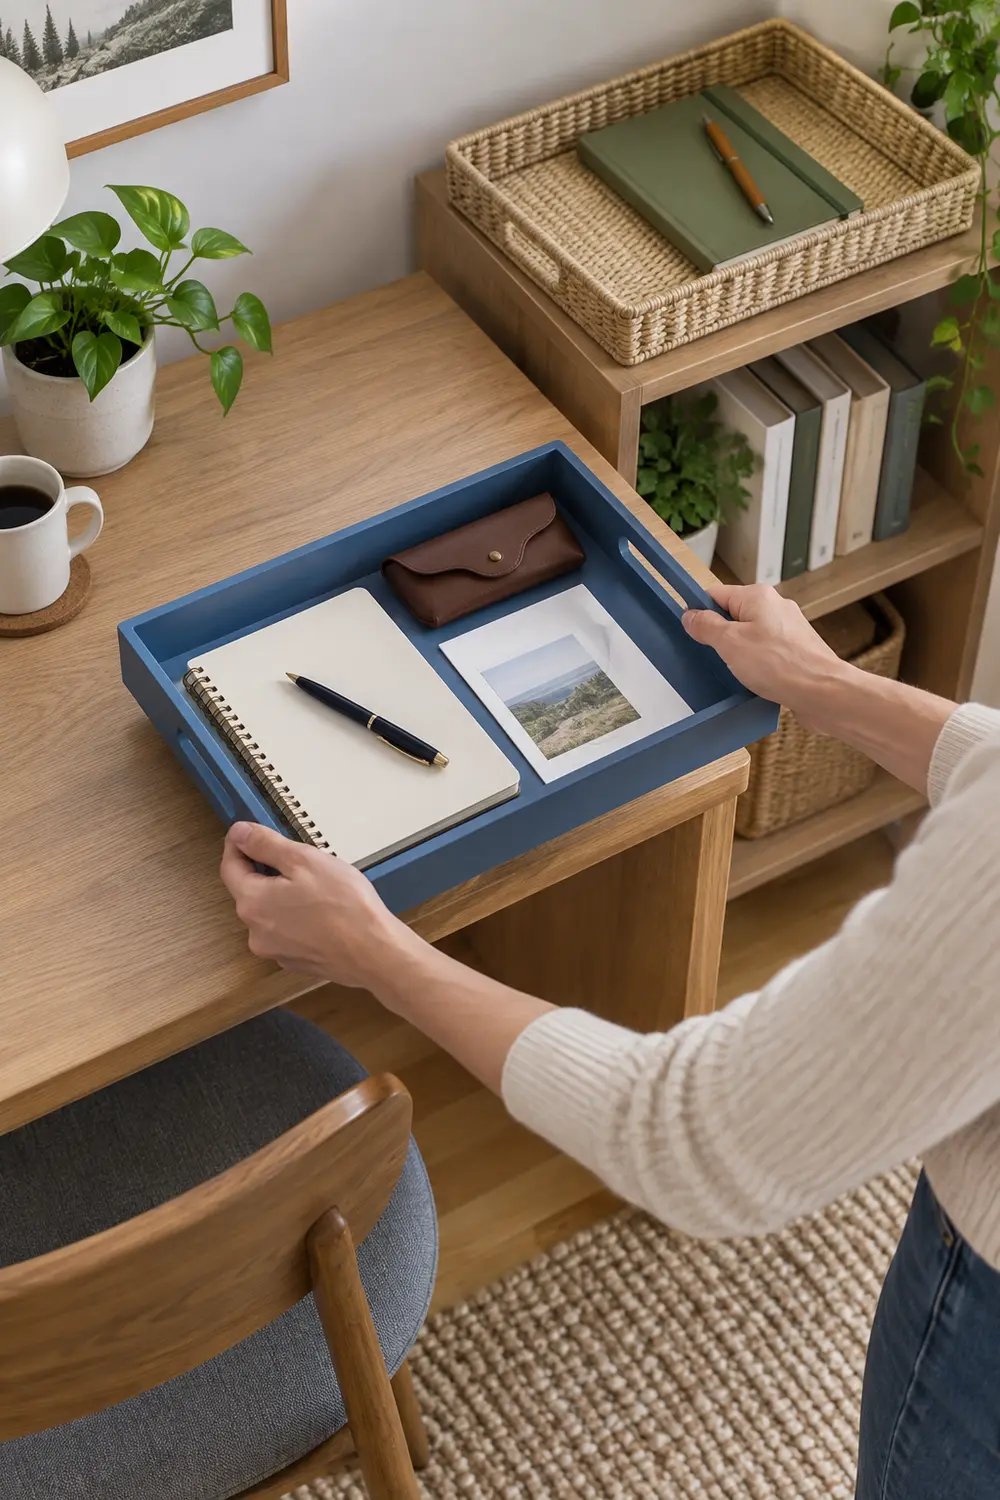
    Choose two shallow trays that hold the things each person actually handles during a work session: notebook, pen, glasses case, and a few current papers. The tray moves onto the desk at the start and returns to a shelf at the end. Measure the storage shelf and desk before choosing containers; a tray that overhangs either surface simply creates another obstacle.

    A personal work tray lifts off the desk while the other person’s tray waits on a nearby shelf.

    Keep active work here, not the entire paper archive. A tray piled with months of mail becomes heavy and hides the item needed next. Give it a brief weekly sort, and store confidential papers appropriately rather than in an open shared-room tray. If work materials already spread into household piles, these daily drop-zone fixes can help separate office overflow from keys, mail, and other arrivals.

    8. Create a safe parking spot for inactive equipment

    Decide where the outgoing laptop, headset, and personal keyboard will wait before clearing the desk. An existing shelf or drawer may be enough; there is no need to add a rolling cart if it blocks the chair. Store a powered-down laptop flat on a supported shelf, or use a holder intended for its size and orientation. Keep equipment away from spills and floor traffic.

    Parking is different from operating: equipment that remains running or charging needs the ventilation and clearances specified by its manufacturer. Don’t tuck a running laptop into a padded sleeve or crowded drawer. Measure cabinet doors, nearby door swings, and the route past the desk before adding storage. In a living room, these ways to keep a desk from taking over can help the parking area fit ordinary evening use.

    9. Reserve the desk, not just the meeting

    Use a shared calendar to reserve workstation time, including setup and wrap-up. A call from ten to eleven may require the desk a little earlier for connecting equipment and checking audio. Mark sessions that truly need the shared monitor or a particular background, rather than claiming the desk for every task that could happen elsewhere.

    Agree on a modest handoff buffer and a rule for overruns. Perhaps the person finishing sends a message as soon as a meeting runs late, rather than leaving the next user waiting in the doorway. Scheduling cannot resolve two simultaneous, nonnegotiable calls. Identify a fallback location in advance, even if it offers fewer comforts, and acknowledge when the household’s work patterns exceed what one workstation can support.

    10. Close with a short, visible handoff checklist

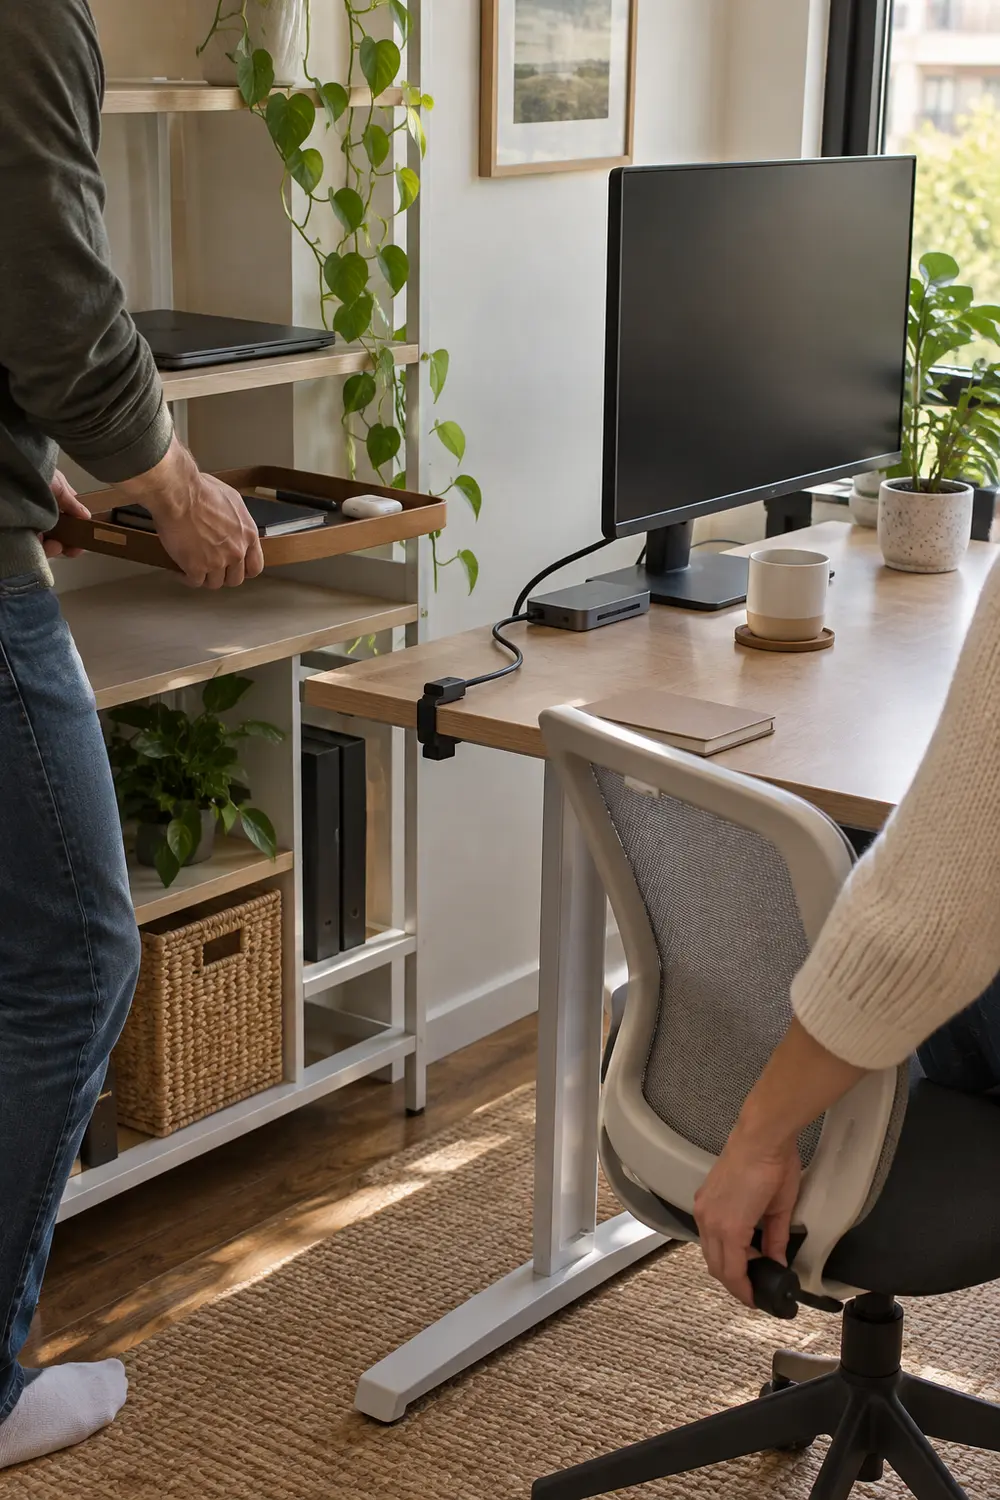
    Write a closing checklist that takes only a glance: save work, sign out or lock as appropriate, disconnect personal equipment, move the work tray, and leave the shared connections reachable. Include removing cups and food if those regularly linger. Keep the card near the desk rather than buried in an app; the outgoing person should be able to follow it while gathering their belongings.

    One person puts away a work tray as the next adjusts the chair, with the docking cable ready at the desk edge.

    Leave personal chair and monitor adjustments to the incoming user unless you have agreed otherwise; guessing their settings can add work. Try the checklist for several changeovers, then remove unnecessary steps and add any repeatedly forgotten one. If the same cable is always missing or the tray has nowhere to land, fix that physical problem rather than lengthening the list. The routine should support the setup, not compensate for it.

    At the next changeover, notice the first thing that slows the incoming person down. Record that chair setting, identify that cable, or clear that parking shelf before buying anything. Solve the repeated interruption first, then build the rest of the handoff around what both people actually need.

  • A Tiny Home Office on Camera: 10 Background Fixes Without a Makeover

    A Tiny Home Office on Camera: 10 Background Fixes Without a Makeover

    A tiny home office doesn’t need to look finished from every angle to work beautifully on a video call. It needs one useful camera view: a comfortable face, an orderly background, and nothing private accidentally on display. Before buying anything, open your camera preview and work with what it actually captures. These ten adjustments focus on that rectangle, not a room makeover. Any dimensions below are approximate planning guides; measure your space, equipment, and walking routes before making changes.

    Compact home office with a raised laptop, soft window light, and a simple video-call background.

    1. Raise the Camera Before Rearranging the Room

    Start with the lens near eye level while you sit in your normal working position. A stable laptop riser or adjustable webcam mount can remove the upward view that turns a small office ceiling into your backdrop. For example, raise a laptop on a purpose-made stand, then use a separate keyboard and mouse so the screen height doesn’t dictate your hand position.

    Avoid balancing equipment on narrow stacks or raising the camera so far that you must look sharply upward. A higher lens can also reveal more floor behind you, so check the preview again after adjusting it. If your device must stay low for hands-on work, an independently mounted webcam may be more practical than elevating the whole computer.

    2. Clear the Visible Paperwork, Not Every Surface

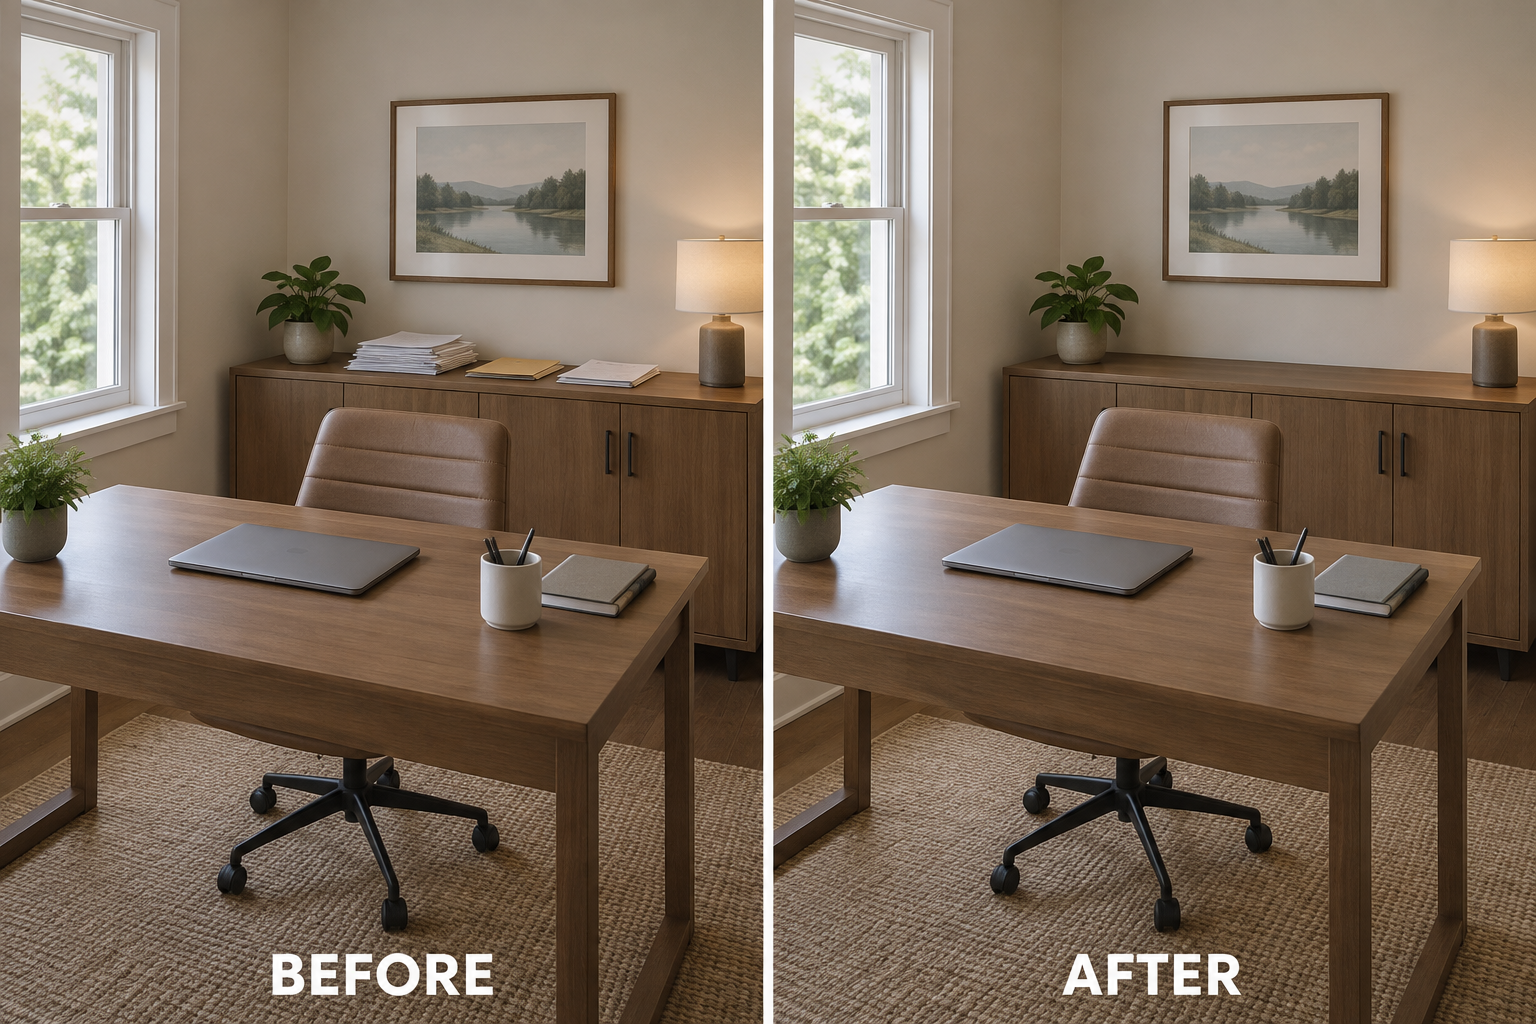
    Use the preview to identify the shelf or cabinet top that actually appears behind you. Move mail, appointment cards, and work documents into an existing drawer or opaque file box. In a small office with a low cabinet, keeping its top clear while storing daily paperwork inside creates a calmer view without demanding a spotless room outside the frame.

    Before-and-after comparison showing visible paperwork stored inside the same cabinet.

    The mistake is relocating a mess into a doorway or onto a chair someone needs. Give the papers a reachable home so this reset takes seconds rather than becoming another chore. If documents must remain open during your call, position them beside the keyboard, outside the camera view, instead of hiding essential work where you cannot use it.

    3. Choose a Tighter View Without Leaning Toward the Lens

    If your webcam offers field-of-view controls, try a narrower setting before moving furniture. Frame your head and shoulders with a little space above your hair, leaving enough room for natural movement. For example, a tighter view can exclude a laundry basket beside the office nook while keeping your chair centered and your working posture unchanged.

    Don’t solve a wide view by putting your face inches from the lens; close placement can exaggerate facial proportions. Heavy digital cropping may also soften the picture. A tight frame is unsuitable when you regularly demonstrate objects or use broad gestures, so test your usual movements and leave the necessary space rather than chasing a perfectly filled rectangle.

    4. Put Daylight Beside Your Face, Not Behind It

    Test a camera position with the window in front of you or slightly to one side, rather than directly behind your chair. Even turning a laptop on the desktop may help. In a narrow office, a modest diagonal setup can bring soft light across your face while leaving a plain interior wall in the background.

    A slightly angled laptop places the window forward of the user and a plain wall behind them.

    A bright window behind you can make the camera darken your face, but facing direct sun is uncomfortable too. Check the arrangement at your actual meeting time because daylight shifts. Don’t turn a workable desk into an awkward workstation just for lighting; when the room orientation is fixed, adjustable window coverage or a small light may be the better compromise.

    5. Remove Reflections That Expose More Than You Expect

    Inspect glass-fronted art, mirrors, and glossy cabinet doors in your preview. They may reflect a bright window, another screen, or someone moving through the house. Try tilting a freestanding frame slightly, relocating a small mirror, or replacing one reflective piece with an unglazed print. A matte background often looks quieter without needing any new furniture.

    Don’t drape fabric over electronics or ventilation openings to conceal shine. Removing a useful mirror may also inconvenience the household, so first see whether a small angle change removes its reflection from view. When reflective built-ins cannot be altered, reposition the camera slightly and confirm that the new angle doesn’t introduce a different privacy problem.

    6. Use a Temporary Screen for Shared-Household Privacy

    Where the background includes a bedroom doorway or busy family route, a lightweight freestanding screen can create a temporary visual boundary. Place it behind your chair only if the floor area allows stable footing and easy passage. For example, a folding screen might conceal an open storage alcove during calls, then fold away against an unused wall afterward.

    A screen provides visual privacy, not reliable sound isolation. It is unsuitable if it narrows a needed exit, interferes with doors, or becomes a tipping hazard around children or pets. Keep it away from heaters and required appliance clearances. If there is no safe footprint, use a tighter camera view or built-in background blur instead.

    7. Create Gentle Contrast With a Reversible Backdrop

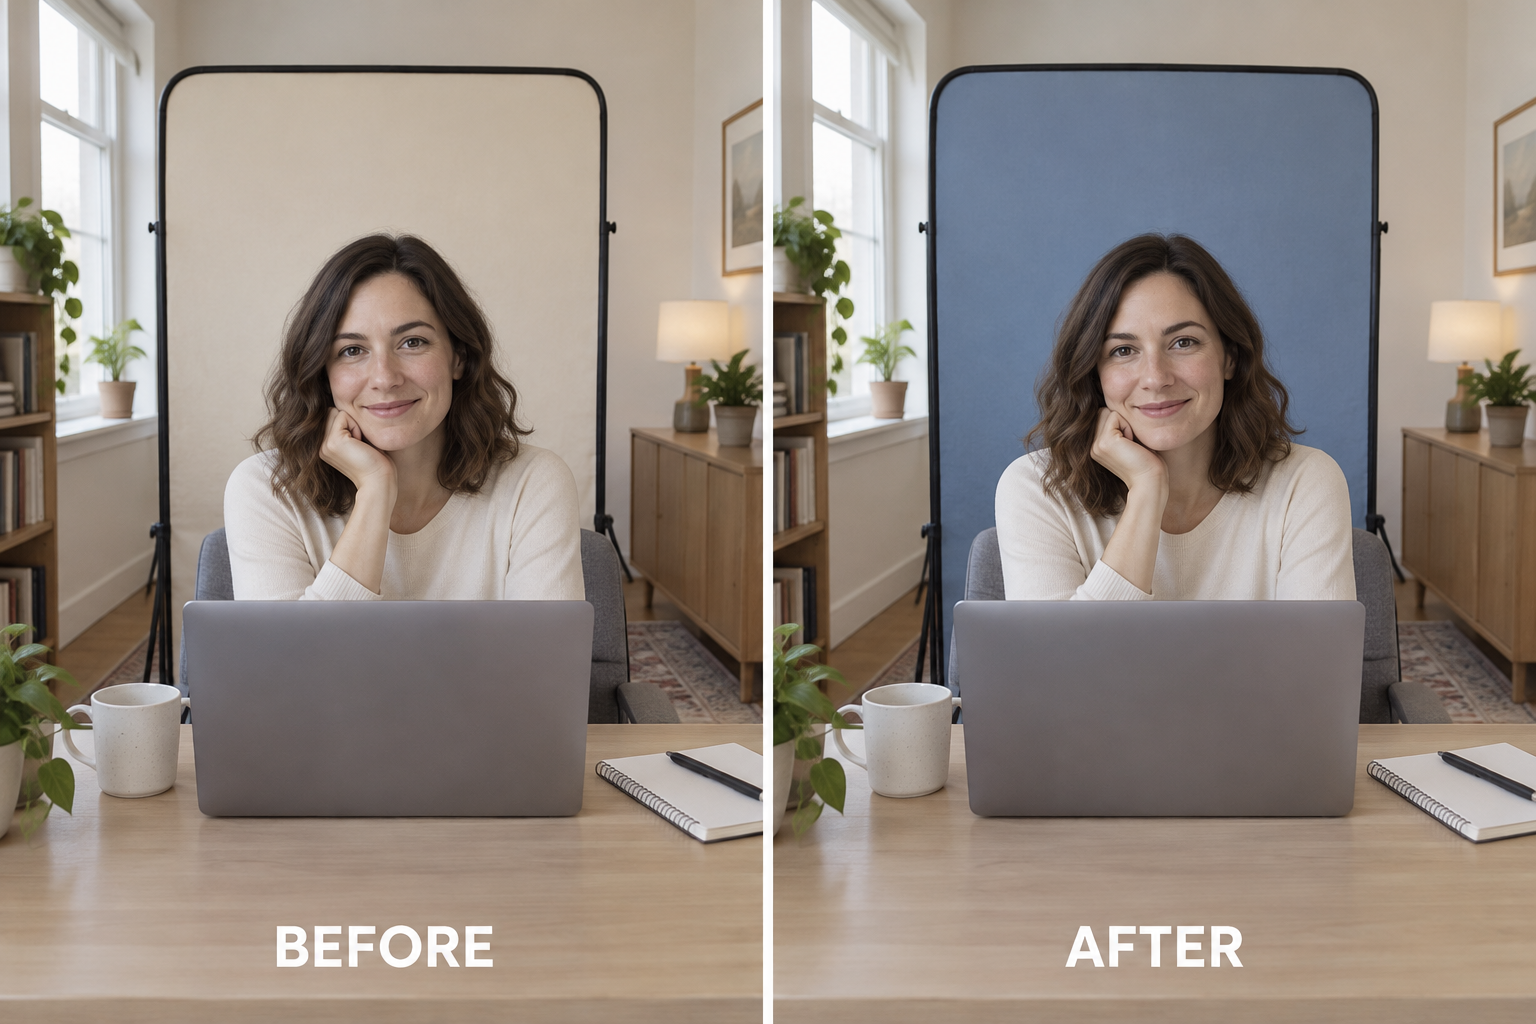
    If your usual work clothes blend into the wall, introduce a quiet contrasting surface behind your upper body. A securely supported reversible fabric-covered panel can offer a light side and a medium-toned side without repainting. For example, flip the panel to its muted blue side when wearing a pale shirt, keeping the same furniture and camera position.

    Before-and-after comparison showing improved shirt contrast by reversing the same backdrop panel.

    Skip highly saturated colors and busy patterns that dominate the picture or complicate background blur. A panel also needs secure support; don’t lean a heavy board loosely behind your chair. Check rental permissions before fastening anything, and choose another approach if a safe installation would obstruct ventilation, access, or a household member’s use of the room.

    8. Borrow a Little Distance From the Back Wall

    When space permits, create a small gap between your seated position and the background rather than pressing the chair against it. Even a modest shift can reduce a harsh wall shadow and make the view feel less cramped. In a shallow office, test moving the working setup forward several inches, then check chair movement and the camera preview.

    Don’t sacrifice comfortable reach, chair clearance, or a safe walking route for an imagined studio-depth effect. A few inches will not guarantee a blurred background, especially with a basic webcam. If moving forward crowds the desk or stretches cables, keep the original position and favor a simpler wall treatment instead of forcing distance the room cannot spare.

    9. Make an Evening Lighting Setting

    Prepare a separate setup for calls after daylight fades. Place a small shaded or diffused desk light near camera height and slightly to one side, outside the frame. Test it with the room’s existing lights on. For example, redirect an adjustable task lamp toward your face through its intended diffuser rather than relying on a bright ceiling fixture alone.

    An exposed bulb near the lens can cause squinting, glare, or distracting reflections in glasses. Keep lamps stable, route cords away from feet, and never improvise a diffuser with fabric over a hot bulb. If the light spills into a shared sleeping area, a smaller directed source may suit the household better than broadly brightening the office.

    10. Add One Removable Piece of Personality

    Once the practical problems are solved, give the background one deliberate focal point. Try a lightweight framed botanical print on an existing picture ledge, positioned to one side of your head in the preview. This adds warmth without turning the wall into a decorating project, and the piece can be swapped or removed when your needs change.

    One botanical print sits off-center behind the user without overlapping their head.

    Avoid arranging art so its frame appears to sprout from your head or placing heavy objects on an unsecured ledge. Follow mounting instructions and rental permissions; removable adhesive products are not suitable for every finish or load. If the background already contains useful shelving, one existing object may provide enough character without adding anything at all.

    The best video-call background is easy to maintain and compatible with the home around it. Start with lens height, framing, and light, then address privacy and one or two visible details. Save a quick reference photo of your finished setup so restoring it before the next meeting takes little thought.

  • Small Desk, More Working Room: 10 Ways to Reclaim Depth and Comfort

    Small Desk, More Working Room: 10 Ways to Reclaim Depth and Comfort

    A small desk can feel crowded even when it holds only the essentials. A monitor base consumes the back edge, paperwork pushes the keyboard forward, and loose cables make every adjustment harder. Before replacing the desk, look at how its depth actually gets used. These ten changes address different space problems, so choose the ones that match your equipment and household. Any dimensions mentioned are approximate planning guidelines, not compliance standards; measure your desk, equipment, chair, and surrounding room before buying or moving anything.

    Compact home-office desk with an elevated monitor, clear keyboard space, and neatly contained paperwork.

    1. Replace the Monitor Base With a Compatible Arm

    A monitor arm can recover the strip of desk occupied by a broad pedestal. Check the screen’s mounting pattern and weight, then verify that your desktop can accept the specified clamp or grommet mount. On a shallow desk, position the screen near the rear edge while keeping enough adjustment range to bring it closer when small text becomes difficult to read.

    Do not assume every desktop can withstand a concentrated clamp load. Glass, hollow-core panels, thin edges, and decorative lips may be unsuitable unless the manufacturers explicitly approve the installation. Arms also need space to swing without striking a wall. If the desk or monitor is incompatible, keep the original stand rather than improvising reinforcement or using an unstable mount.

    2. Reserve a Clear Keyboard-and-Mouse Landing Zone

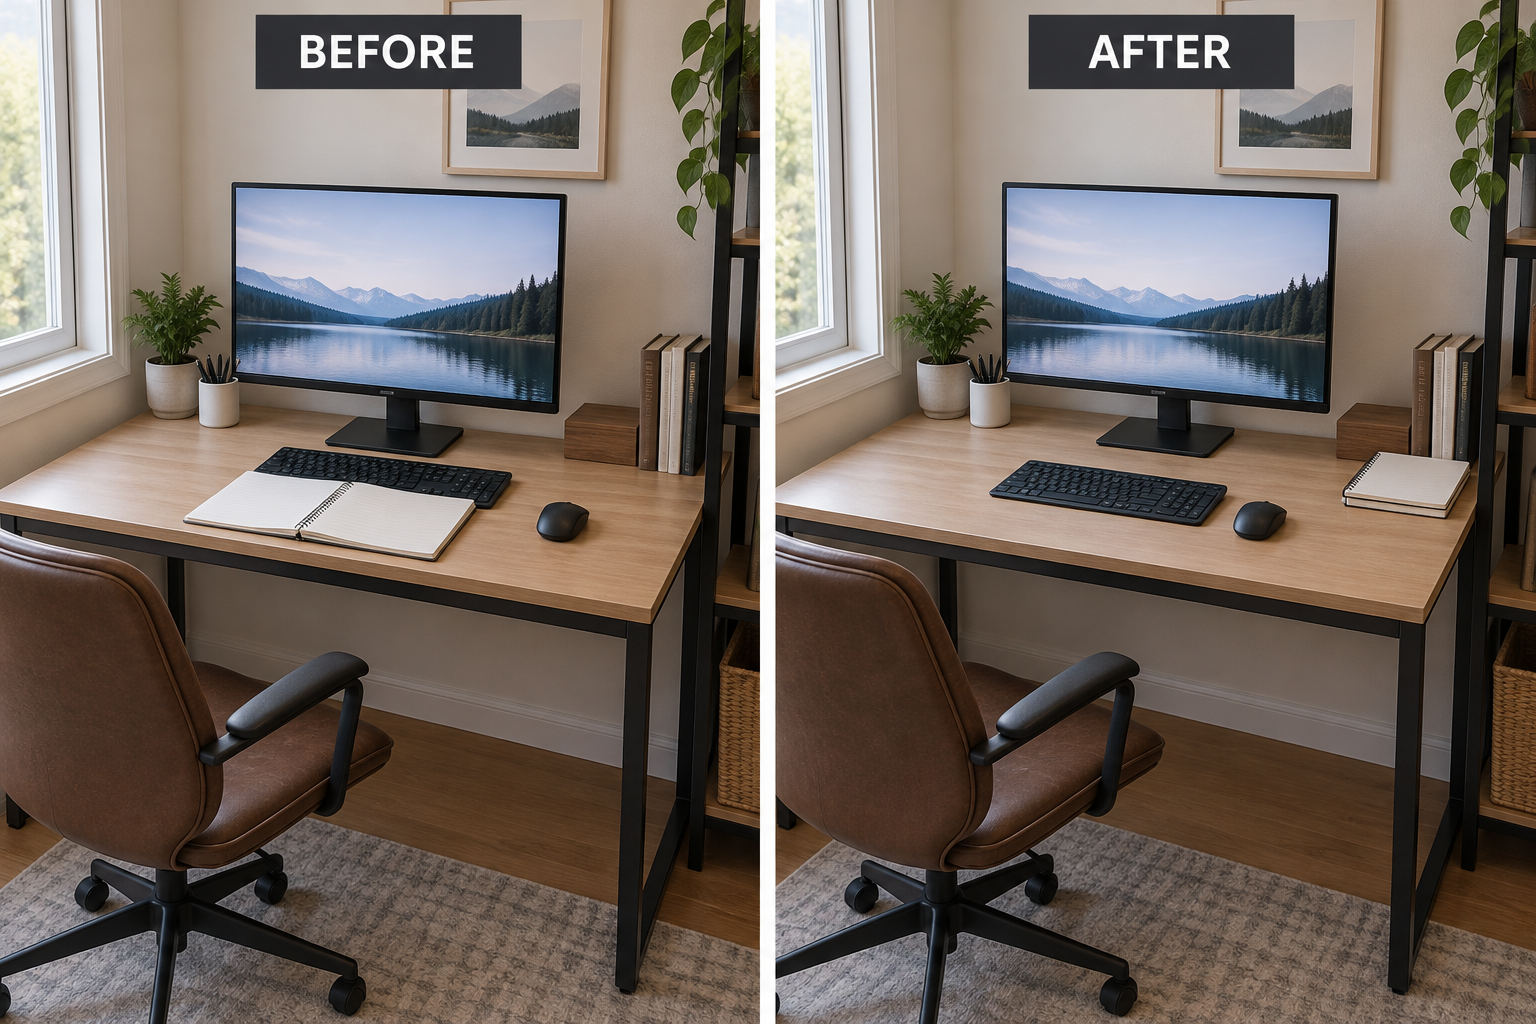
    Arrange the keyboard and mouse as one working zone instead of fitting them around scattered objects. Center the letter keys on your seated position, place the mouse close beside them, and leave enough surface in front for relaxed hand placement. For example, move a notebook from directly ahead of the keyboard to the unused rear corner without changing the equipment.

    Before and after relocating a notebook to create a centered keyboard-and-mouse zone.

    The common mistake is interpreting clear space as a reason to push everything as far back as possible. That can leave you reaching across the desk. Test the arrangement while seated, with shoulders relaxed and elbows comfortably near your sides. A desk too narrow for your keyboard and normal mouse movement may need different input equipment rather than tighter packing.

    3. Give the Laptop One Clear Role

    When a laptop accompanies an external monitor, decide whether you truly need both screens. If not, a compatible vertical dock can remove the laptop’s open footprint while an external keyboard and mouse handle input. If you need its screen, use a stable stand that raises it beside the monitor and leaves useful surface below, rather than placing it ahead of everything.

    Check the laptop manufacturer’s guidance for closed-display operation, power requirements, and ventilation before choosing a dock. Never block vents or tuck a running computer into a tight padded sleeve. A raised open laptop is also unsuitable for extended typing on its built-in keyboard; without separate input devices, the stand may trade recovered depth for an awkward working position.

    4. Stand Reference Pages Beside the Screen

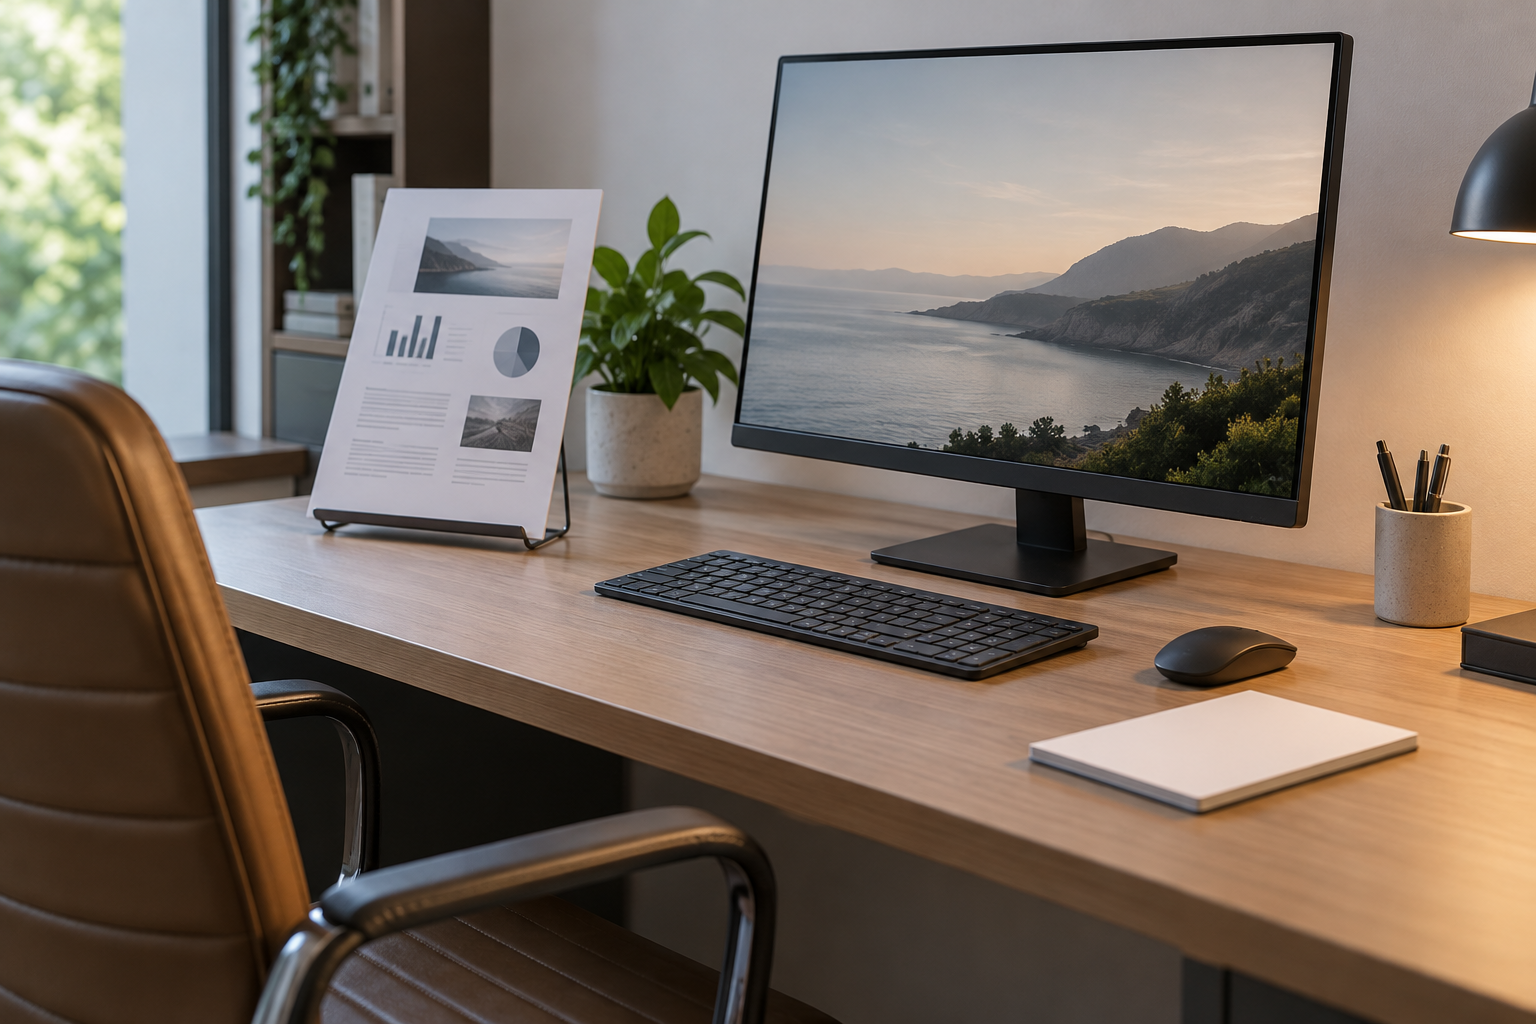
    A freestanding document holder turns a flat reference sheet into a narrow upright surface. Place it beside the monitor, where you can read it without leaning over the keyboard. For example, a recipe developer reviewing printed edits could keep one active page upright while leaving the center of the desk available for typing and a small pad.

    Upright document holder keeps a reference page beside the monitor and off the keyboard area.

    Avoid treating the holder as a permanent stack rack. Thick piles can hide pages, destabilize a lightweight stand, and recreate clutter vertically. Oversize drawings and documents that need frequent handwriting may work better flat. Adjust the holder’s angle to reduce glare, and keep it out of the mouse path and away from the screen’s essential viewing area.

    5. Move Cable Bulk Off the Desktop

    Route cables toward one rear corner and support the excess in an under-desk basket or manufacturer-approved cable tray. Give the monitor and other movable equipment enough slack for their full adjustment range. A loose loop secured with reusable ties is easier to revise than a tightly bundled knot, especially when a laptop connects and disconnects every day.

    Do not squeeze power bricks into sealed containers or pinch cords beneath clamps. Follow equipment ventilation instructions, avoid overloaded outlets and daisy-chained power strips, and keep cables out of walking routes. Adhesive clips may release or damage finishes, so check rental rules and surface compatibility. A tray is unsuitable if it steals the knee clearance you need.

    6. Relocate Supplies You Do Not Use Every Hour

    Reserve the desktop for tools used during active work, and move backup supplies to nearby storage. A shallow wall organizer can hold pens, envelopes, and charging accessories that otherwise form a row behind the keyboard. In a rental where wall installation is not permitted, use an existing drawer or nearby cabinet rather than adding another desktop organizer.

    More storage is not automatically better if reaching it interrupts every task. Keep frequently used tools accessible, and avoid deep shelves that crowd the monitor or place heavy objects overhead. Obtain rental permission where needed and use fasteners appropriate to the wall and load. If safe mounting is uncertain, choose existing furniture instead of relying on unsuitable adhesive hardware.

    7. Move the Computer Tower to a Ventilated Side Support

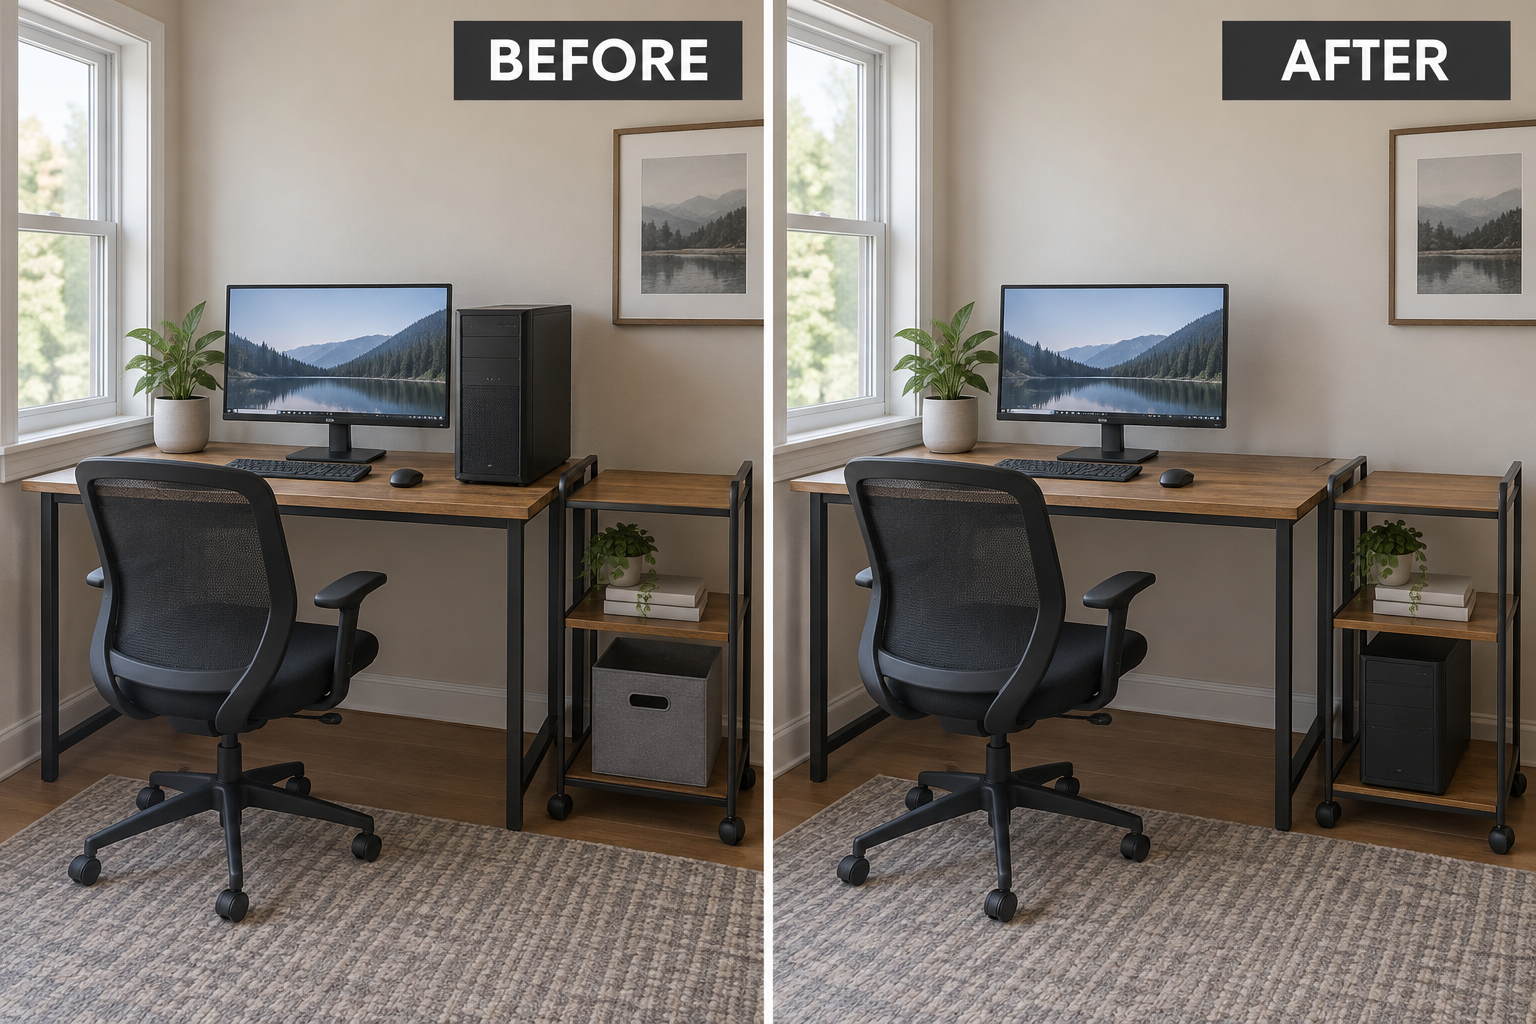
    A desktop computer tower can consume a surprising amount of usable depth when it sits beside the monitor. If you already have a sturdy adjacent cart or low shelf, check its load capacity and the computer’s required ventilation clearances. Moving the tower there can restore a continuous work surface while keeping the computer accessible for power controls and connections.

    Before and after moving a computer tower from the desktop to an existing ventilated cart.

    Do not solve desktop crowding by putting the tower where feet will kick it or where dust and fabric can block airflow. Avoid enclosed cabinetry unless it is suitable for that equipment. The new location must not obstruct doors, exits, or household circulation. If cables cannot reach safely, retain the original position until an appropriate arrangement is available.

    8. Consider a Keyboard Tray Only After Testing Clearance

    A properly fitted keyboard tray can separate typing space from the surface used for documents. Before installing one, mock up its height and depth with measurements, then check seated thigh clearance and full mouse travel. Choose a stable model wide enough for both devices; otherwise, the mouse may remain stranded on the desktop at a different height.

    Trays are not universal fixes. Aprons, crossbars, thin tops, and sit-stand mechanisms can prevent secure attachment, while a low tray may interfere with your legs. Follow mounting instructions and confirm permission before drilling furniture you do not own. If the arrangement forces an uncomfortable reach or leaves too little clearance, a clear desktop input zone is the better option.

    9. Replace a Bulky Lamp Base With Targeted Light

    A large lamp base often occupies the exact corner needed for paperwork or mouse movement. A compatible clamp lamp or securely mounted wall light can return that surface to work. Position the light to illuminate documents without reflecting directly in the monitor; for handwritten work, try placing it opposite your writing hand to reduce the shadow across the page.

    Check that the clamp fits the desktop and does not compete with a monitor arm or cable route. Keep cords away from moving joints, and follow fixture clearance instructions, especially near curtains and shelving. Wall lights require suitable mounting and rental approval when applicable. If neither option fits safely, keep a compact freestanding lamp rather than forcing an insecure attachment.

    10. Create a Temporary Return for Paper-Heavy Tasks

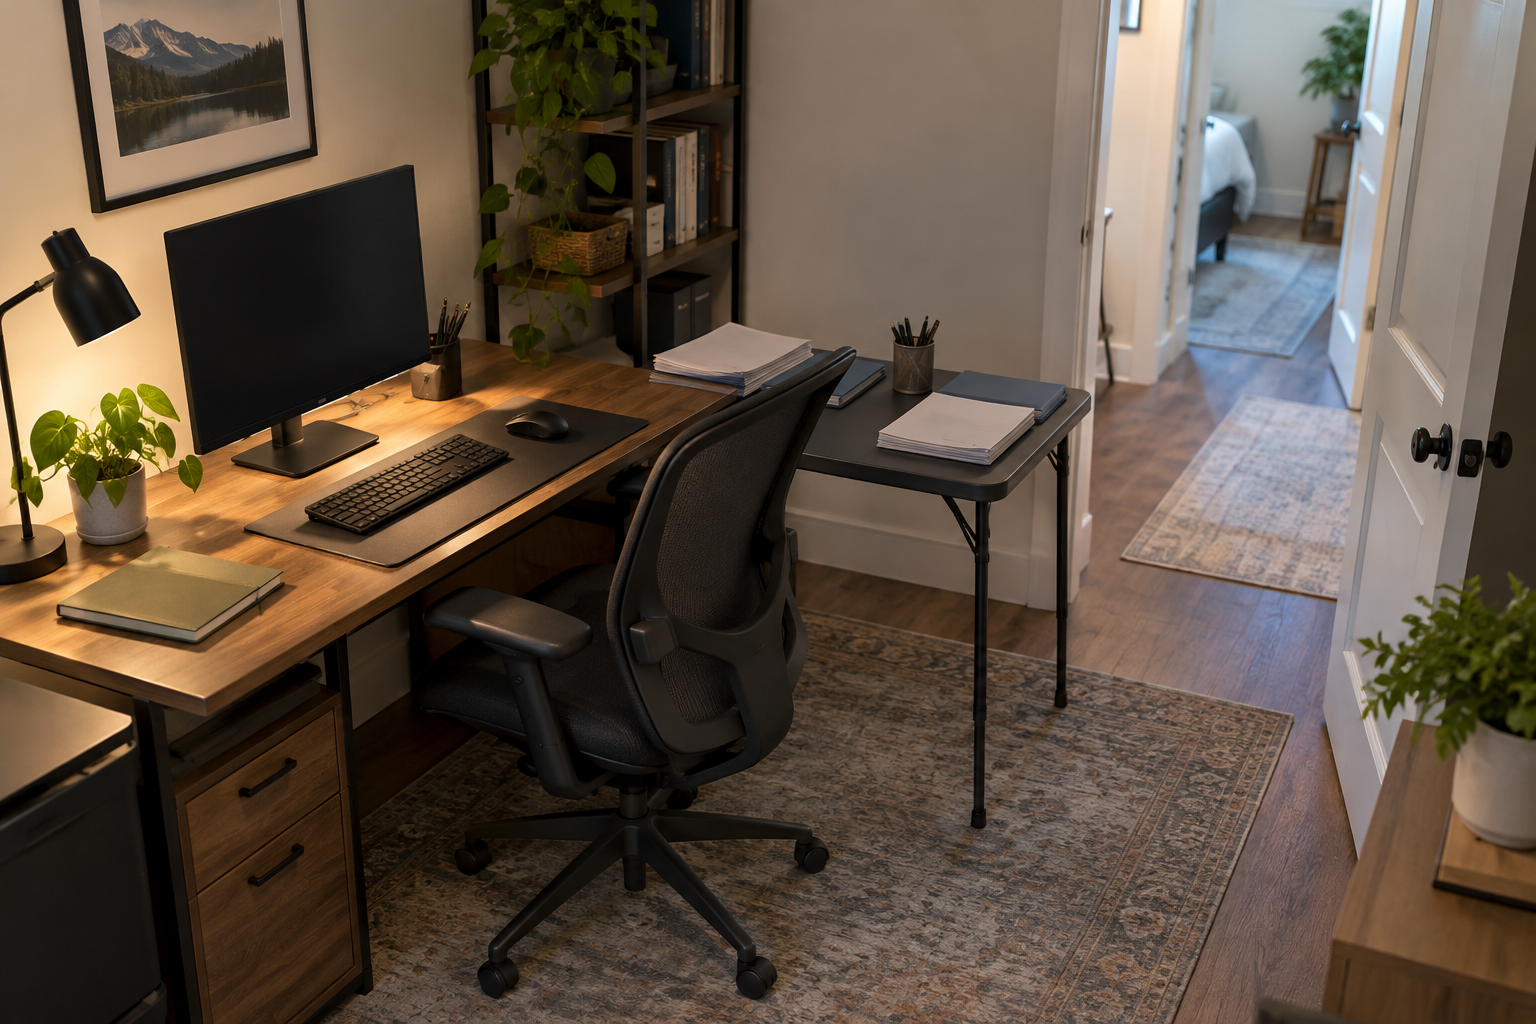
    Some tasks simply need more flat space than a shallow desk can provide. For occasional sorting or handwritten review, place a stable folding table beside the desk as a temporary return. Use it for the active spread while keeping the keyboard zone intact, then file the papers and fold the table away when the task is finished.

    Temporary side table holds active paperwork while the main desk remains ready for typing.

    A temporary return is unsuitable if it narrows a necessary walking route, blocks an exit, or prevents someone else from using the room. Do not balance a board between furniture or lean heavily on a lightweight table. Check stability, floor level, and household needs first; in tighter rooms, schedule paper review on an existing dining table instead.

    Start with the obstruction that affects your work most: a deep monitor base, crowded input area, or constant paper spread. Make one change, sit down, and test a normal task before adding another. The goal is not an empty-looking desk. It is enough usable depth, clear movement, and practical support for the way you actually work.