A living room desk needs more than an empty patch of wall. It needs space for your knees, manageable daylight, a usable video-call background, and a clear stopping point when work ends. The most useful small living room ideas account for the desk in use—not just styled with its chair tucked in. These 10 approaches help you choose a setup around your actual workday. All dimensions below are approximate planning guidelines, not universal requirements; measure your room, furniture, and equipment before buying.
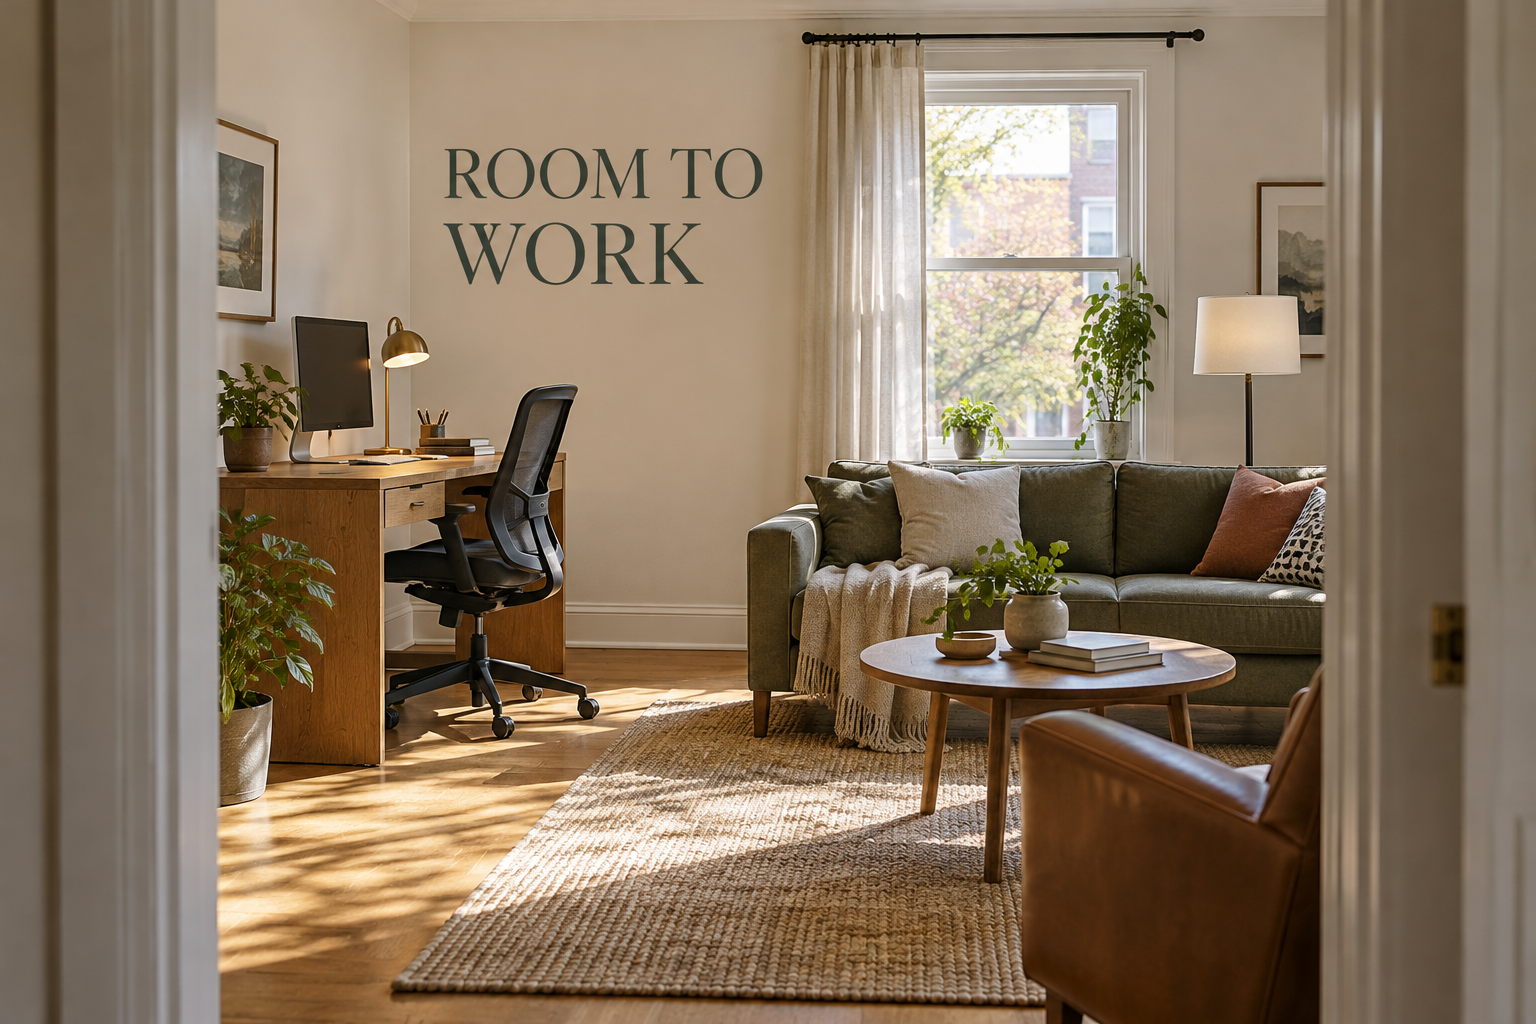
1. Reserve the Chair Space Before Choosing the Desk
Start by marking the desktop and the chair’s working position with painter’s tape. A desk approximately 36 inches wide and 24 inches deep can accommodate a compact setup, but the occupied chair extends its footprint considerably. For example, test a blank wall beside the sofa with someone seated at the taped desk while another person walks from the entry to the seating area.
The common mistake is measuring only the desk, then discovering that its chair blocks a doorway or the route to the couch. Aim for roughly 36 inches of clear passage where practical, and allow more wherever your household needs it. A smaller desktop sacrifices spreading room; this wall placement may not suit a narrow room whose only circulation route passes directly behind the chair.
2. Turn the Screen Sideways to the Window
Let daylight reach your workstation from the side rather than placing a bright window directly behind the screen or reflected in it. In a living room with one large window, try rotating a freestanding desk 90 degrees before adding accessories. Check the screen during your usual working hours, then adjust the existing shade to soften direct sun without darkening the whole room.
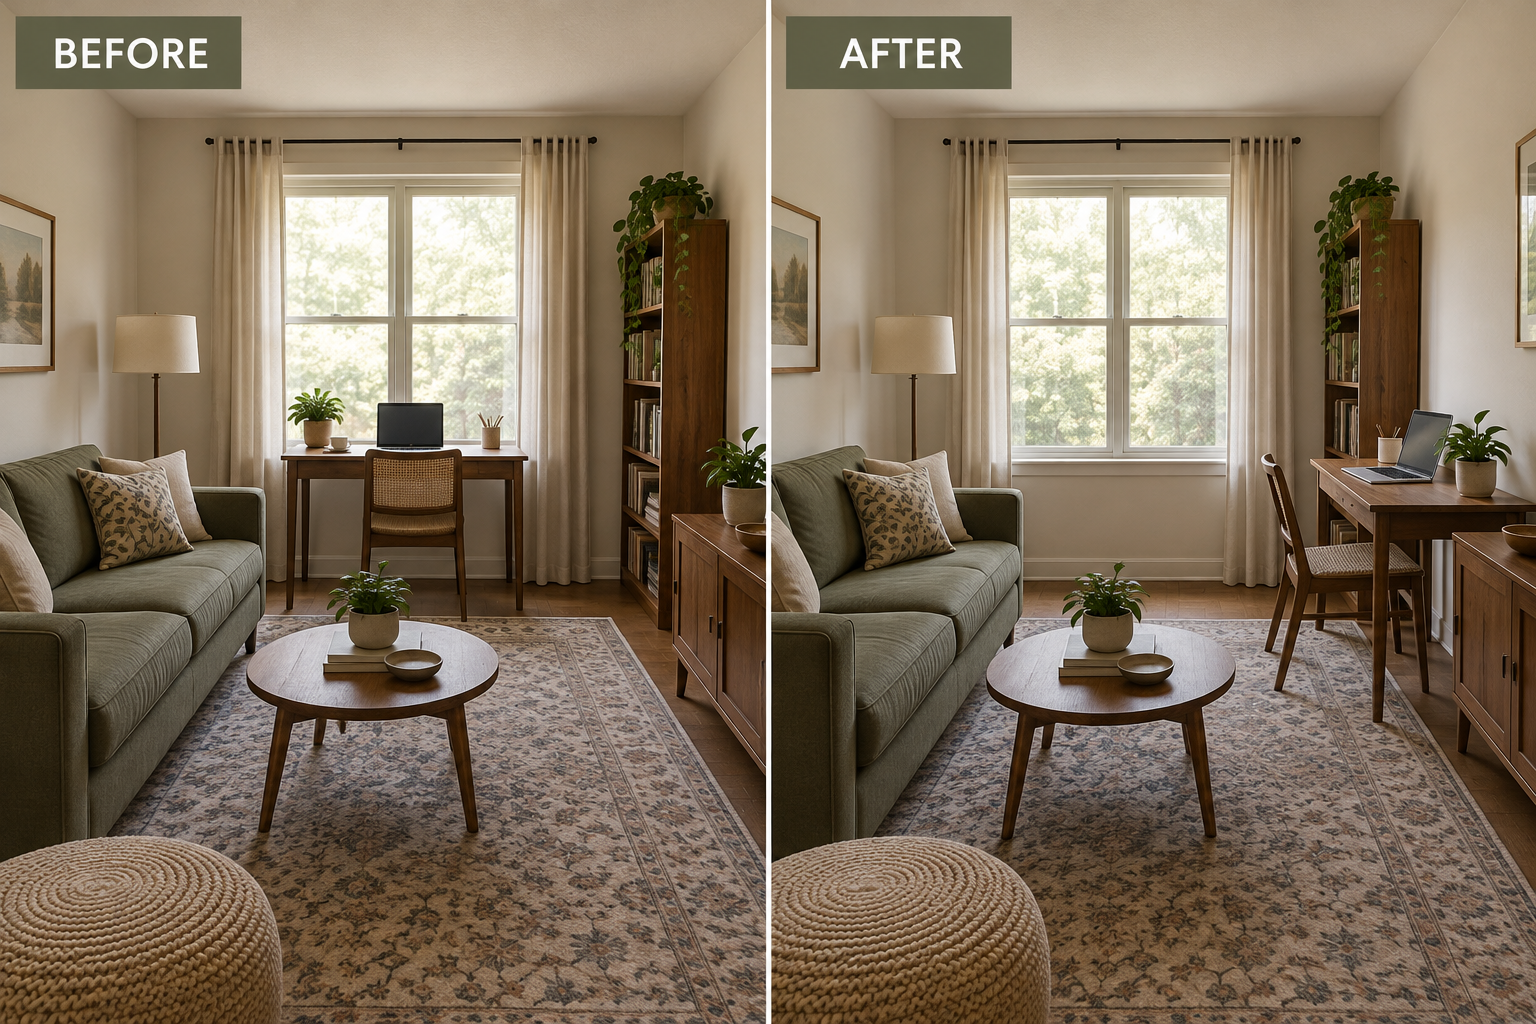
A window-facing desk looks appealing in photos, but strong brightness differences can make screen work uncomfortable. Turning sideways reduces that contrast, although low afternoon sun may still require an adjustable shade. Avoid assuming a sheer curtain solves every exposure. This arrangement may not work if rotating the desk blocks circulation or if the only available wall receives intense direct sun throughout your workday.
3. Use the Sofa Back as a Work-Zone Boundary
If your sofa already floats away from the wall, place a proper desk behind it, facing the seating area. The sofa back becomes a visual boundary without adding a divider. For example, a 42-inch-wide desk can serve one worker while leaving room at one end for access. Choose enough depth for your equipment rather than treating a narrow decorative console as a workstation.
Don’t push the sofa forward simply to squeeze in a desk if doing so crowds the coffee table or television area. This approach spends floor depth to preserve wall space, and the monitor may remain visible above the cushions. It is less suitable for shallow rooms, reclining sofas that need rear clearance, or households where someone regularly walks behind the worker during calls.
4. Build a Compact Setup Around Your Posture
For regular work, raise the laptop on a stable stand and add a separate keyboard and mouse. Position the screen roughly an arm’s length away, with its top near or slightly below eye level, then adjust for comfortable viewing. At a typical desk around 28–30 inches high, a supportive adjustable chair and footrest can help a shorter user keep shoulders relaxed and feet supported.
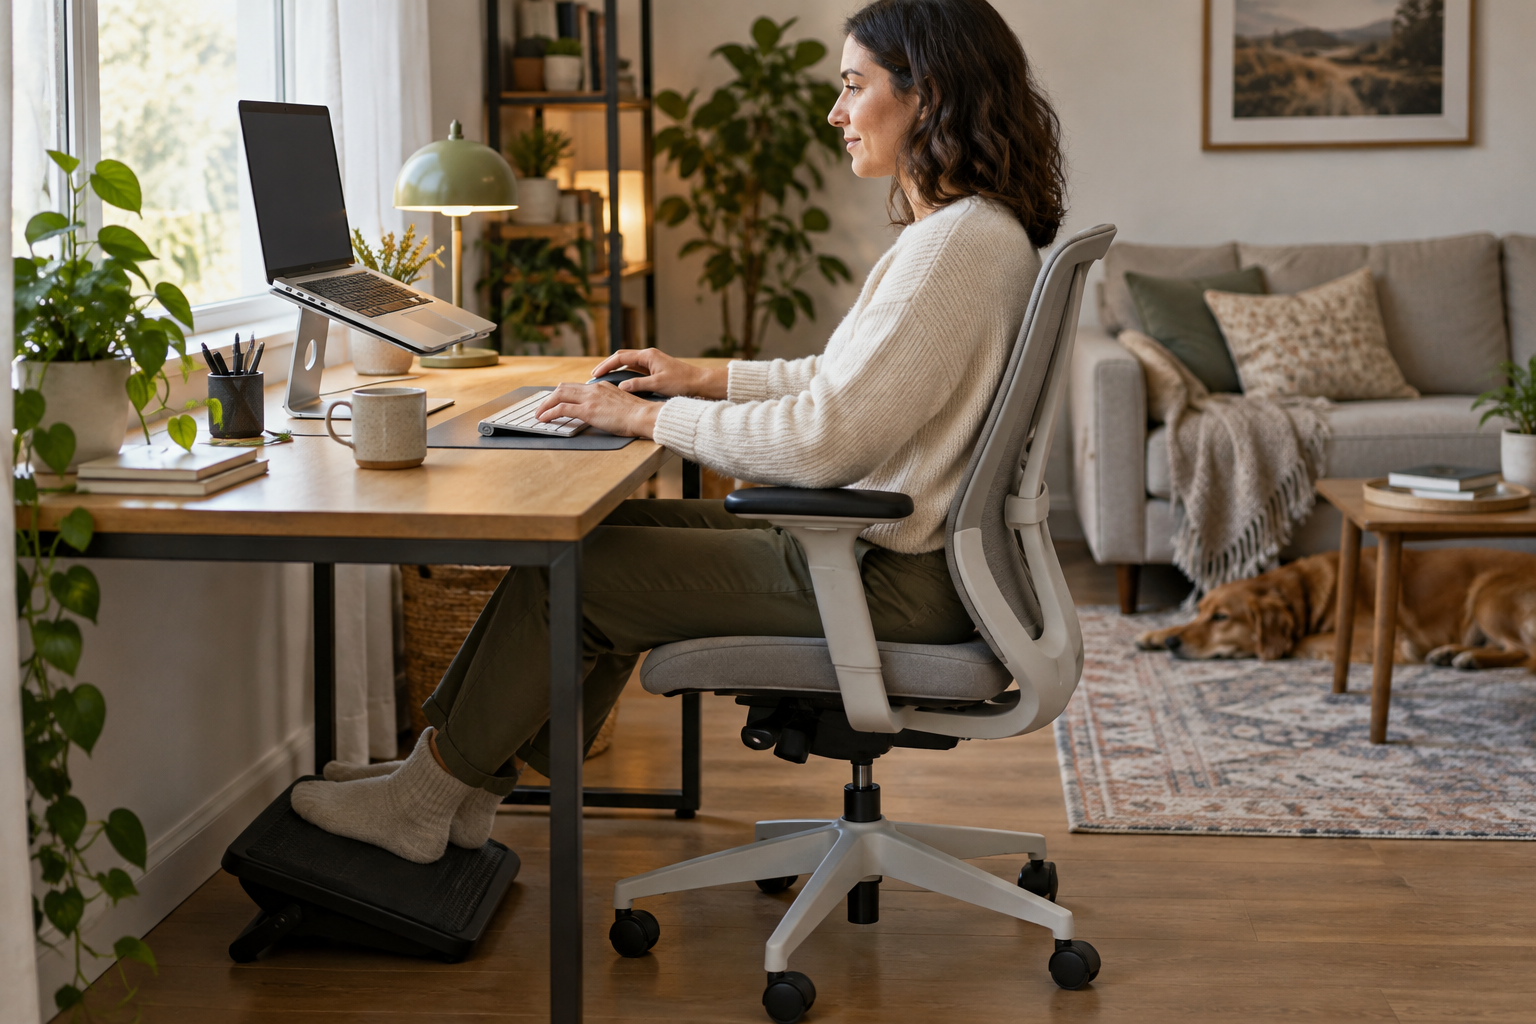
The mistake is buying the smallest chair and shallowest desk because they disappear visually. A laptop alone links screen height to hand position, while thick desktop drawers can crowd your thighs. Compact equipment helps, but comfort still requires usable depth and adjustment. A very shallow writing desk may suit brief email sessions, not a full workday with a large monitor or paperwork.
5. Fit an Alcove Without Trapping Your Knees
An alcove beside a fireplace or built-in cabinet can hold a simple desktop cut to fit. Measure its width at several heights because walls are not always square, and check baseboards and outlets. For example, a removable freestanding desk inside a 40-inch-wide recess can use an awkward pocket while avoiding permanent installation, making the arrangement more practical for a renter.
Don’t fill the recess with drawers just because storage fits on paper. Your knees, chair arms, cables, and ventilation need room too. Alcoves offer visual containment but may feel enclosed or leave the screen too close to your face. Skip this solution beside an active heat source, across required access panels, or where the recess cannot accommodate your working posture.
6. Choose a Secretary Desk for a Visible Stopping Point
A secretary desk lets the work surface close when the day ends. Choose one with hardware rated for its intended use, adequate legroom, and enough interior clearance for your equipment. For example, a laptop, slim keyboard, and notebook can remain inside while the front folds up, returning the wall to a furniture-like appearance before you settle onto the couch.
The common mistake is assuming every attractive vintage secretary can support modern equipment or close around a laptop stand. Closing storage creates a strong boundary but adds a daily reset and may require disconnecting accessories. It is usually a poor match for multiple large monitors, extensive paper-based work, or anyone who cannot comfortably operate the folding surface and its supports.
7. Give the Camera a Quiet Background
Check the view from your webcam before deciding which direction to face. A plain wall or restrained shelving usually needs less attention than a view across the entire living room. If shelves must sit behind you, an existing ceiling-mounted curtain can conceal their contents during calls. For example, draw a neutral curtain across open storage while keeping soft window light in front and to one side.
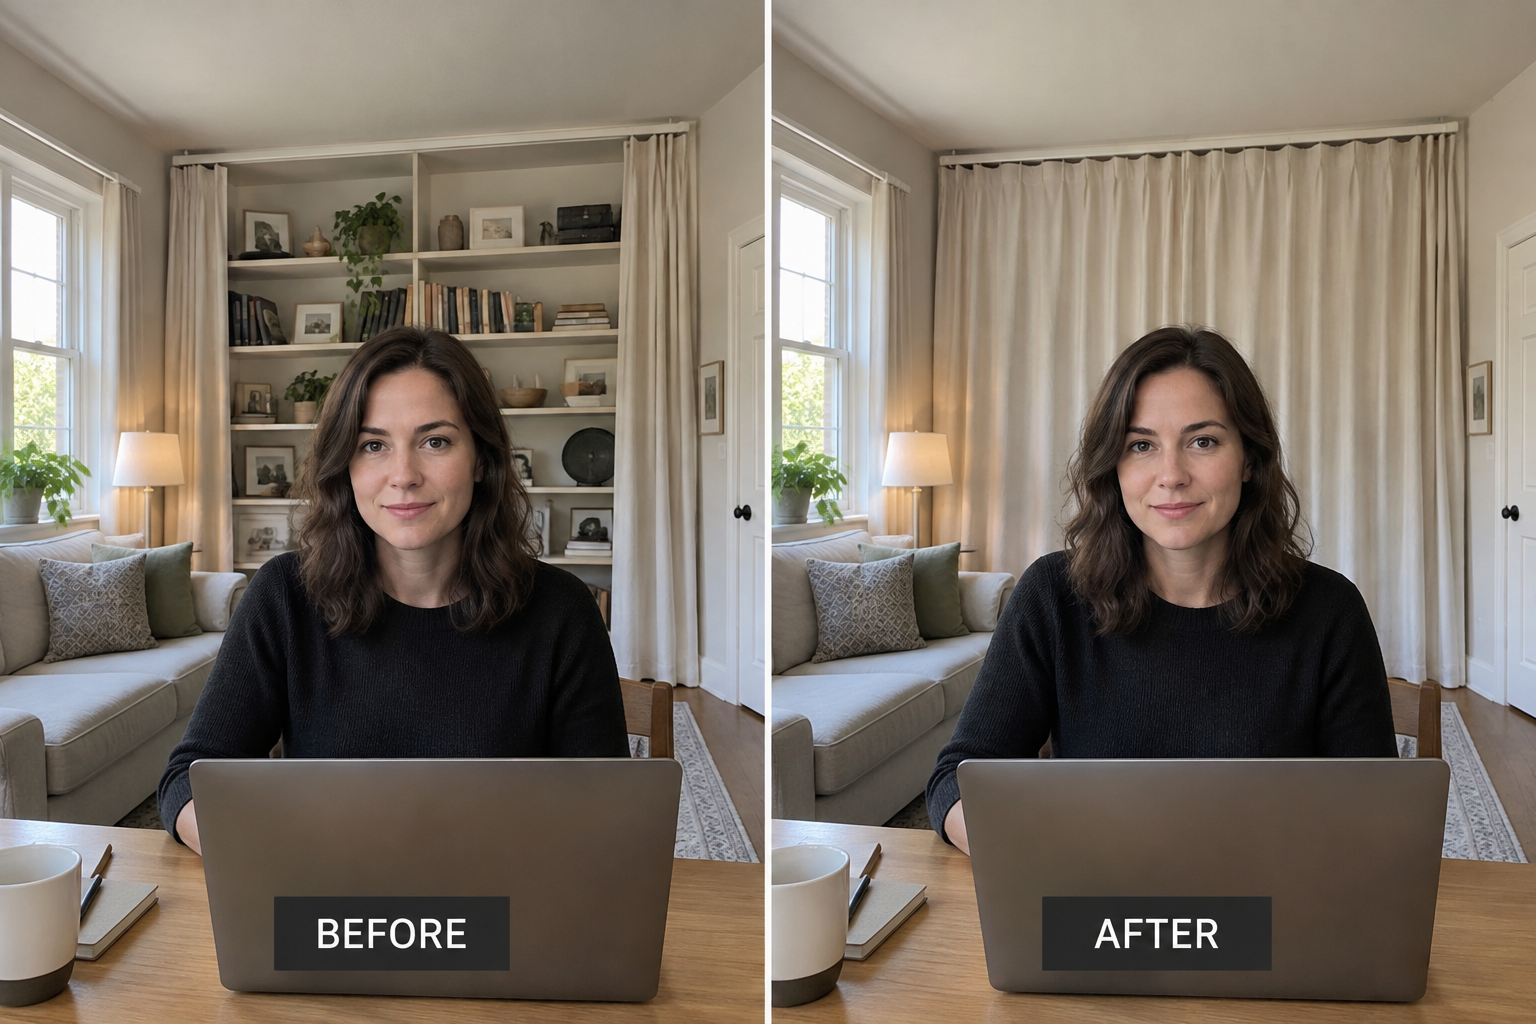
Avoid rearranging the entire room around an imaginary perfect background without testing the actual camera crop. A curtain simplifies the view but introduces fabric, may cover useful storage, and will not soundproof conversations. This solution is less suitable where curtain installation is prohibited, where fabric would obstruct ventilation or heat, or where the background includes a doorway that must remain accessible.
8. Share an Existing Table Only With a Reset Plan
If your living room already contains a small dining or game table, give it a scheduled work role instead of adding another surface. Keep a portable kit containing your laptop stand, keyboard, mouse, and charger. For example, set up at one end each morning, then return everything to a nearby cabinet before the table becomes the household’s dinner or puzzle spot.
Leaving work spread out indefinitely is the mistake that turns shared furniture into contested territory. You avoid another desk, but pay for that flexibility with setup time and potentially imperfect table height. A cushioned dining chair is not automatically supportive. This arrangement may not suit simultaneous household activities, confidential paperwork, or a workday that routinely continues through meals.
9. Move Supplies Up, Not Into the Knee Well
Keep the desktop for active work by placing lightweight supplies on a shallow shelf or wall organizer within comfortable reach. Mount shelves securely with appropriate hardware and landlord approval where needed. For example, store notebooks and headphones above one side of the desk, then route charging cables along the rear edge so they do not spill into the chair’s rolling path.
Don’t build a tower of storage directly over the monitor or fill every wall inch with office supplies. Vertical storage frees floor space but can make the living room feel busier and requires safe mounting. Keep heavy items low and avoid awkward overhead reaching. This approach may not suit fragile walls, strict rental rules, or a desk that must move frequently.
10. Create a Rolling Dock for the End of the Day
For a desk that stays in place, use a narrow rolling cart as the equipment’s off-duty home. Assign each shelf a purpose: keyboard and mouse above, laptop in a suitable protective compartment, notebook below. At quitting time, shut down or sleep equipment as appropriate, disconnect it safely, and roll the cart into a measured parking spot beside a cabinet, leaving the desktop available for living.
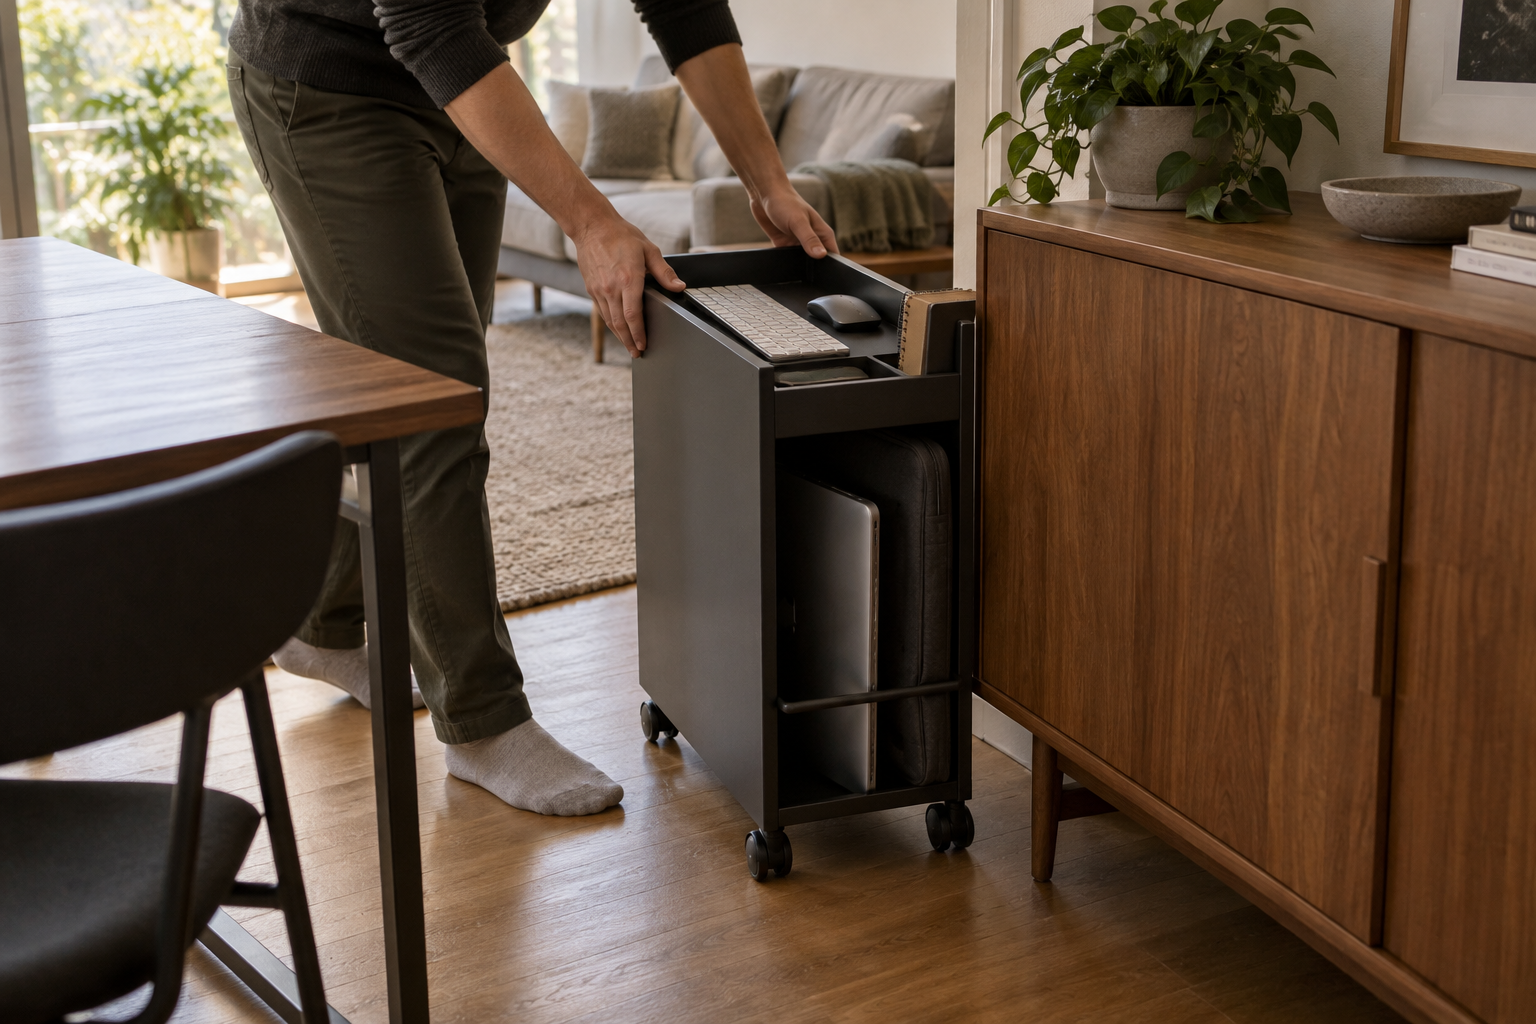
Buying the cart before identifying its parking place simply adds another obstacle. Measure the route, check wheel clearance over rugs, and avoid stacking equipment where it can slide. The tradeoff is a brief daily handling routine rather than an always-ready setup. Skip this method if lifting equipment is difficult, the route includes steps, or children and pets could tip an unsecured load.
The right living room workspace supports both the hours you work and the hours you don’t. Test the chair clearance, screen position, camera view, and shutdown routine before committing to furniture. A modest desk with comfortable equipment and a dependable stopping point will usually serve the room better than a larger setup that never lets go.
Leave a Reply