A tiny home office doesn’t need to look finished from every angle to work beautifully on a video call. It needs one useful camera view: a comfortable face, an orderly background, and nothing private accidentally on display. Before buying anything, open your camera preview and work with what it actually captures. These ten adjustments focus on that rectangle, not a room makeover. Any dimensions below are approximate planning guides; measure your space, equipment, and walking routes before making changes.
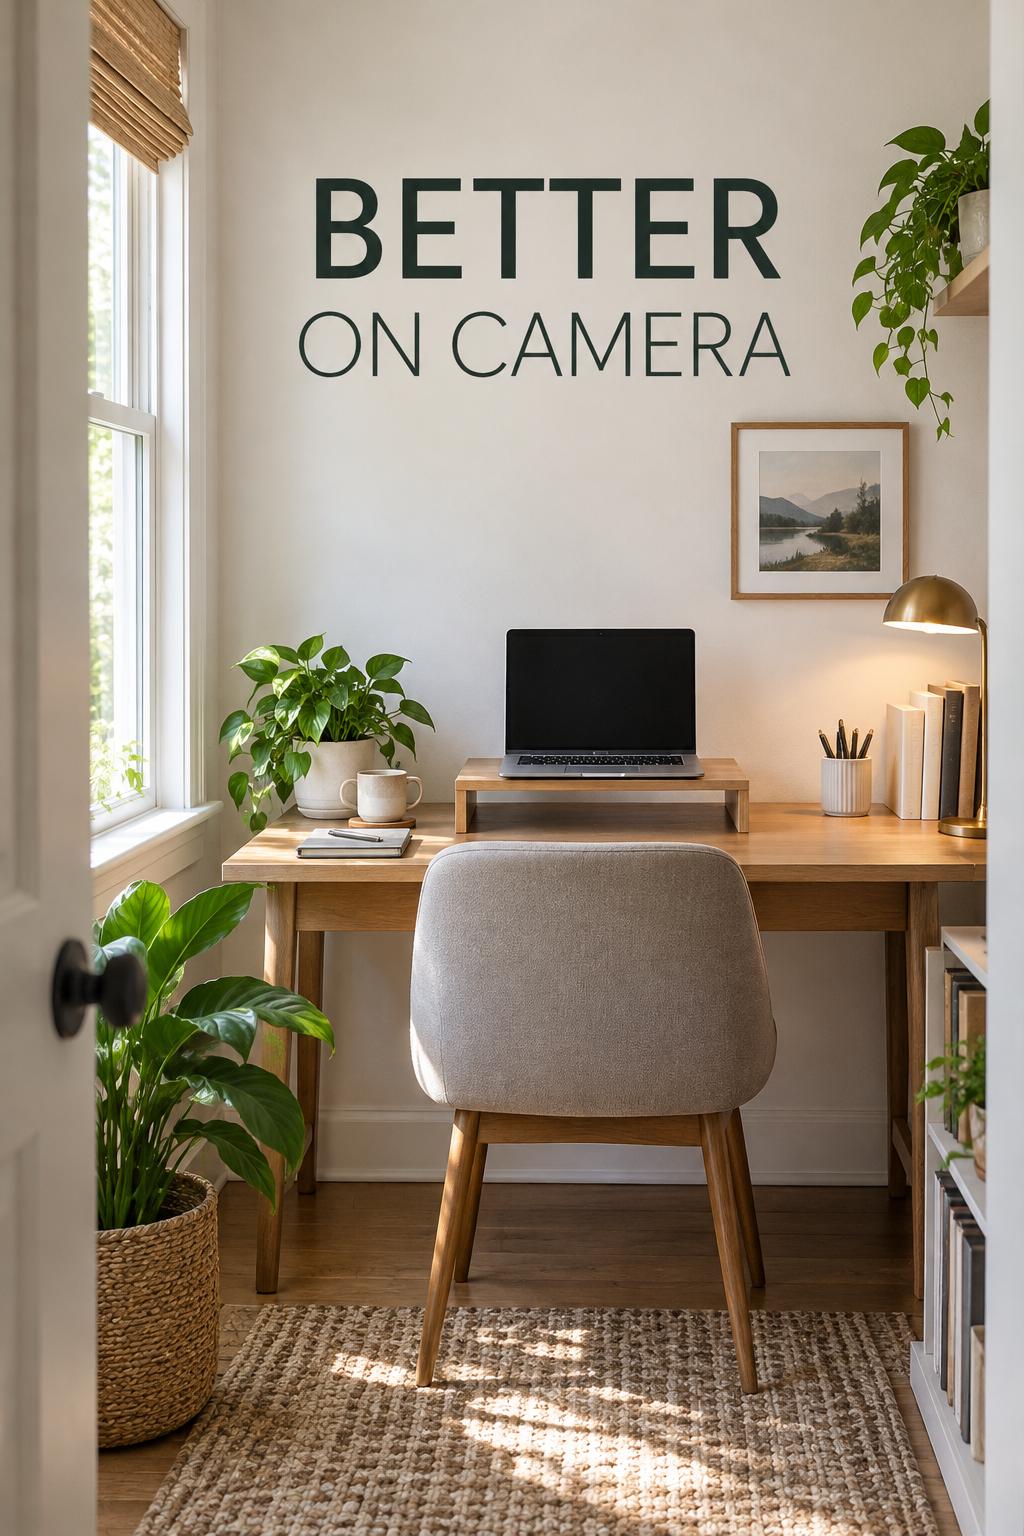
1. Raise the Camera Before Rearranging the Room
Start with the lens near eye level while you sit in your normal working position. A stable laptop riser or adjustable webcam mount can remove the upward view that turns a small office ceiling into your backdrop. For example, raise a laptop on a purpose-made stand, then use a separate keyboard and mouse so the screen height doesn’t dictate your hand position.
Avoid balancing equipment on narrow stacks or raising the camera so far that you must look sharply upward. A higher lens can also reveal more floor behind you, so check the preview again after adjusting it. If your device must stay low for hands-on work, an independently mounted webcam may be more practical than elevating the whole computer.
2. Clear the Visible Paperwork, Not Every Surface
Use the preview to identify the shelf or cabinet top that actually appears behind you. Move mail, appointment cards, and work documents into an existing drawer or opaque file box. In a small office with a low cabinet, keeping its top clear while storing daily paperwork inside creates a calmer view without demanding a spotless room outside the frame.
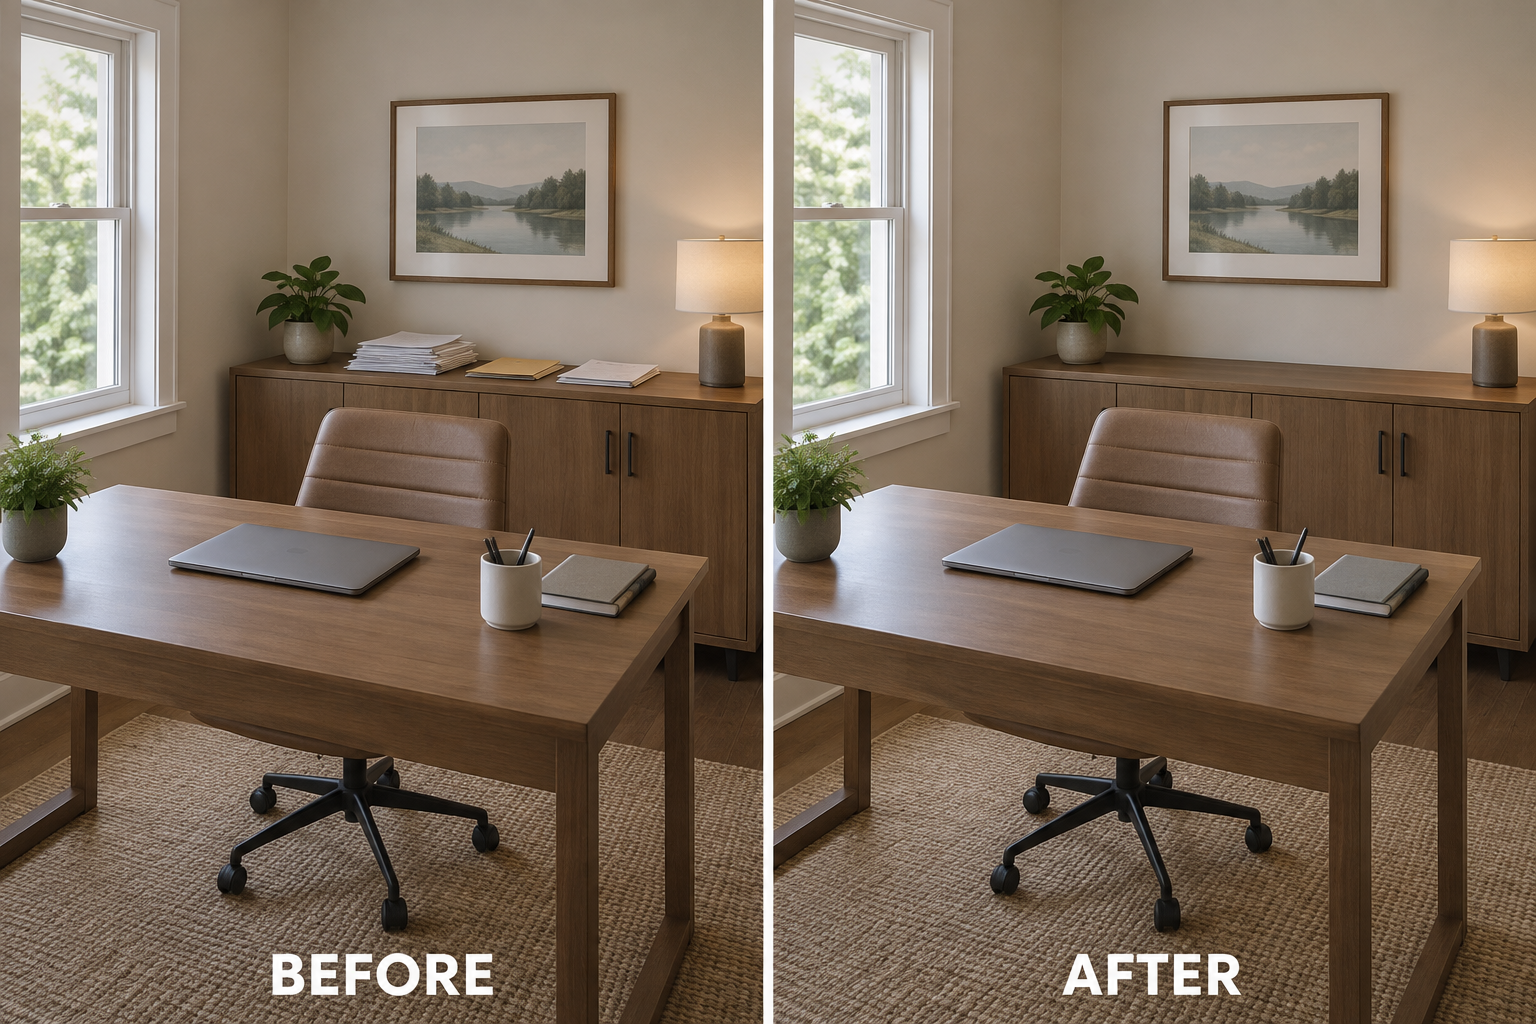
The mistake is relocating a mess into a doorway or onto a chair someone needs. Give the papers a reachable home so this reset takes seconds rather than becoming another chore. If documents must remain open during your call, position them beside the keyboard, outside the camera view, instead of hiding essential work where you cannot use it.
3. Choose a Tighter View Without Leaning Toward the Lens
If your webcam offers field-of-view controls, try a narrower setting before moving furniture. Frame your head and shoulders with a little space above your hair, leaving enough room for natural movement. For example, a tighter view can exclude a laundry basket beside the office nook while keeping your chair centered and your working posture unchanged.
Don’t solve a wide view by putting your face inches from the lens; close placement can exaggerate facial proportions. Heavy digital cropping may also soften the picture. A tight frame is unsuitable when you regularly demonstrate objects or use broad gestures, so test your usual movements and leave the necessary space rather than chasing a perfectly filled rectangle.
4. Put Daylight Beside Your Face, Not Behind It
Test a camera position with the window in front of you or slightly to one side, rather than directly behind your chair. Even turning a laptop on the desktop may help. In a narrow office, a modest diagonal setup can bring soft light across your face while leaving a plain interior wall in the background.
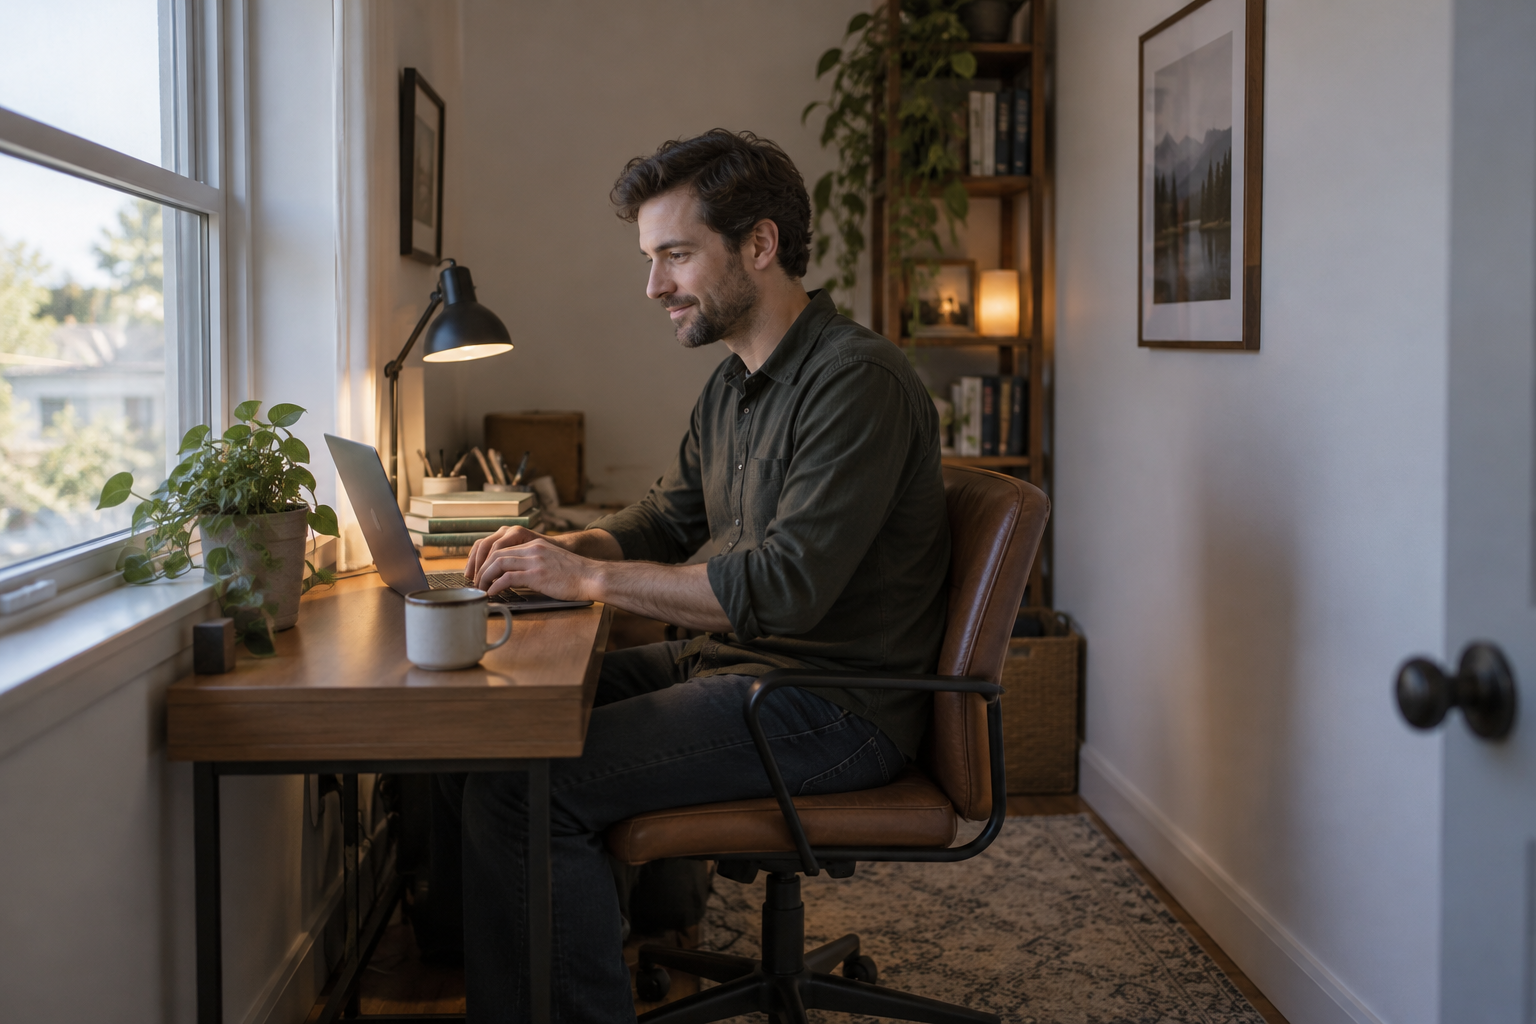
A bright window behind you can make the camera darken your face, but facing direct sun is uncomfortable too. Check the arrangement at your actual meeting time because daylight shifts. Don’t turn a workable desk into an awkward workstation just for lighting; when the room orientation is fixed, adjustable window coverage or a small light may be the better compromise.
5. Remove Reflections That Expose More Than You Expect
Inspect glass-fronted art, mirrors, and glossy cabinet doors in your preview. They may reflect a bright window, another screen, or someone moving through the house. Try tilting a freestanding frame slightly, relocating a small mirror, or replacing one reflective piece with an unglazed print. A matte background often looks quieter without needing any new furniture.
Don’t drape fabric over electronics or ventilation openings to conceal shine. Removing a useful mirror may also inconvenience the household, so first see whether a small angle change removes its reflection from view. When reflective built-ins cannot be altered, reposition the camera slightly and confirm that the new angle doesn’t introduce a different privacy problem.
6. Use a Temporary Screen for Shared-Household Privacy
Where the background includes a bedroom doorway or busy family route, a lightweight freestanding screen can create a temporary visual boundary. Place it behind your chair only if the floor area allows stable footing and easy passage. For example, a folding screen might conceal an open storage alcove during calls, then fold away against an unused wall afterward.
A screen provides visual privacy, not reliable sound isolation. It is unsuitable if it narrows a needed exit, interferes with doors, or becomes a tipping hazard around children or pets. Keep it away from heaters and required appliance clearances. If there is no safe footprint, use a tighter camera view or built-in background blur instead.
7. Create Gentle Contrast With a Reversible Backdrop
If your usual work clothes blend into the wall, introduce a quiet contrasting surface behind your upper body. A securely supported reversible fabric-covered panel can offer a light side and a medium-toned side without repainting. For example, flip the panel to its muted blue side when wearing a pale shirt, keeping the same furniture and camera position.
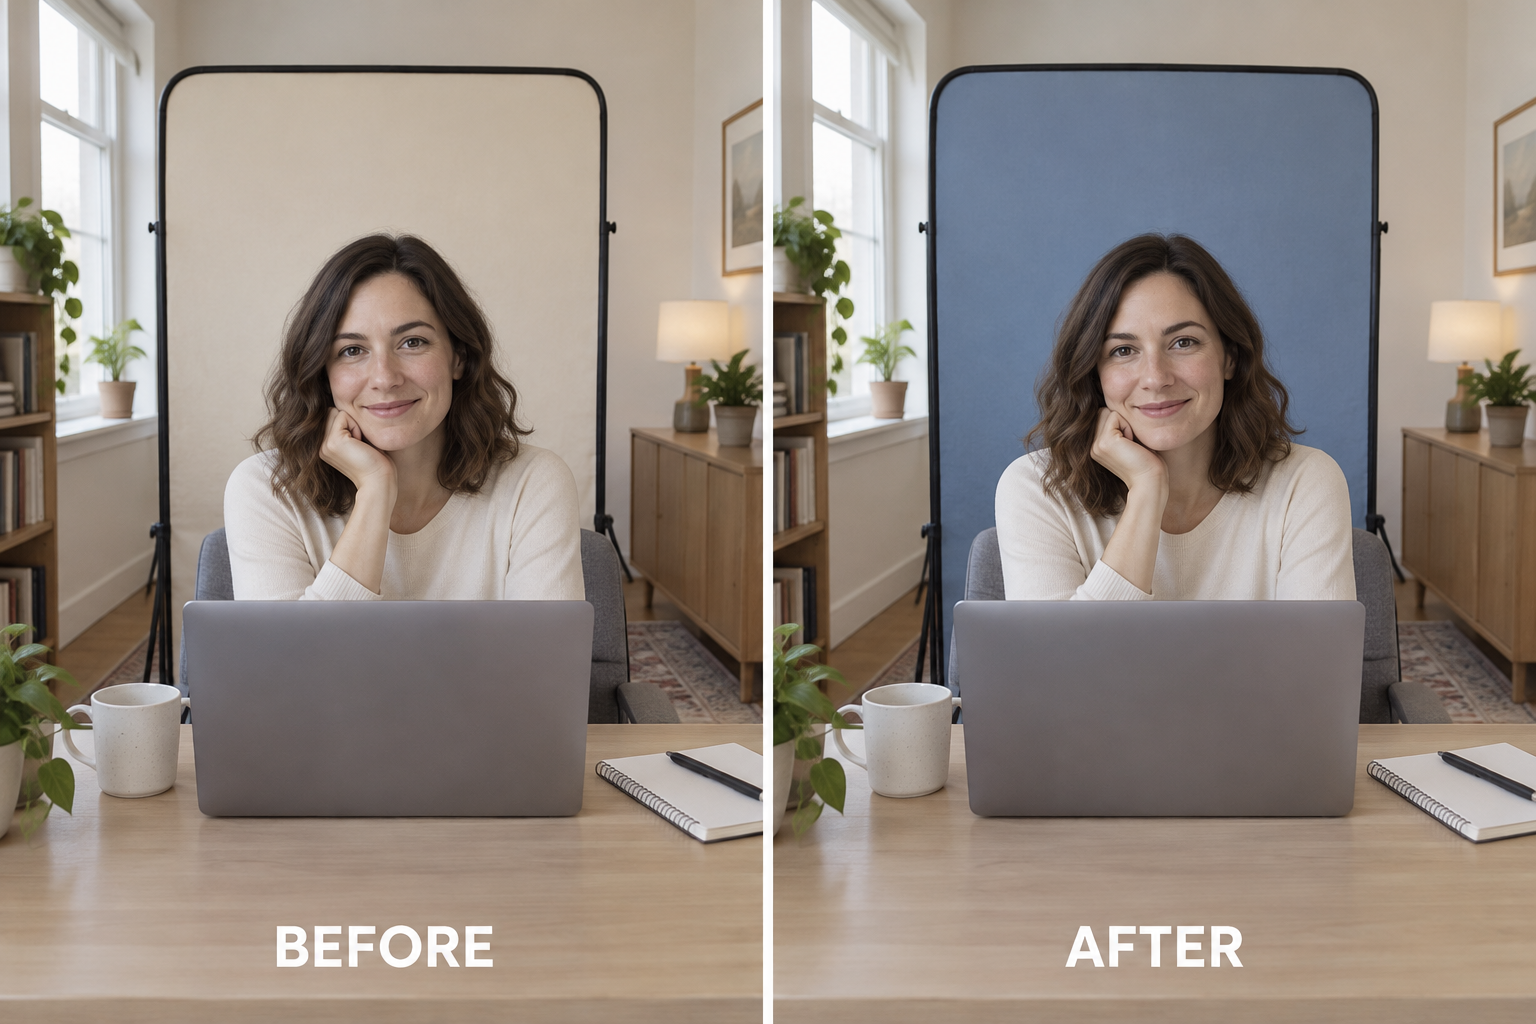
Skip highly saturated colors and busy patterns that dominate the picture or complicate background blur. A panel also needs secure support; don’t lean a heavy board loosely behind your chair. Check rental permissions before fastening anything, and choose another approach if a safe installation would obstruct ventilation, access, or a household member’s use of the room.
8. Borrow a Little Distance From the Back Wall
When space permits, create a small gap between your seated position and the background rather than pressing the chair against it. Even a modest shift can reduce a harsh wall shadow and make the view feel less cramped. In a shallow office, test moving the working setup forward several inches, then check chair movement and the camera preview.
Don’t sacrifice comfortable reach, chair clearance, or a safe walking route for an imagined studio-depth effect. A few inches will not guarantee a blurred background, especially with a basic webcam. If moving forward crowds the desk or stretches cables, keep the original position and favor a simpler wall treatment instead of forcing distance the room cannot spare.
9. Make an Evening Lighting Setting
Prepare a separate setup for calls after daylight fades. Place a small shaded or diffused desk light near camera height and slightly to one side, outside the frame. Test it with the room’s existing lights on. For example, redirect an adjustable task lamp toward your face through its intended diffuser rather than relying on a bright ceiling fixture alone.
An exposed bulb near the lens can cause squinting, glare, or distracting reflections in glasses. Keep lamps stable, route cords away from feet, and never improvise a diffuser with fabric over a hot bulb. If the light spills into a shared sleeping area, a smaller directed source may suit the household better than broadly brightening the office.
10. Add One Removable Piece of Personality
Once the practical problems are solved, give the background one deliberate focal point. Try a lightweight framed botanical print on an existing picture ledge, positioned to one side of your head in the preview. This adds warmth without turning the wall into a decorating project, and the piece can be swapped or removed when your needs change.
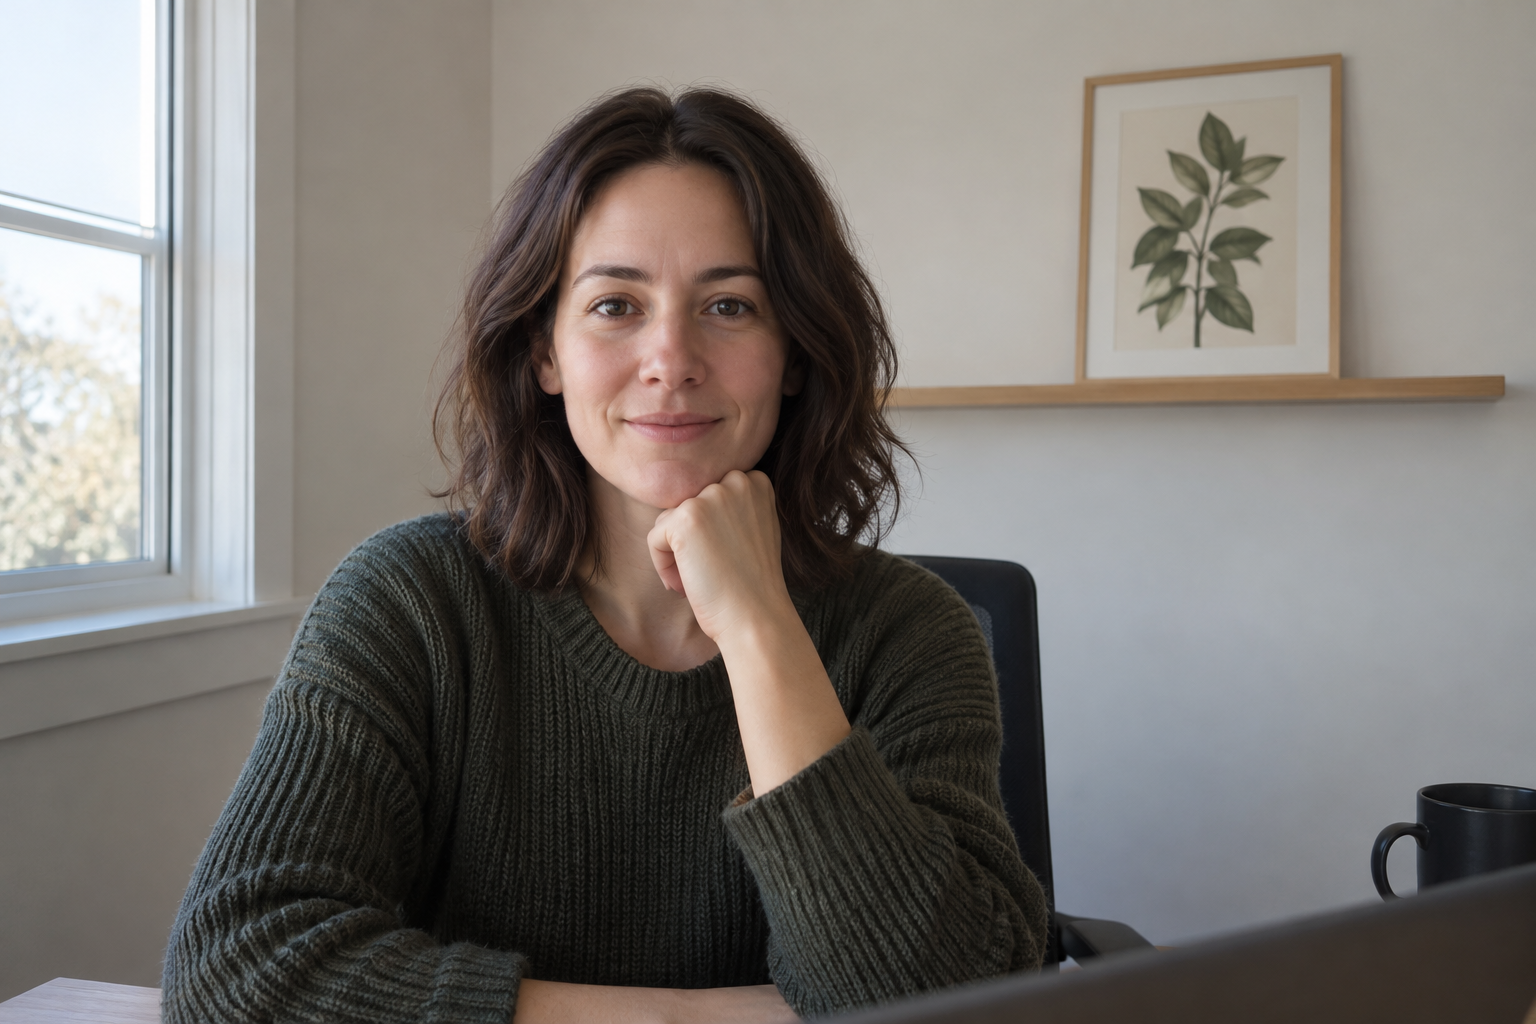
Avoid arranging art so its frame appears to sprout from your head or placing heavy objects on an unsecured ledge. Follow mounting instructions and rental permissions; removable adhesive products are not suitable for every finish or load. If the background already contains useful shelving, one existing object may provide enough character without adding anything at all.
The best video-call background is easy to maintain and compatible with the home around it. Start with lens height, framing, and light, then address privacy and one or two visible details. Save a quick reference photo of your finished setup so restoring it before the next meeting takes little thought.
Leave a Reply