The laptop fan gets louder after lunch, the dock sits behind a stack of mail, and the printer’s cabinet door stays closed because the desk faces the living room. Before buying a cooling accessory, trace where each device’s heat can actually go. A fan running during demanding work can be ordinary; repeated shutdowns, temperature warnings, or a fan that suddenly grinds deserve attention. Smoke, sparks, a burning smell, or battery swelling mean stop using the device—not rearrange around it.
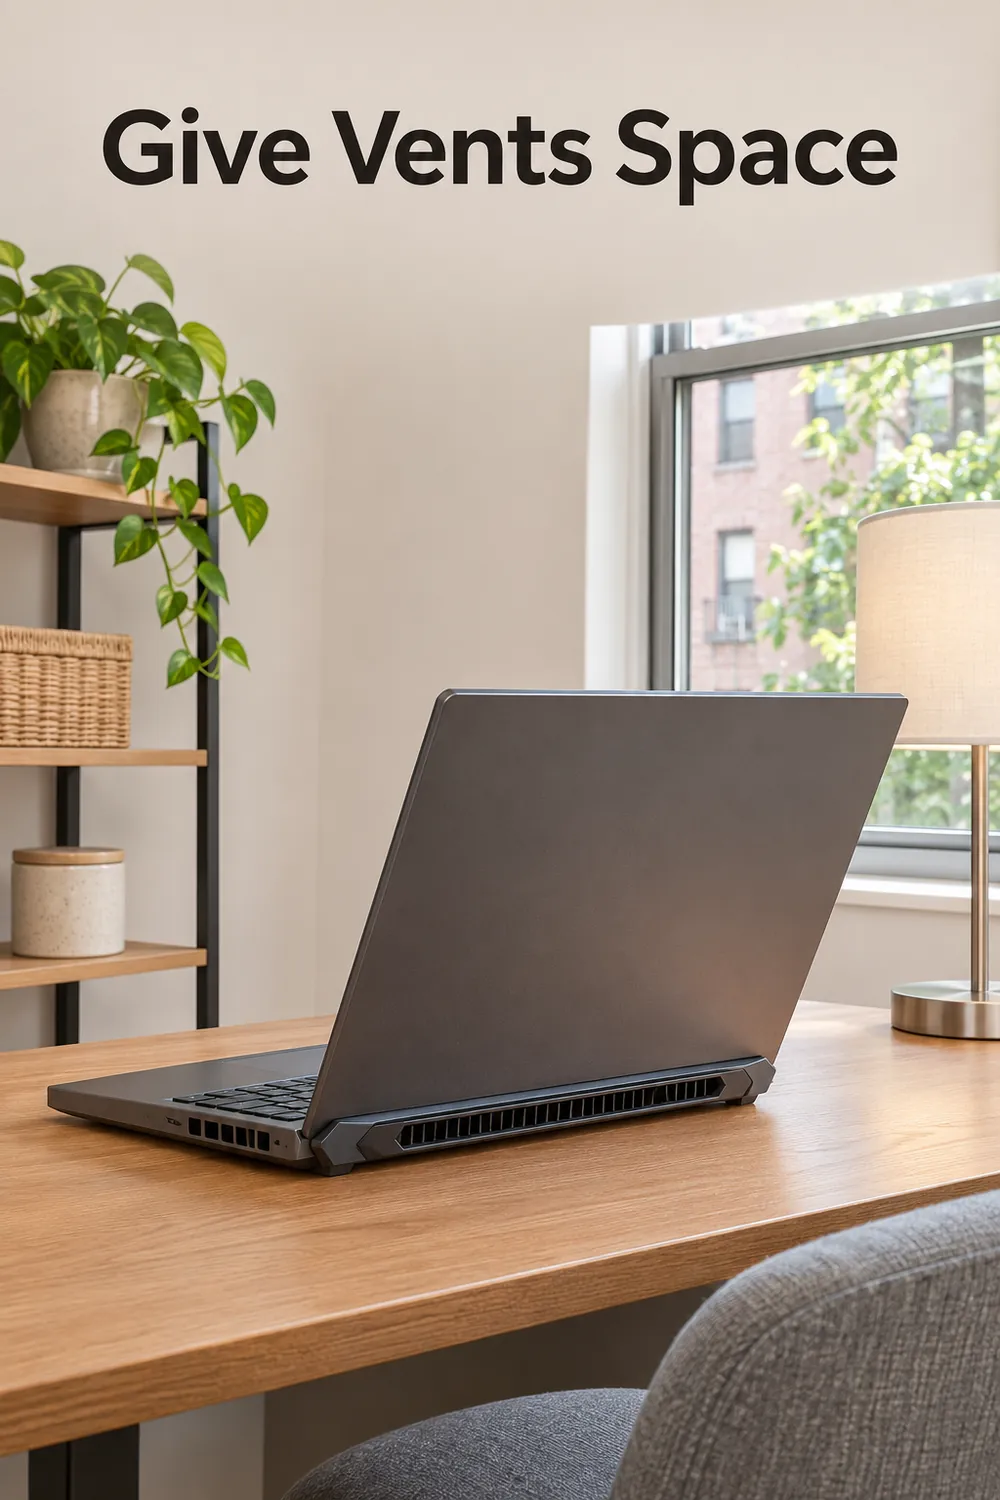
1. Map each device’s intake and exhaust
Start with an inventory of everything powered in the nook: computer, monitor, dock, printer, external drives, router, and chargers. Find the exact model’s manual or manufacturer support page and identify its ventilation openings. A grille underneath a laptop may serve a different purpose from one beside the hinge. Appearance alone doesn’t reliably tell you which openings draw air in and which release it.
Sketch a simple top view of the setup and mark the documented airflow directions. Include underside and rear openings that disappear once equipment is installed. On a small desktop computer, for instance, the intake might face a basket that looks harmless from your chair. Don’t insert anything into vents or use smoke to trace airflow; if the documentation is unclear, ask the manufacturer.
2. Measure clearance against the actual instructions
Check each manufacturer’s placement requirements before deciding that a finger-width gap is enough. With equipment shut down, measure from the relevant vent or case surface to the nearest wall, shelf, cabinet panel, or object, following the manual’s reference points. A tape measure reveals restrictions that a tidy-looking desk can hide, especially behind a monitor or beneath a shelf.
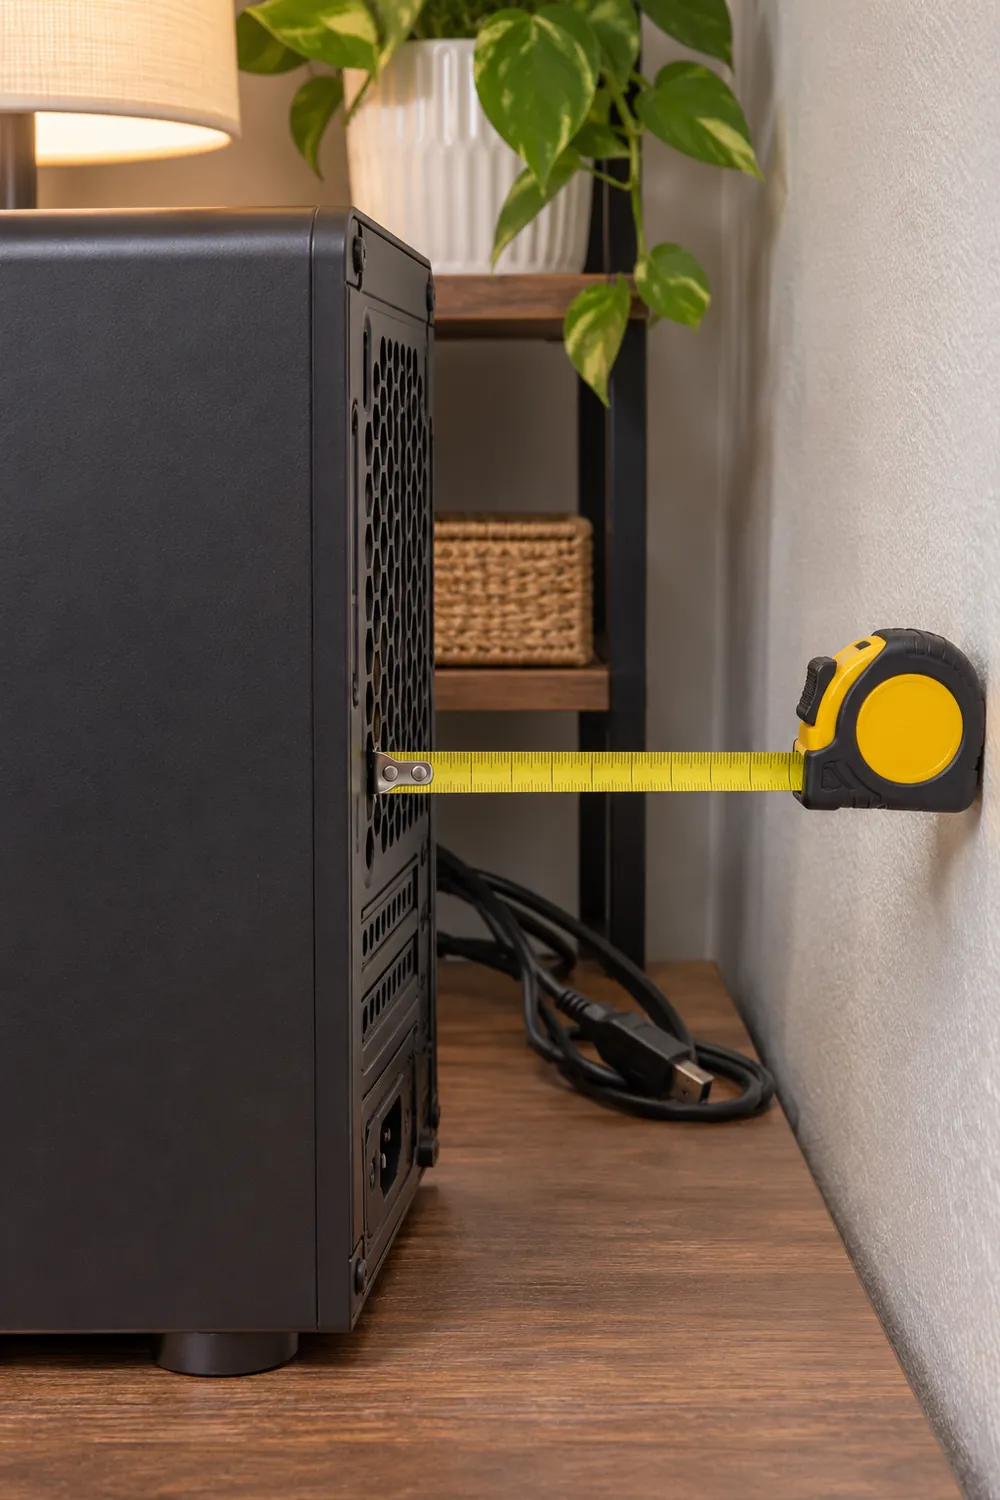
If instructions call for several inches behind a device, moving it forward may leave cords exposed or reduce your usable surface. That is a real tradeoff, not a reason to ignore the requirement. Measure the furniture and available room before shifting anything, including door swings and access routes. Keep cables slack enough for the new position without pinching them behind furniture or obstructing a walkway.
3. Give the laptop a firm, uncovered base
Move a working laptop off a bed, upholstered chair, folded blanket, or padded sleeve. Soft materials can press against underside vents and interfere with the space provided by the laptop’s feet. Use a stable, hard surface that supports the entire machine. At a desk squeezed beside a sofa, returning the laptop to the bare desktop may be the simplest useful change.
A stand is optional, and its platform or support rails must not cover the model’s vents. Check that it holds the laptop securely and follows the manufacturer’s placement guidance; balancing it on books or a narrow box creates a different problem. Keep fabric desk mats out from beneath vented equipment when they obstruct airflow. A stand cannot compensate for a blocked exhaust or an unsuitable cubby.
4. Open—or retire—the equipment cubby
A cabinet that hides a computer can also hold its exhaust close to the intake. If the equipment instructions allow that installation, open the cubby during operation and check every required clearance, including behind and above the device. A front door alone may not be the problem: a shallow, solid-backed compartment can remain unsuitable even with its door fully open.
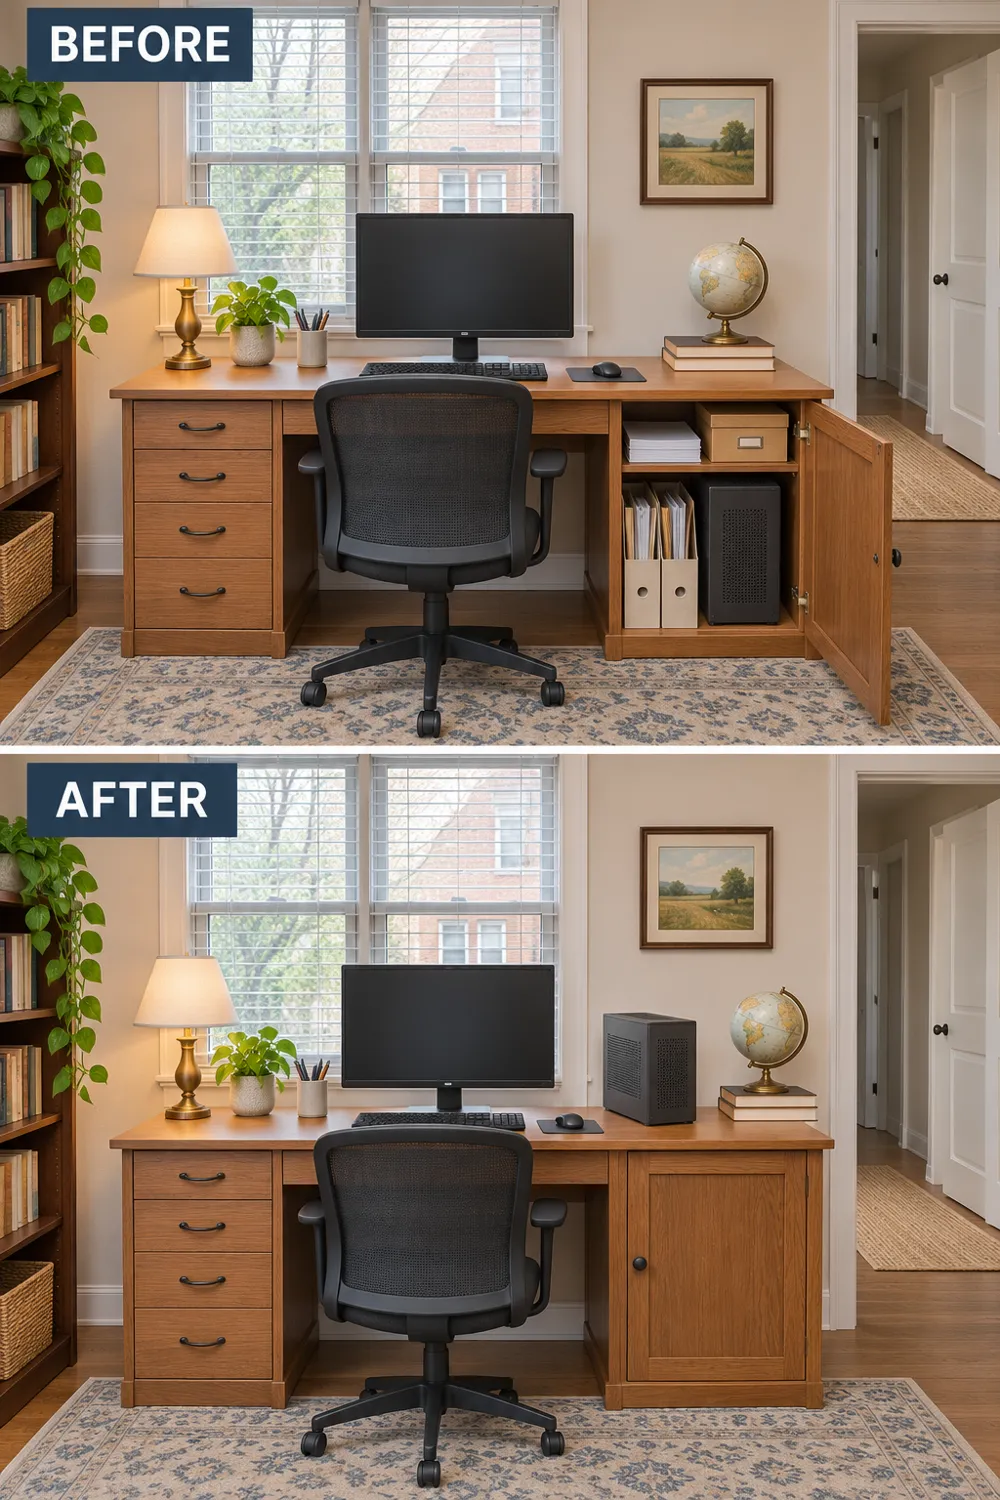
When the compartment cannot meet the instructions, move the powered equipment out and reserve the cubby for supplies. Avoid treating an open door as proof of adequate ventilation. In a shared workspace, make opening an approved enclosure part of the start-of-work routine; the same kind of checklist used for a shared desk’s daily handoff can keep someone else from closing it mid-session.
5. Stop one device’s exhaust from feeding another
Use your airflow sketch to look for a hot-air relay. A compact computer exhausting directly toward a dock’s intake gives the second device warmer air to work with. Reposition one device so its exhaust has an unobstructed path away from the other’s intake, while retaining all required clearances. Sometimes a small sideways move helps more than moving both devices farther from the wall.
Check the result from behind the desk, not just from your seated position. Cable bundles, a monitor base, and the nook’s side panel can redirect or trap exhaust. Rotate equipment only into orientations the manufacturer permits; not every computer or drive can stand on its edge. Don’t build cardboard ducts or aim an improvised electrical cooling setup into the gap. Fix the placement rather than concealing the restriction.
6. Keep power adapters out of hiding
Find the power bricks that have slipped beneath papers, into a fabric cable pouch, or behind a cushion. Keep adapters uncovered on stable surfaces in locations consistent with their instructions. A laptop charger can become warm in normal use, but wrapping it in a sleeve while charging prevents its case from shedding heat as intended. Leave the sleeve for storage after use.
Separate adapters rather than piling them together, and leave their cords free of furniture pressure and sharp bends. An open cable tray is useful only if the manufacturer permits the placement and the tray doesn’t become a packed bin. Keep adapters away from spills and reachable without dismantling the desk. Replace damaged equipment through approved channels; never open a power supply or modify its casing to add ventilation.
7. Unstack equipment that produces heat
Give heat-producing devices their own supported positions instead of stacking a dock, external drive, and mini computer into one tidy tower. Even without an exhaust pointing into an intake, close stacking can cover vents or hold warm surfaces together. Spread the devices across an existing shelf or desktop, with each unit in an approved orientation and the specified space around it.

This costs surface area, so move low-use paper storage before buying more furniture. A sturdy existing shelf may help if it meets placement requirements and leaves equipment accessible. If spreading equipment makes the work area dominate a shared room, borrow the boundary-setting approach in planning a desk in a small living room, but don’t restore a cramped stack just to hide work.
8. Move equipment out of direct sunlight
Notice where sunlight lands during your actual working hours. A computer that stays shaded at breakfast may sit in a bright rectangle by midafternoon. Move the device out of that beam without trading sunlight for a blocked vent. On a narrow desk, shifting the computer to the opposite side may be enough; confirm that cables reach without strain.
If equipment cannot move, use an existing shade or curtain to interrupt direct sun, keeping fabric away from devices and ventilation openings. Check the manufacturer’s operating-environment limits as well. Blocking a sunbeam removes one source of added heat, but it doesn’t make an enclosed cabinet suitable or solve an internal fault. Never drape a cloth over a computer as a sun cover while it operates.
9. Investigate symptoms that placement changes don’t resolve
A fan getting louder during a video export or long call is not, by itself, proof of overheating. Follow the manufacturer’s guidance for temperature warnings, repeated thermal shutdowns, unusual fan behavior, or persistent performance problems. Note the task, warning message, and device involved, then use approved diagnostics or contact support. Don’t rely on touch alone or an arbitrary temperature found online to diagnose the problem.
Stop using equipment that shows smoke, sparks, a burning smell, battery swelling, or other signs of damage. Disconnect power only if safe; don’t handle a smoking or swollen device, and seek emergency help for fire or immediate danger. For recurring warnings without those danger signs, follow shutdown instructions and arrange manufacturer-approved service. Repeatedly restarting to finish a deadline is not a troubleshooting method.
10. Clean only the vents you’re instructed to service
Once the layout is workable, inspect accessible exterior vents for dust and pet hair. Shut down and disconnect equipment as its instructions require, then use only the cleaning method the manufacturer specifies. For a device whose instructions permit exterior wiping, gently clean around the vent with the recommended dry cloth. Keep liquids, tools, and loose debris out of the openings.
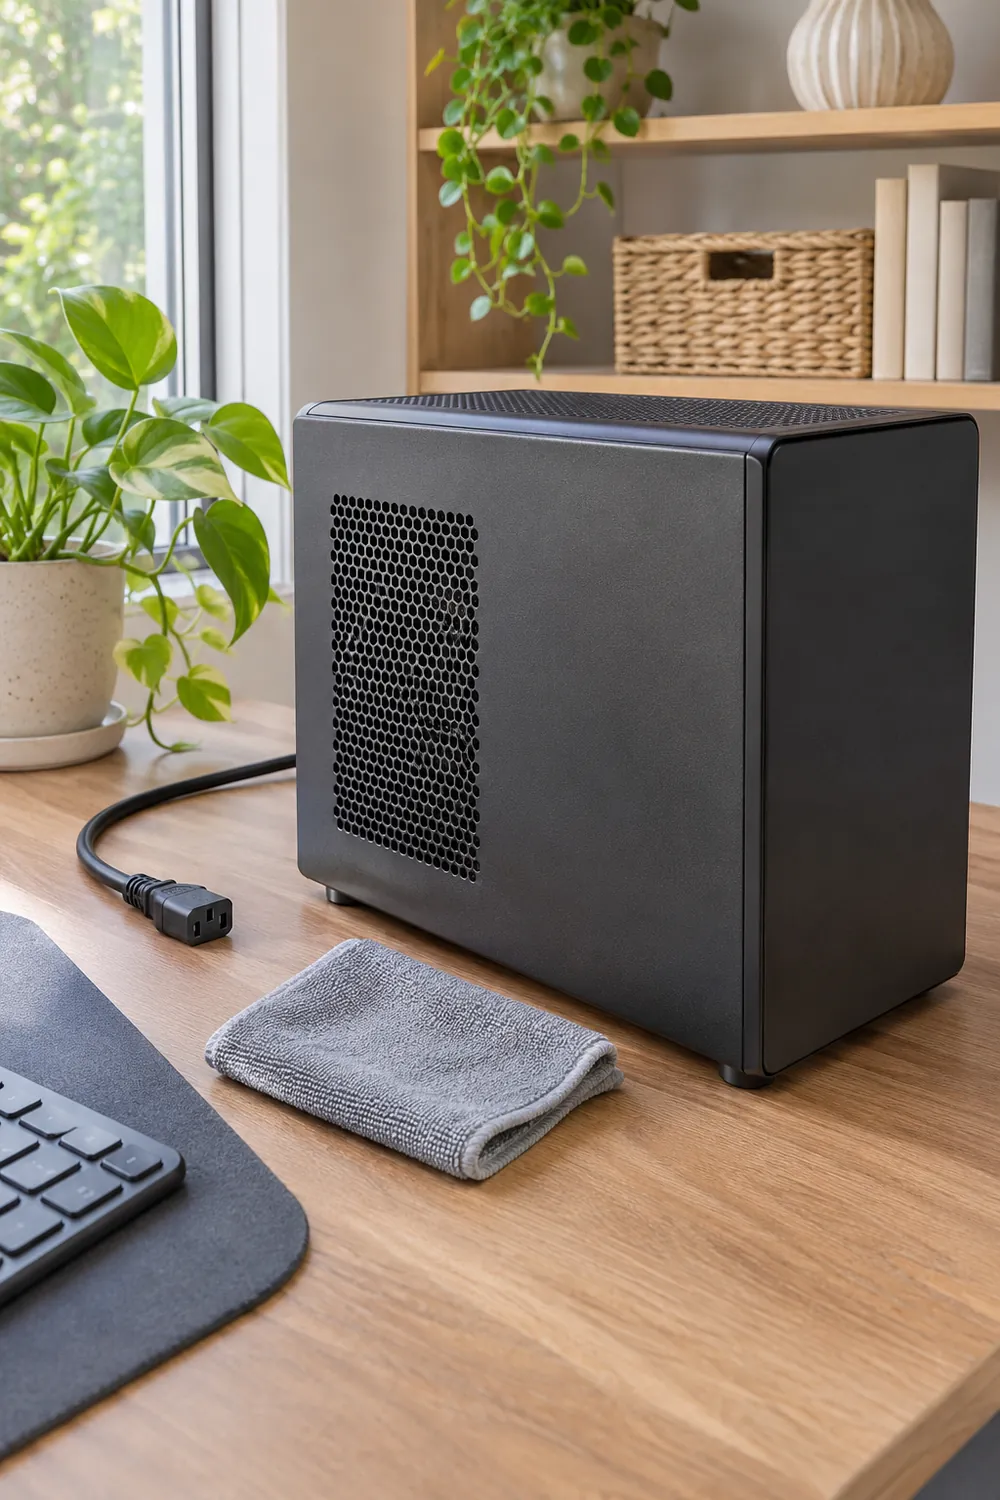
Don’t assume compressed air, a household vacuum, or removing a panel is approved for your model. If debris is beyond the user-serviceable area, leave it to authorized service rather than probing through a grille. Keep enough access to inspect the vent again without emptying the whole desk. Check periodically and adjust to visible buildup, especially in a nook near pet bedding or a lint-shedding rug.
Start with the device showing symptoms: find its vent diagram and placement requirements, then compare them with the nook as it actually operates. Correct the clearest obstruction first. If warnings continue despite an approved setup, stop rearranging and seek diagnostics or service.
Leave a Reply