Dinner is finished, but the pillow beside your kitchen still smells like fried onions. In a studio, cooking fumes have a short trip to the bed, sofa, and curtains. The useful response starts at the stove: find out what your hood actually does, then reduce the grease and odors that escape it. These ten measures work together without relying on candles, room sprays, or a promise that your home will never smell like cooking.

1. Find out where your existing hood sends the air
Before buying anything, identify your hood’s model and check its manual or ask building management how it is configured. A ducted hood sends captured air outdoors; a recirculating hood filters some material and returns the air to the room. A cabinet above the stove does not establish which type you have, and an apparent duct may need confirmation from maintenance.
Use the hood according to its instructions, starting before cooking and leaving it running afterward as directed. Choose a burner well beneath its capture area when practical. Recirculating filters have limits, especially for gases and odors, and neither a quieter room nor less smell proves combustion safety. With fuel-burning appliances, follow manufacturer and building ventilation guidance and maintain required alarms; an air cleaner is no substitute.
2. Clean only the hood filters designed to be washed
A sticky metal grease filter is a useful maintenance target, but check the manual before removing it. With the appliance off and cool, take out only user-serviceable parts and protect the counter beneath them. Wash reusable metal filters with the method the manufacturer permits—often dish soap and warm water—and let them dry fully before reinstalling. Do not assume every filter is dishwasher-safe.
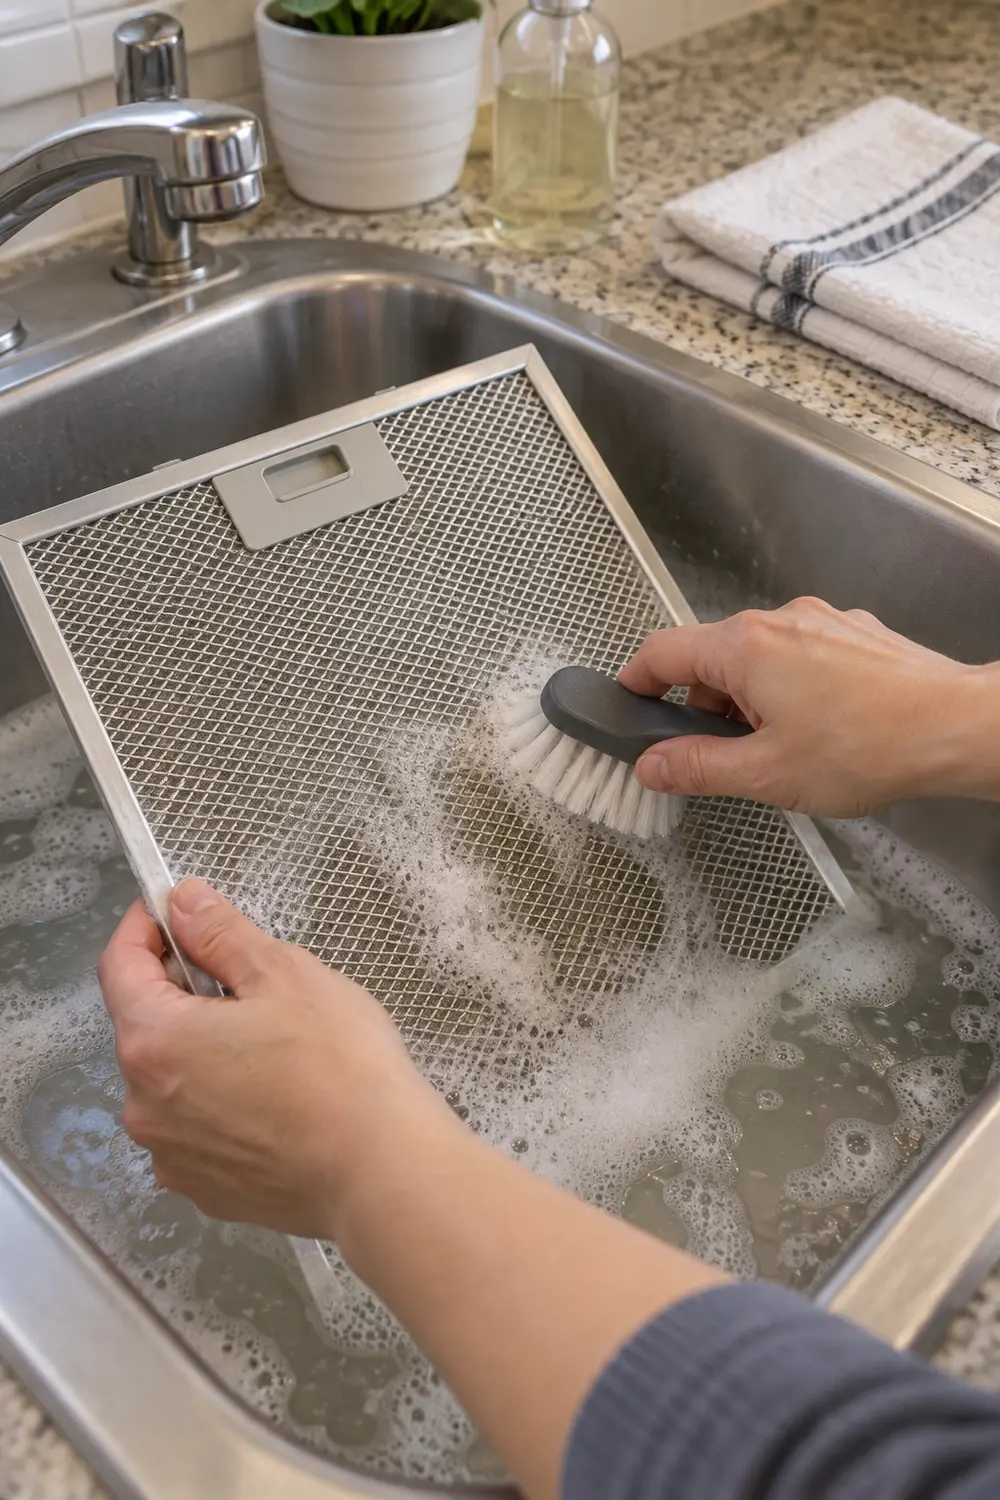
Charcoal odor filters are different: many require replacement rather than washing, on the schedule specified for that model and your cooking use. A grease-loaded hood needs maintenance, not a stronger fragrance nearby. If a filter is missing, damaged, or inaccessible without dismantling the appliance, send the model information and a photo to your landlord or service provider rather than improvising a substitute.
3. Prevent avoidable oil smoke before it spreads
Watch the pan instead of letting oil heat unattended while you chop. Prepare ingredients first, use an oil suitable for the cooking method, and increase heat deliberately rather than automatically turning the burner to high. For a skillet dinner in a room shared with your bed, moderate heat and smaller batches may be a better compromise than an aggressively smoky sear.
Smoking oil is a cue to stop adding heat, not to turn up a fan and continue unchanged. If safe, turn off the burner and let the pan cool; never pour water into hot oil. Clean burnt residue from cooled cookware before the next batch. Some browning smells are part of cooking, but repeated smoke from an overheated empty pan is avoidable.
4. Cover simmering food when the recipe allows
A properly fitting lid can limit splatter and reduce the direct escape of cooking vapors, though it does not seal in every odor. Cover rice, braises, and soups when the recipe calls for it, adjusting the heat to maintain the intended simmer. A pot of beans needs less exposure to the room than an uncovered skillet used for crisping potatoes.
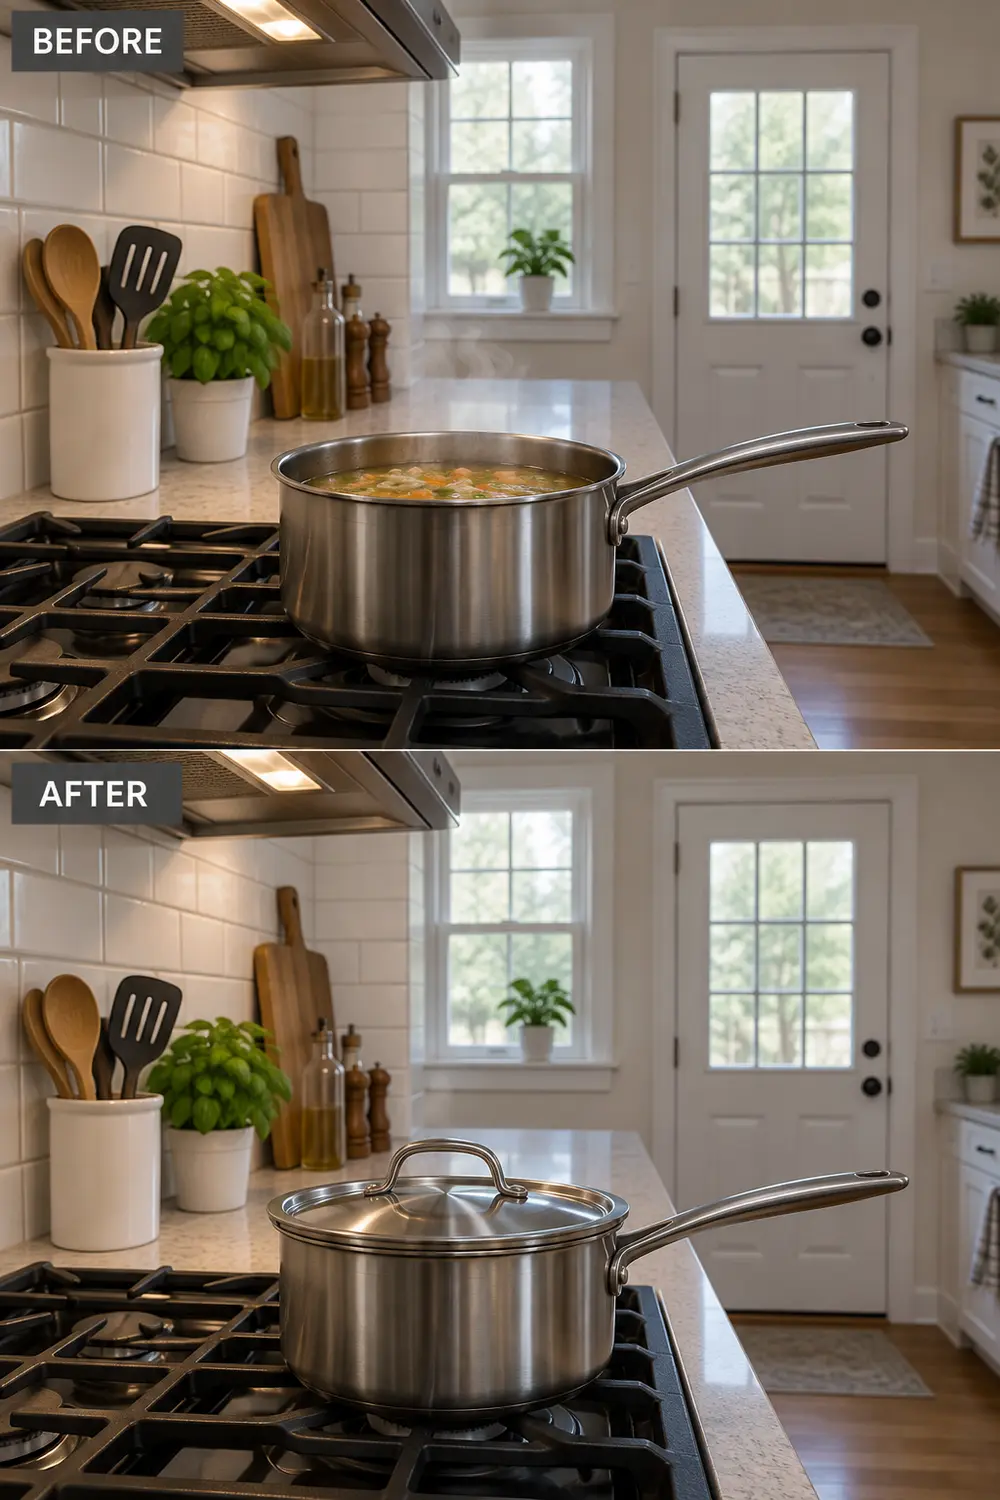
Keep the lid off when evaporation or a crisp surface is necessary; covering everything can spoil the meal and cause boilovers. Lift lids carefully, directing escaping steam away from your face. A splatter screen can contain grease droplets during frying, but its open mesh does not trap cooking gases. Treat it as a cleanup aid, not an odor filter.
5. Give a portable air cleaner a safe, unobstructed position
If you already own an air cleaner, check its recommended room size and placement clearances. Set it on a stable surface or the floor as designed, outside the stove’s heat and splatter zone, with its intake and outlet unobstructed. In a studio, the kitchen–living-area boundary may be practical, provided the cord stays out of walkways and the unit does not obstruct an exit.
A particle filter can capture airborne particles, including some cooking aerosols; it does not remove all odor-causing gases. Activated carbon may help with some gases, but performance depends on the amount of carbon, airflow, and replacement—not simply an “odor” label. Avoid devices intended to generate ozone. Expect fan noise and filter upkeep, and never treat a purifier as protection from combustion gases or inadequate ventilation.
6. Remove greasy scraps instead of storing their smell overnight
The pan may be clean while oily paper towels, fish packaging, and food scraps keep scenting the room. After cooking, collect greasy waste and close the trash container. If the building’s disposal area is accessible, taking a small bag out that evening may help more than leaving it beneath a counter a few feet from your pillow.
Let cooking oil cool before transferring it to a suitable closed container for disposal under local rules; do not pour it down the drain. Empty food scraps from the sink strainer and wipe residue beneath the trash lid. A lidded bin contains waste between trips, but it cannot compensate for accumulated grease. Keep bags and oil containers away from children and pets.
7. Ventilate along a route that avoids the bed
When outdoor air quality, weather, noise, and security permit, open an appropriate window to help exchange indoor air. Look at the route between the kitchen and that opening: if it crosses the pillows, move washable bedding out of the direct path. A window near the kitchen may be more useful than one beyond the bed, although actual airflow varies with wind and the building.

Do not prop open a shared hallway door or block an exit to create a breeze. Avoid directing a fan across burners, and get building or manufacturer guidance before adding powerful exhaust equipment where fuel-burning appliances are present. Room dividers can organize a studio, but reversible ways to separate the sleeping area provide privacy, not an airtight barrier against cooking odors.
8. Wash the textiles that work beside the stove
Dish towels, aprons, oven mitts, and washable kitchen curtains can retain the greasy residue you have removed from harder surfaces. Retire a splattered towel after the cooking session instead of leaving it on the oven handle for several days. Follow each care label, and dry items completely before putting them away; use clean, dry heat-protective mitts for handling cookware.
Keep clean replacements outside the immediate splatter zone, even if that means one small drawer rather than a decorative towel basket beside the range. A simple linen-storage reset for towels and bedding can make that rotation easier. Washing kitchen textiles is manageable; laundering every sofa cover after dinner is not. Concentrate first on fabrics closest to the cooking.
9. Put washable bedding under cover before odor-heavy meals
Before frying fish or cooking a long onion-heavy meal, tuck exposed pillows and the duvet into a closed closet or other clean storage if space permits. Another option is a lightweight, washable cover spread over the made bed, with pillows underneath. It offers a removable layer for settling droplets rather than leaving your everyday sleep surfaces directly exposed.
This is not an odor-proof enclosure, and the cover itself will need washing. Remove it after the cooking air has cleared, folding the exposed side inward rather than shaking it across the bed. Keep every cover well away from the range, heaters, and ventilation openings. Protecting bedding is worthwhile for occasional odor-heavy meals; it should not become a substitute for dealing with smoke and grease.
10. Wipe the nearby surfaces that quietly collect grease
Once the cooking area is cool, clean the backsplash, counter edge, and other nearby washable surfaces where fine grease settles. Pay attention to the cabinet pull you touch with cooking hands and the side of a freestanding shelf beside the range. Use a product and method appropriate for each finish, applying cleaner to the cloth when needed to avoid overspray.
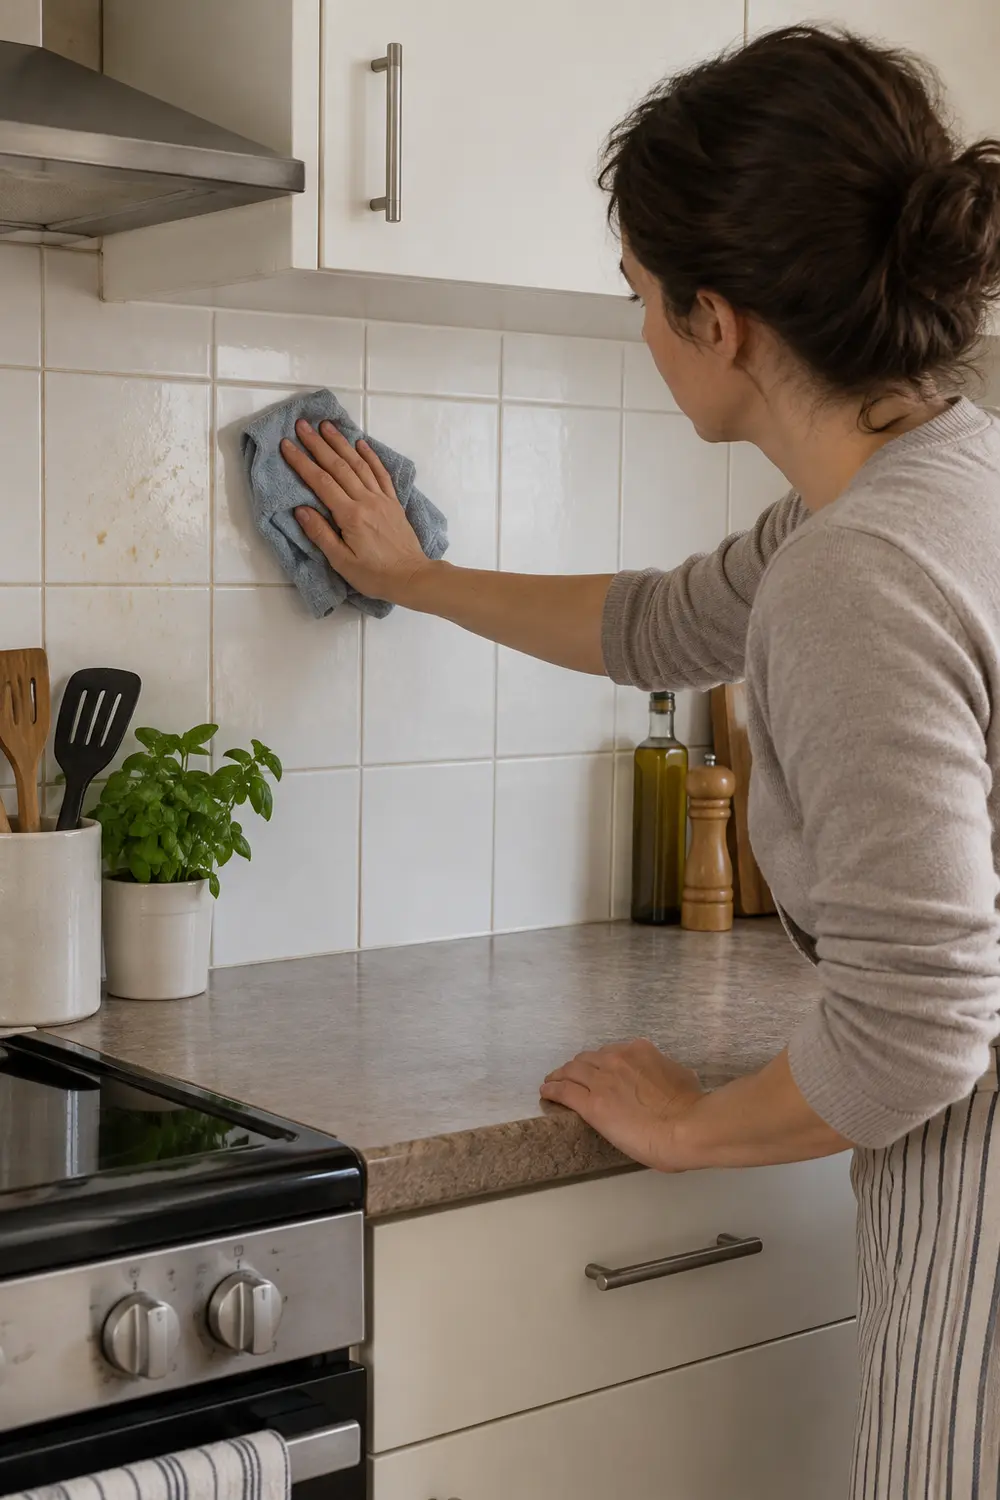
Follow cleaner directions, do not mix products, and avoid soaking cabinet seams, controls, or outlets. Painted walls and wood finishes may need gentler treatment than tile; test an inconspicuous spot first. A short wipe-down after a splattery meal is more realistic than frequent whole-room cleaning. It removes a residue source instead of leaving it to contribute odors between meals.
Start by identifying your hood and checking its filter-care instructions. At your next dinner, add one habit matched to the meal: cover the simmering pot, prevent oil from smoking, or remove greasy waste promptly. Build from the source before adding more equipment.
Leave a Reply