A deep kitchen cabinet can hold plenty and still feel impossible to use. Crackers disappear behind cereal, cans collect in dark corners, and finding dinner ingredients requires unloading half a shelf. The answer isn't necessarily more storage; it's making existing storage easier to see, reach, and reset. These ten approaches work without renovation, and most can start with supplies you already own. Measure cabinet openings, interior depth, hinges, and shelf clearance before buying organizers; any dimensions mentioned are approximate planning guidelines, not compliance standards.
1. Give the Front and Back Different Jobs
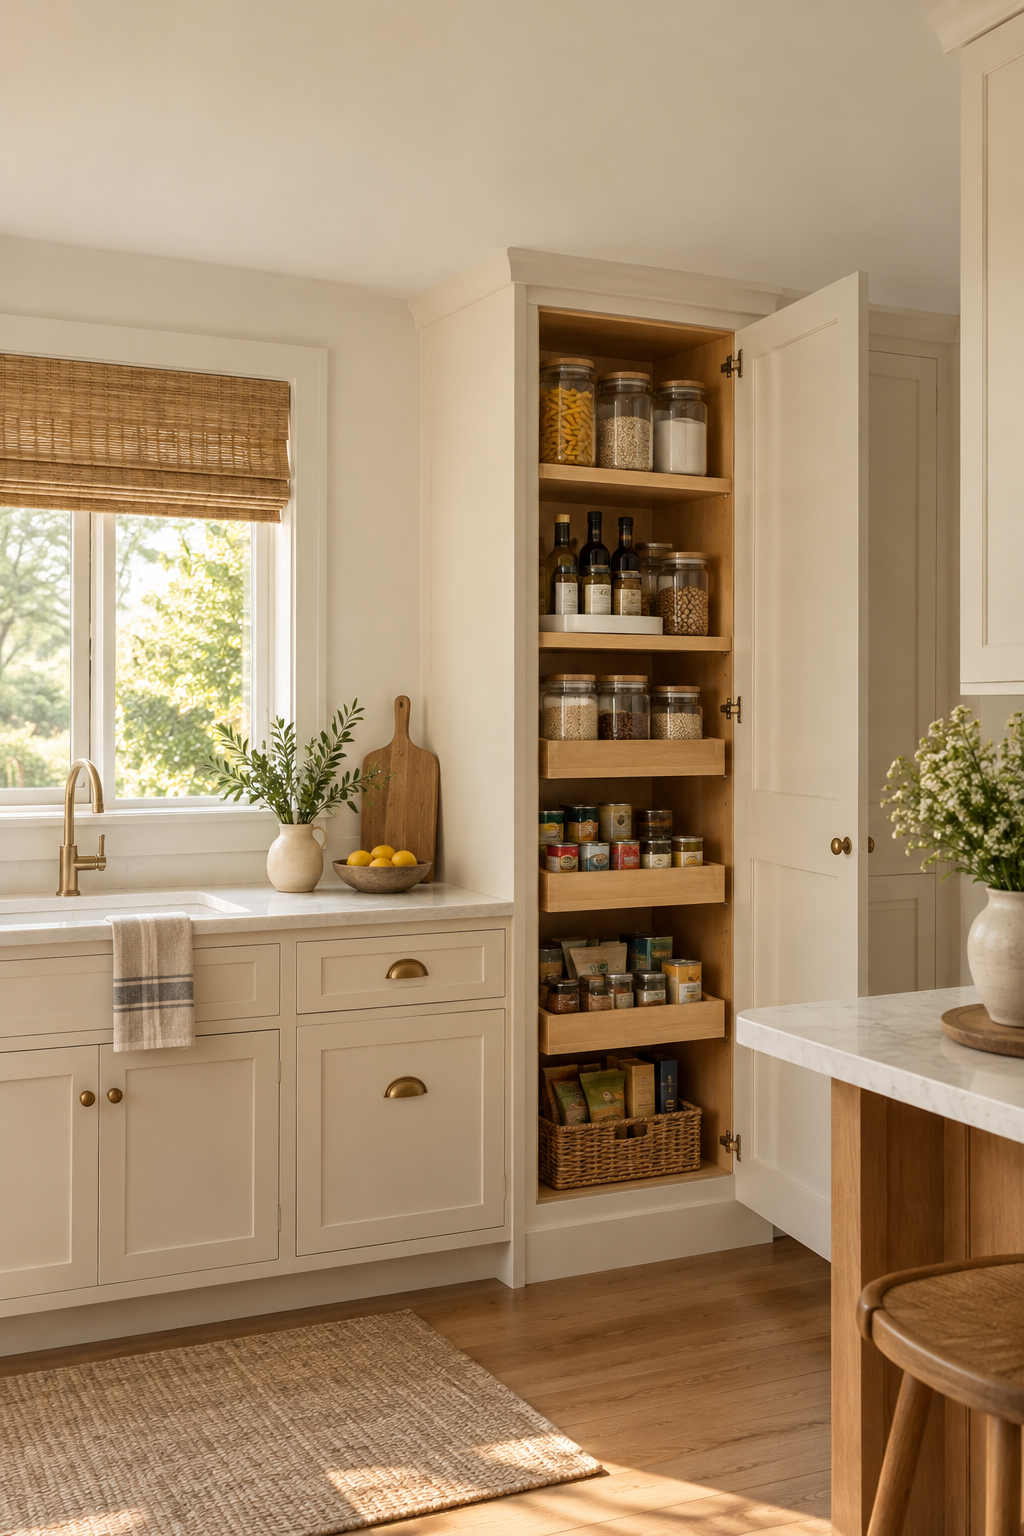
Assign cabinet depth according to how often you actually use something. Keep breakfast foods and everyday dinner ingredients at the front, with unopened duplicates directly behind their matching products. For example, place the open oatmeal container near the shelf edge and its replacement behind it. Put occasional baking supplies farther back, but keep their category visible from the doorway.
The common mistake is calling the back a reserve zone and filling it with unrelated leftovers. That simply creates a second hiding place. Keep each front-to-back lane specific, and avoid stacking so deeply that checking quantities becomes difficult. If reaching the rear requires climbing or stretching, store lightweight, infrequently used goods there rather than heavy jars or daily staples.
2. Pull Out a Whole Food Category in One Bin
Use a narrow, handled bin to turn a deep shelf into a removable drawer. Group foods used together, such as taco shells, seasoning packets, and canned beans, so one pull brings the meal components forward. Choose a bin that clears the hinges and leaves room for your hand. Test the fit with an empty cardboard box before purchasing anything.
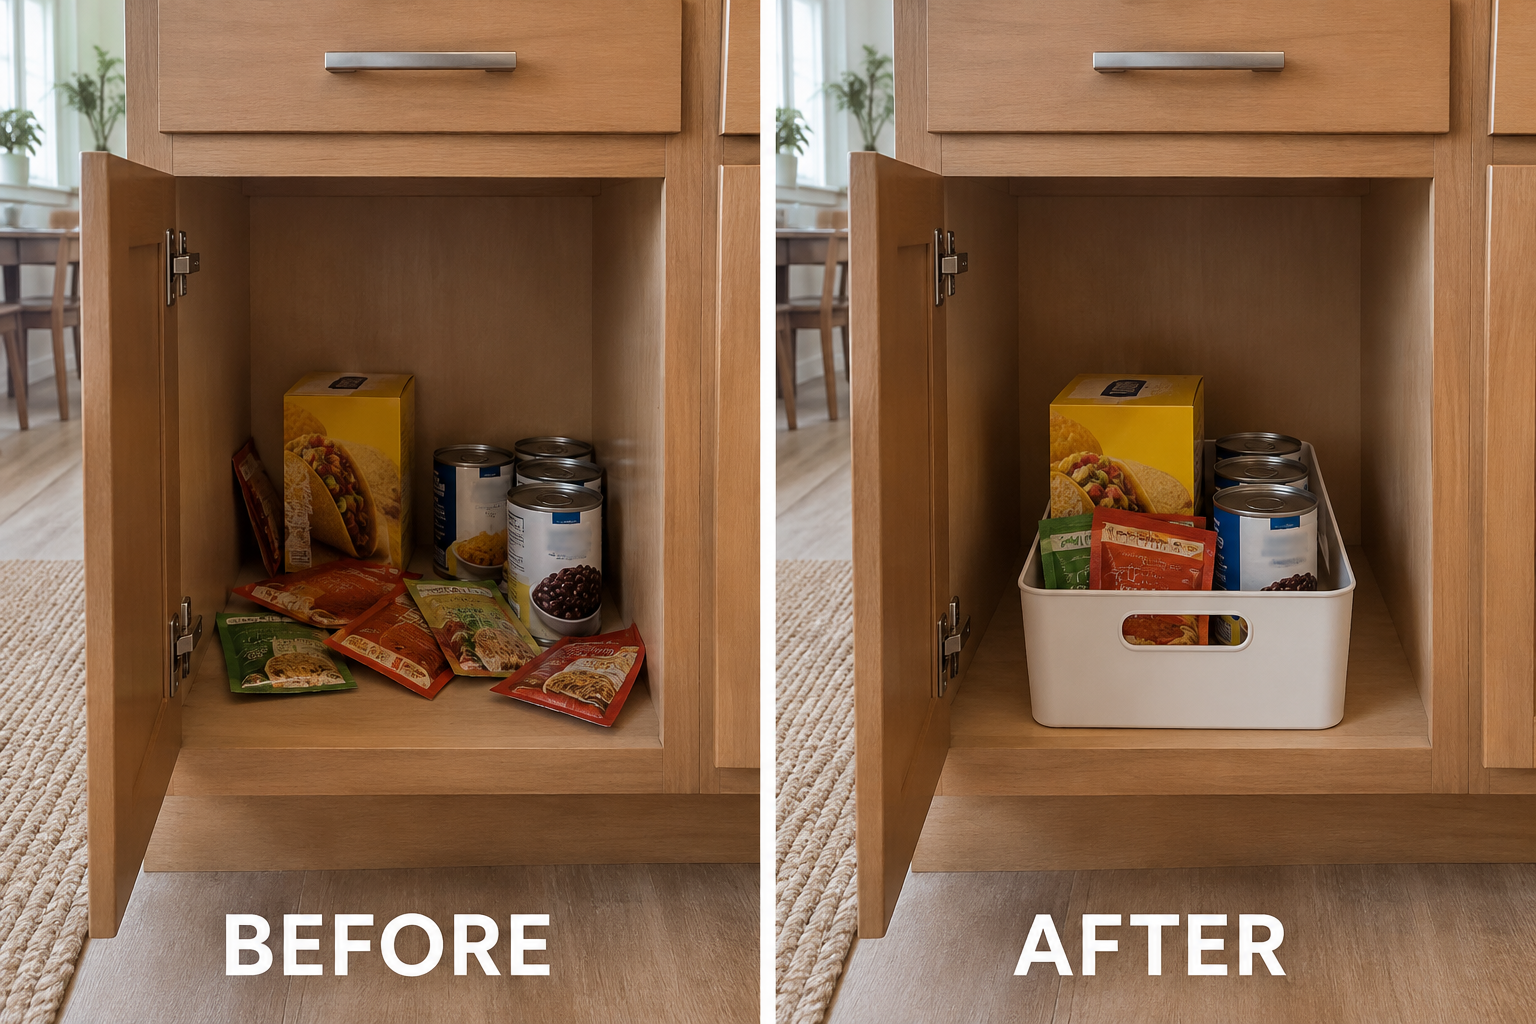
A giant bin can become as awkward as the cabinet itself, especially when loaded with cans. Use several manageable categories instead of one shelf-wide catchall, and check the organizer's load guidance. This approach is unsuitable if you cannot comfortably lift the loaded bin or lack a nearby landing spot; a smaller container may solve both problems.
3. Rotate Small Bottles Into View
A turntable works well for small bottles that otherwise form several hidden rows. Place oils, vinegars, or sauces on a stable model with a raised rim, keeping taller bottles toward the center and shorter ones outside. Measure the full turning circle inside the cabinet, including hinge intrusions, and test rotation with the door in its normal open position.
Don't assume a round organizer uses every inch efficiently. It leaves unused corners and can waste space when filled with rectangular packages. Heavy glass bottles also make rotation harder and spills messier. Skip it on unstable shelves or where bottle height leaves too little clearance; shallow category trays are often better for bulky cartons and bags.
4. Raise Rear Cans Above the Front Row
A sturdy stepped riser reveals the tops and fronts of canned goods without requiring a full cabinet unload. Arrange one row per step, grouping beans together and tomatoes together rather than mixing everything by can size. Choose shallow enough steps that you can grasp each can securely. Measure loaded height, not just the empty organizer, before settling on a shelf.
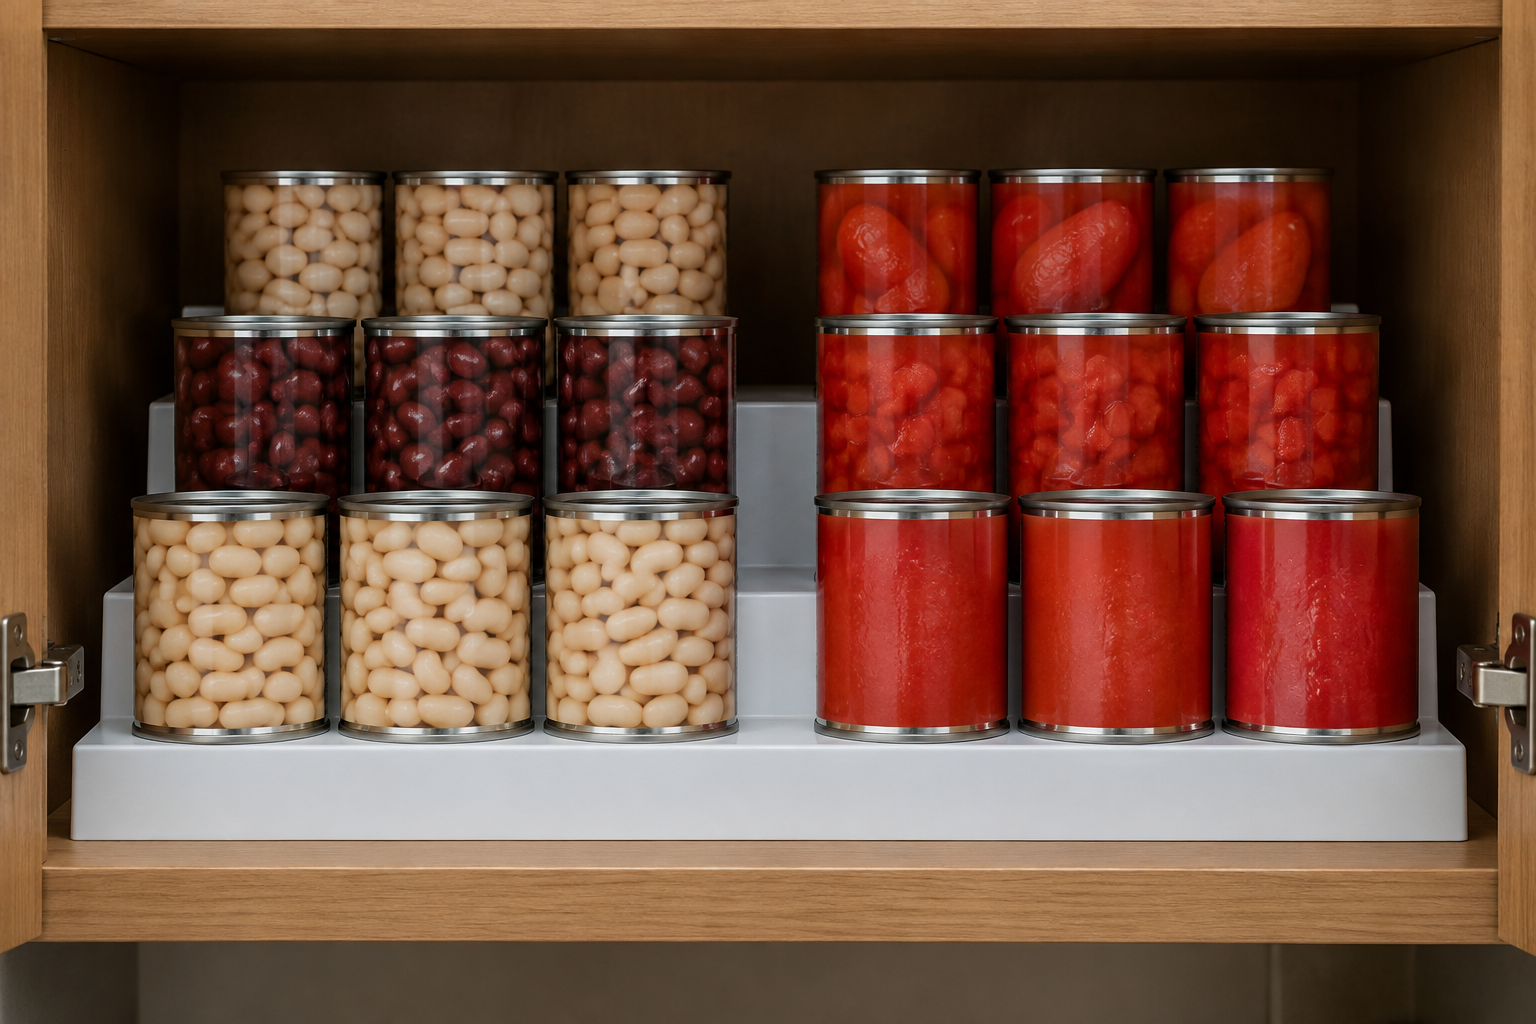
Stacking extra cans on every step defeats the visibility benefit and can make the arrangement unstable. Risers also lift weight higher, so check both shelf capacity and organizer guidance. They are less useful for mixed-height jars or for anyone who finds elevated rear items difficult to grasp. Keep heavy cans on a comfortably reachable shelf, not overhead.
5. Stand Flat Food Packages Upright
Store rice pouches, seasoning envelopes, and thin baking mixes upright in a divided file-style organizer. Their top edges stay visible, and removing one packet won't collapse a horizontal stack. Use adjustable dividers to separate dinner grains from baking ingredients. Keep the organizer near the front so you can flip through its contents rather than reach over a pile.
Overfilling the compartments makes packets difficult to browse and can hide small envelopes between larger pouches. Leave enough looseness to separate items with your fingers. This method isn't suitable for leaky bags or packages that slump unless supported. Keep opened powders tightly sealed, and avoid placing sharp divider edges against thin packaging that could tear.
6. Add a Retrofit Pullout Where Lifting Is Awkward
For a lower cabinet holding heavier food, a retrofit sliding basket can bring the entire shelf forward without lifting a bin. Measure the opening at its narrowest point, including hinges and any center stile. Check required mounting surfaces and extension space. A pullout holding flour, sugar, and rice can make a deep base cabinet considerably easier to use.
These organizers often require screws, so renters should obtain permission before installation. Follow the manufacturer's mounting and load instructions; a poorly secured pullout can tip or damage cabinetry. Hardware also reduces usable width and height. Skip this option if the cabinet structure is unsuitable or the extended basket would obstruct a doorway, appliance, or essential walking route.
7. Decant Only the Foods Visibility Will Help
Transfer frequently used dry staples from floppy, opaque bags into clear, food-safe containers. Straight-sided containers make remaining quantities obvious and can prevent a half-empty bag from disappearing behind another package. Start with two or three foods, such as rice, oats, and lentils. Choose sizes that hold your usual purchase while fitting the shelf's depth and overhead clearance.
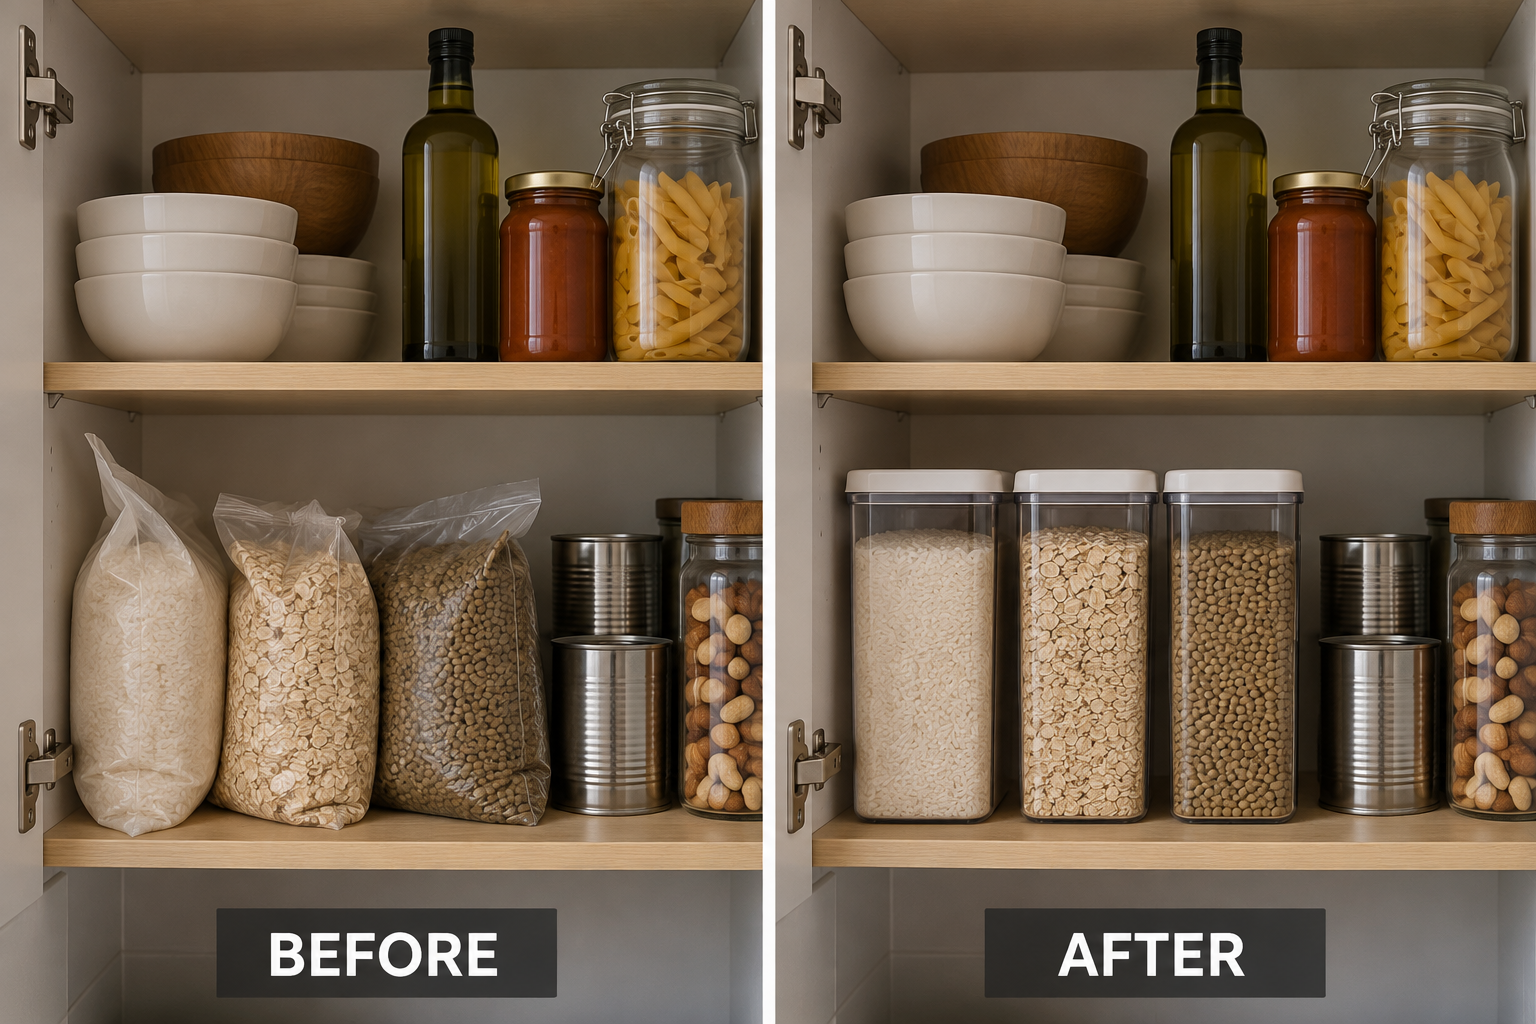
Decanting everything creates extra washing and can separate food from cooking directions, allergen information, and dates. Retain those details with each container, and don't top off old food indefinitely. Wash and thoroughly dry containers between batches. Keep products in original packaging when household allergy management, identification needs, or infrequent use makes transferring them more trouble than help.
8. Use the Empty Air Beneath a Shelf
A shallow under-shelf basket can give lightweight food its own visible level instead of letting it disappear behind taller goods. Try it for tortillas, small snack packets, or unopened flatbread. Measure the basket's drop and the thickness of the shelf it clips onto. Position it toward the front, leaving the foods below easy to see and remove.
The mistake is treating this added level as free capacity. A basket can block tall containers, interfere with the door, or strain an unsuitable shelf edge. Follow its load limit and reserve it for lightweight items, not cans or jars. Avoid clip-on models where the fit is loose or where the supporting shelf is damaged.
9. Light the Back Without Adding Clutter
Sometimes food isn't poorly organized; it's simply in shadow. A removable, rechargeable cabinet light can reveal rear contents without taking up shelf space. Mount it near the front underside of the shelf above, aimed inward so tall packages don't immediately block it. Test placement temporarily before attaching it, and choose a model intended for the cabinet environment.
Lighting won't fix overcrowding, and a fixture hidden behind cereal boxes does little good. Adhesive mounts can damage rental finishes, so check permissions and product instructions first. Keep lights away from moisture and heat, maintain appliance clearances, and avoid trailing charging cords through doors. Skip lights that require awkward removal or charging you are unlikely to maintain.
10. Build a Quick Shelf Sweep Into Grocery Day
Before putting groceries away, bring the contents of one deep shelf onto a clear counter. Check the back, wipe crumbs with a suitable cleaner, dry the surface, and return older matching products in front of new ones. Work through a different shelf each shopping trip. A fitted, removable, washable liner can simplify cleanup if the cabinet finish permits it.
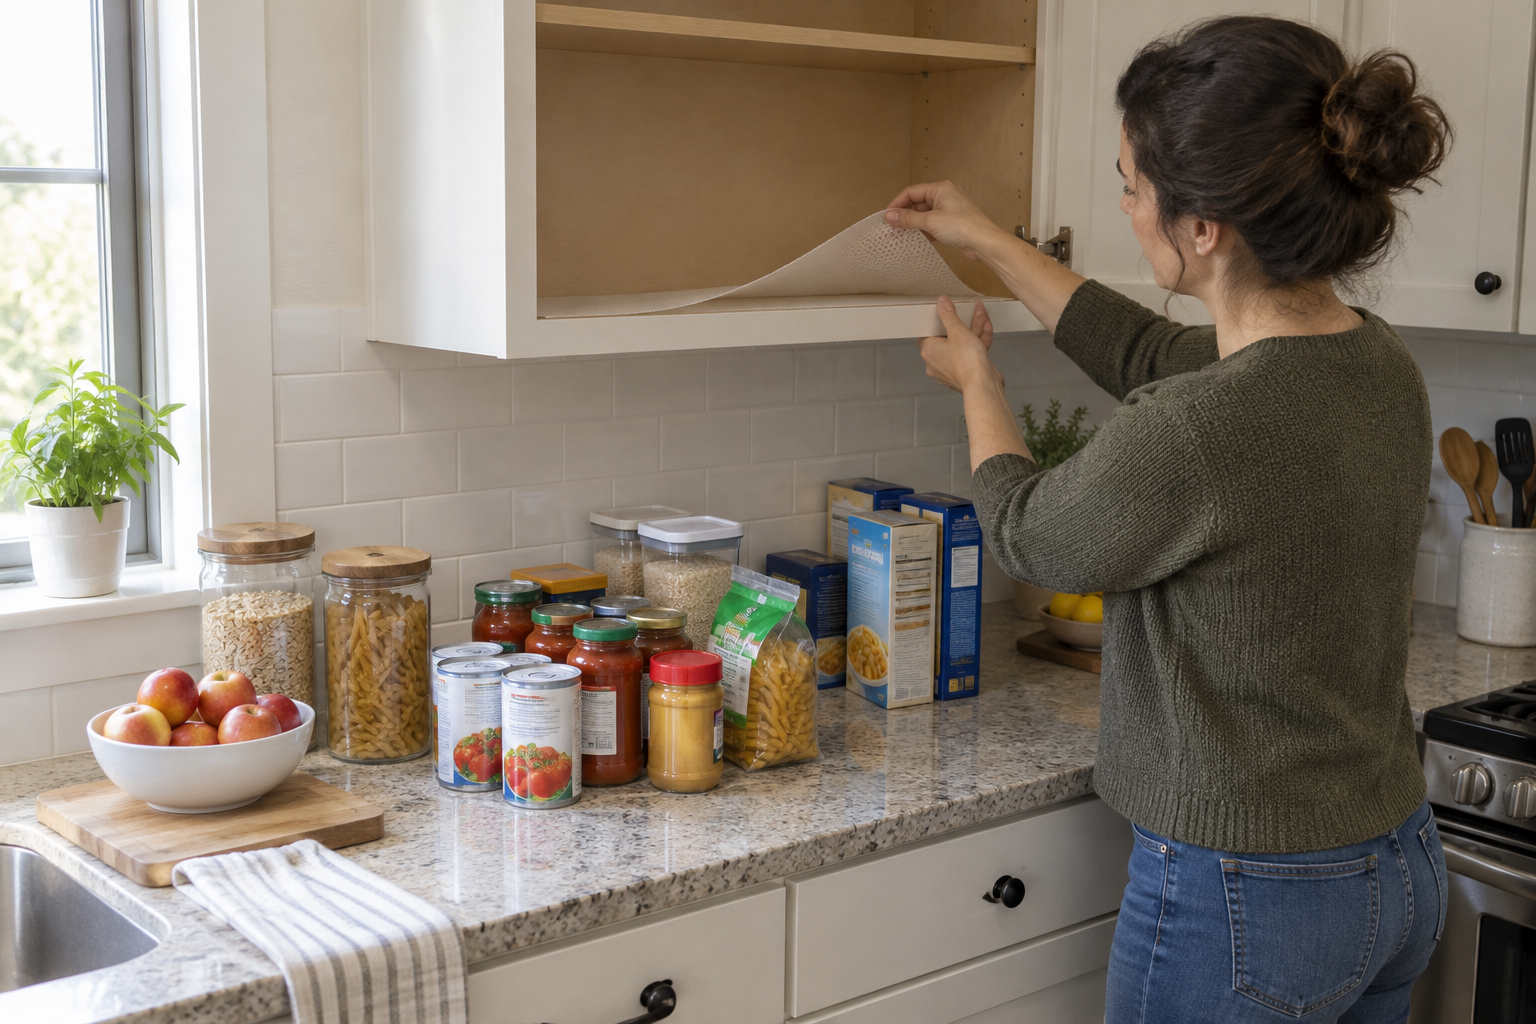
Don't empty the entire kitchen at once or leave food across a busy walkway. A small, repeatable sweep is more useful than an exhausting overhaul. Avoid thick or curling liners that catch containers, and let surfaces dry before restocking. If counter space is scarce, use a cleared table or clean tray and finish one section before starting another.
Start with the cabinet that causes the most frustration, not a shopping list of organizers. Decide what belongs at the front, reveal what hides behind it, and choose one access tool that suits the food and your household. Leave enough room to grasp, remove, and clean around everything. A deep cabinet becomes useful when you can find what you have and put it back without a struggle.
Leave a Reply