The grocery bags are unpacked, but now the yogurt is pressed against the back wall and the refrigerator door needs a push to close. A full shelf does not automatically mean unsafe food; the problem is whether cold air can circulate and food stays cold enough. These ten measures help you distinguish a storage squeeze from a cooling problem—without buying an elaborate organizer system.
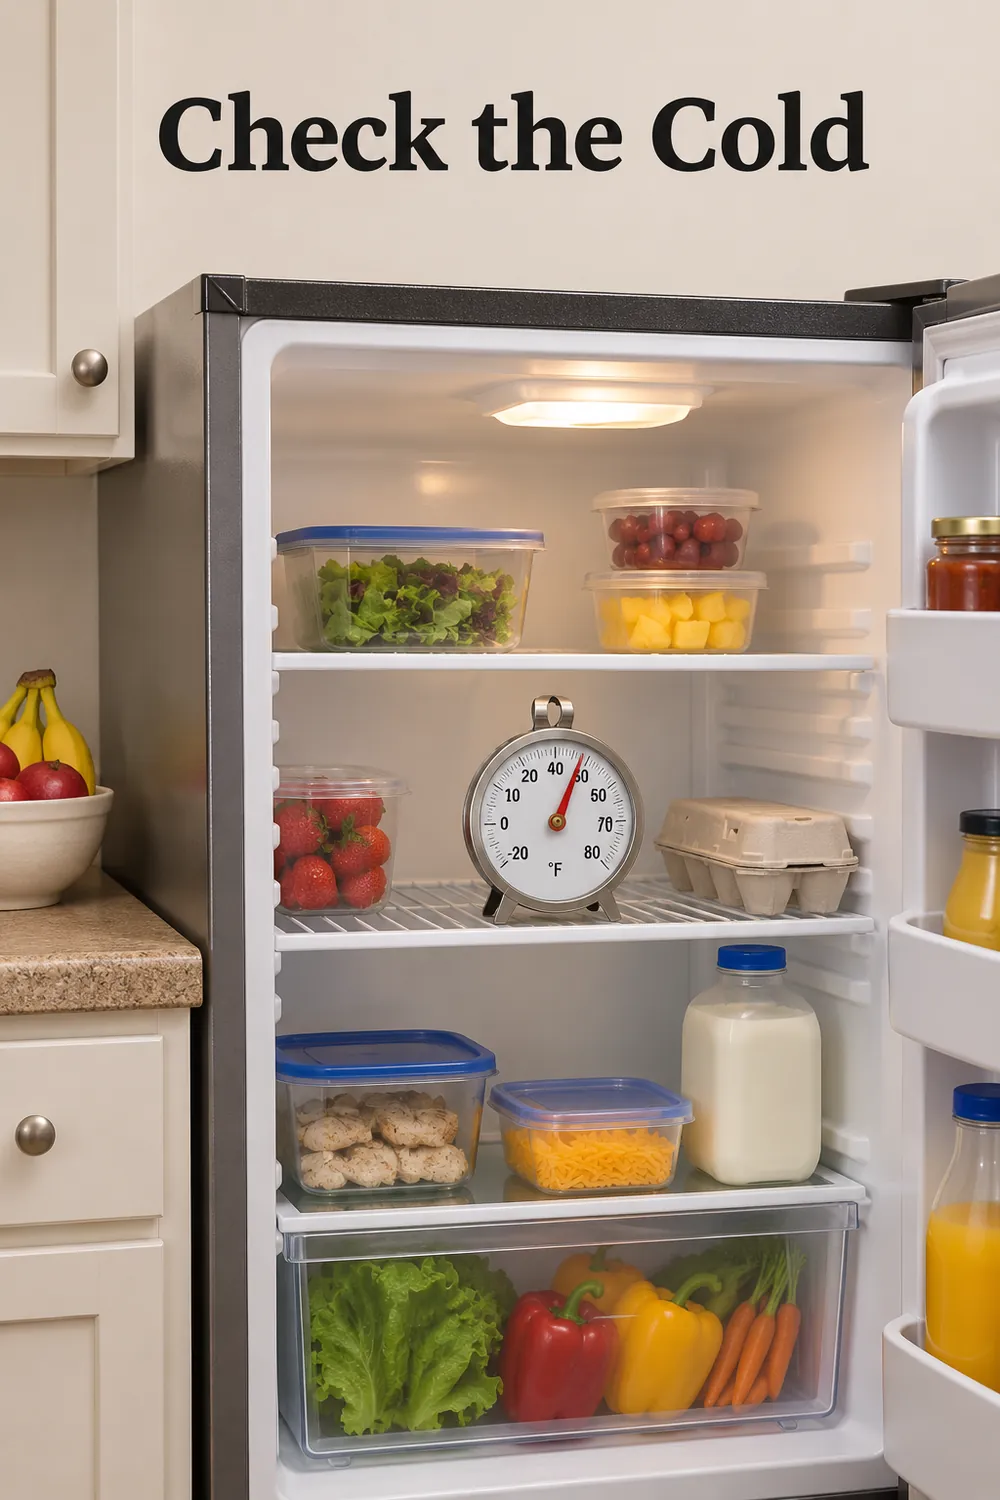
1. Measure food-storage temperatures, not just the dial setting
Keep the refrigerator at 40°F or below and the freezer at 0°F or below. Use an appliance thermometer rather than guessing from how cold a carton feels. A control marked 1 through 5 usually indicates a setting, not an actual temperature. Place the thermometer in the refrigerator’s central storage area, away from the door and walls, unless its instructions specify otherwise.
Check after the door has stayed closed and temperatures have stabilized; a reading immediately after unpacking groceries can be misleading. Follow the appliance manual’s waiting period after changing settings. Check other food-storage areas if you suspect warm spots, and use a separate freezer thermometer. A reassuring center reading cannot explain milk repeatedly warming in the door or produce freezing against the back wall.
2. Find the cooling vents before rearranging groceries
Look up the refrigerator’s model number and locate its air outlets and return openings in the manual. Depending on the design, they may be at the back, along a side, or near the freezer connection. Move the spinach tub or tall carton blocking them. The useful change is a clear air path, not an arbitrary gap measured the same way in every appliance.
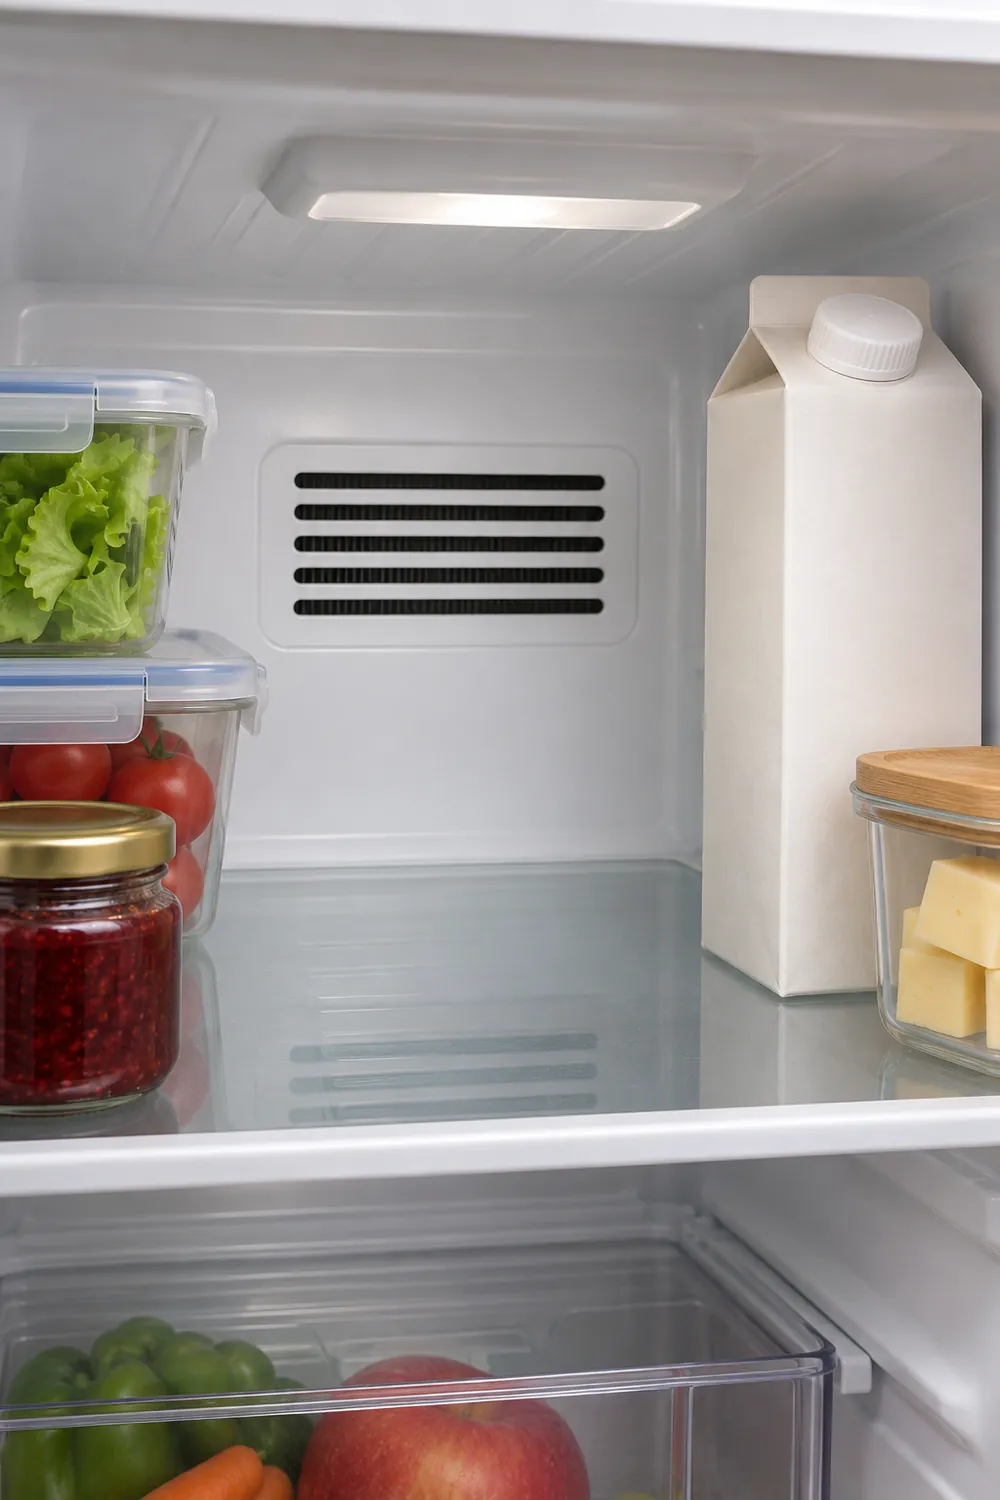
Check again after the next grocery delivery: flexible bags slump, and large clamshells slide backward. Avoid covering vented surfaces with liners or placing a large organizer directly in front of an opening. If the appliance uses a different cooling arrangement, follow its instructions rather than searching for vents it does not have. Do not remove interior panels to create more storage room.
3. Adjust shelves around groceries without building solid walls
An adjustable shelf can make room for an upright milk carton without forcing it into the door. Before moving glass shelves, unload them and follow the manual’s removal instructions. Group shorter containers together so one tall bottle does not dictate the height of an entire shelf. Keep packages from forming a tightly packed barrier across the refrigerator’s interior.
Leave room to remove a container without dismantling a stack. A few small bins can help, but a refrigerator lined edge to edge with deep, solid-sided boxes may restrict circulation and conceal spills. Measure usable shelf width, depth, and door clearance before buying anything. Adjusting what you already own is often more effective than adding another layer of plastic.
4. Contain raw foods below ready-to-eat food
Put raw meat, poultry, and seafood in sealed containers or leak-containing trays, below ready-to-eat foods. A wrapped chicken package can still leak, so the grocery-store wrapping should not be your only protection. Choose a washable tray with raised sides that fits the package without tipping, and position it in a suitable low storage area without blocking vents.
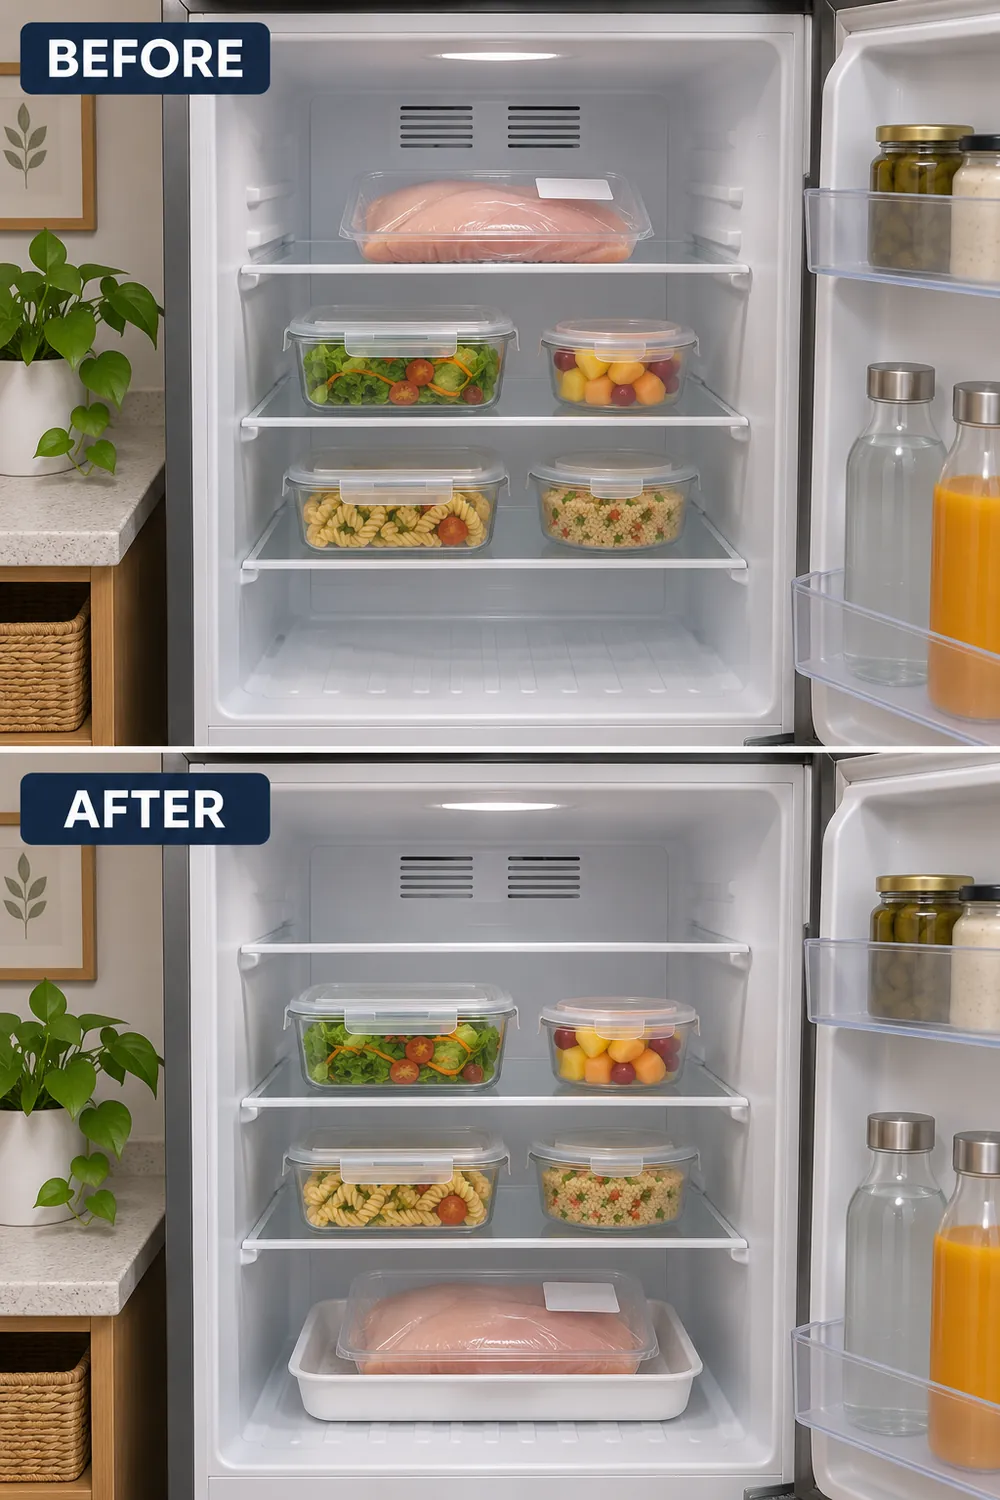
Keep yogurt, washed fruit, and cooked leftovers above the raw-food area. If your refrigerator’s lowest compartment is a produce drawer, do not assume it should become a meat drawer; check the manual and use the lowest suitable shelf instead. Wash the tray after a leak and clean affected surfaces. Containment prevents drips from spreading, but it does not compensate for unsafe temperatures.
5. Reserve the door for less temperature-sensitive items
Move milk, eggs, and other temperature-sensitive perishables onto interior shelves where temperatures are steadier. Door shelves experience more warming when opened, especially in a shared kitchen where someone is always reaching for a drink. Store eggs in their carton on an interior shelf rather than in a molded door rack, even if the rack looks purpose-built.
Use the door for products suited to that location, such as many condiments, while following package storage directions. Their presence in the door does not excuse an overall refrigerator temperature above 40°F. If moving a gallon jug inward overwhelms the shelf, buy a smaller container next time. That means more frequent shopping, but avoids making the warmest location carry your most vulnerable groceries.
6. Buy for refrigerator capacity and load the freezer differently
Before shopping, identify actual usable cold-storage space after vents and raw-food containment are accounted for. If a family-size salad box would occupy the only open air path, choose a smaller quantity or a different meal plan. Move foods that do not require refrigeration to appropriate pantry storage; making deep kitchen cabinets easier to use can help those shelf-stable groceries stay accessible.
Do not apply the refrigerator’s loading approach wholesale to the freezer. A well-filled freezer retains cold better than a sparsely filled one, but vents must remain clear and the door must close. Follow the manual’s freezing-capacity limits when adding unfrozen food; packing it with warm groceries can overwhelm cooling. Freeze suitable extras while they are still safe, not as a rescue for temperature-abused food.
7. Cool cooked food promptly in shallow portions
Refrigerate perishable cooked food within two hours, or within one hour when the surrounding temperature is above 90°F. Do not leave a stockpot on the counter until it reaches room temperature. Divide soup, rice, or casserole into smaller, shallow containers so heat can escape more quickly. Small portions of hot food can go directly into the refrigerator.
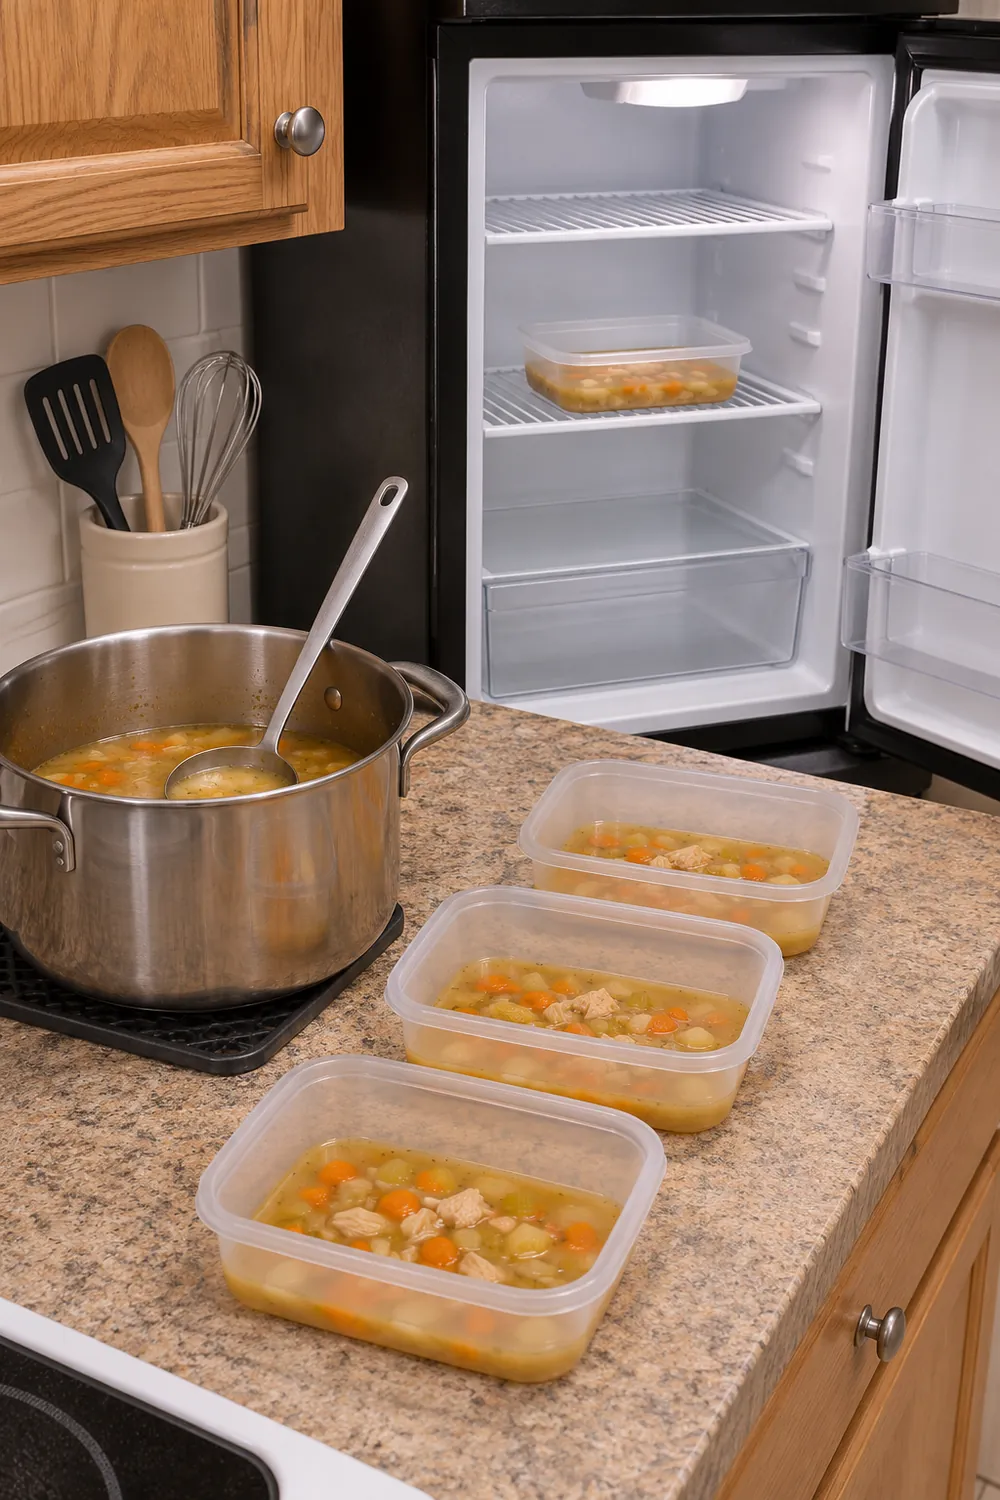
For a large batch, an ice-water bath with stirring can help cool food before refrigeration; it is not permission to exceed the time limits. Leave circulation space around cooling containers rather than stacking them tightly while hot. Plan that space before cooking a big pot of chili. A compact refrigerator may simply lack capacity for several large batches at once.
8. Use produce drawers according to their actual controls
Check what the drawer sliders control before moving them. Many adjust humidity, not temperature, and appliance designs vary. Follow the manual’s produce guidance rather than assuming that every drawer works identically. Leafy greens and apples may benefit from different settings, but neither should be packed so tightly that the drawer catches or its openings become obstructed.
Keep produce below the drawer’s usable fill level and remove spoiled items promptly. A cabbage wedged against the shelf above can prevent full closure and interfere with nearby airflow. Do not treat a humidity setting as a fix for vegetables that repeatedly freeze or feel warm. Check temperatures and placement instead; drawer controls cannot correct a broader cooling fault.
9. Recognize when rearranging is no longer enough
If temperatures remain above 40°F after sensible loading changes and the manufacturer’s stabilization period, investigate rather than repeatedly turning the dial colder. Check the recommended room-temperature range and exterior ventilation clearances. Persistent frost, poor recovery, or repeated warming deserves service. Renters should report readings and symptoms to the landlord; homeowners can give the same record to a repair technician.
Protect the food while arranging repairs. Move perishables to a working refrigerator or an ice-filled cooler that stays at 40°F or below. Discard refrigerated perishables known to have been above 40°F for more than two hours; never taste them to judge safety. If the duration is unknown, do not assume the food is safe because it still feels cool.
10. Check the door seal and everything that can stop closure
Inspect the flexible gasket around the door for crumbs, sticky residue, tears, or sections pulling away. Clean it using the method recommended in the manual, then close the door and look for uneven contact. A paper strip closed between the gasket and cabinet can help reveal an unusually loose spot, but it is only a screening check, not a complete diagnosis.
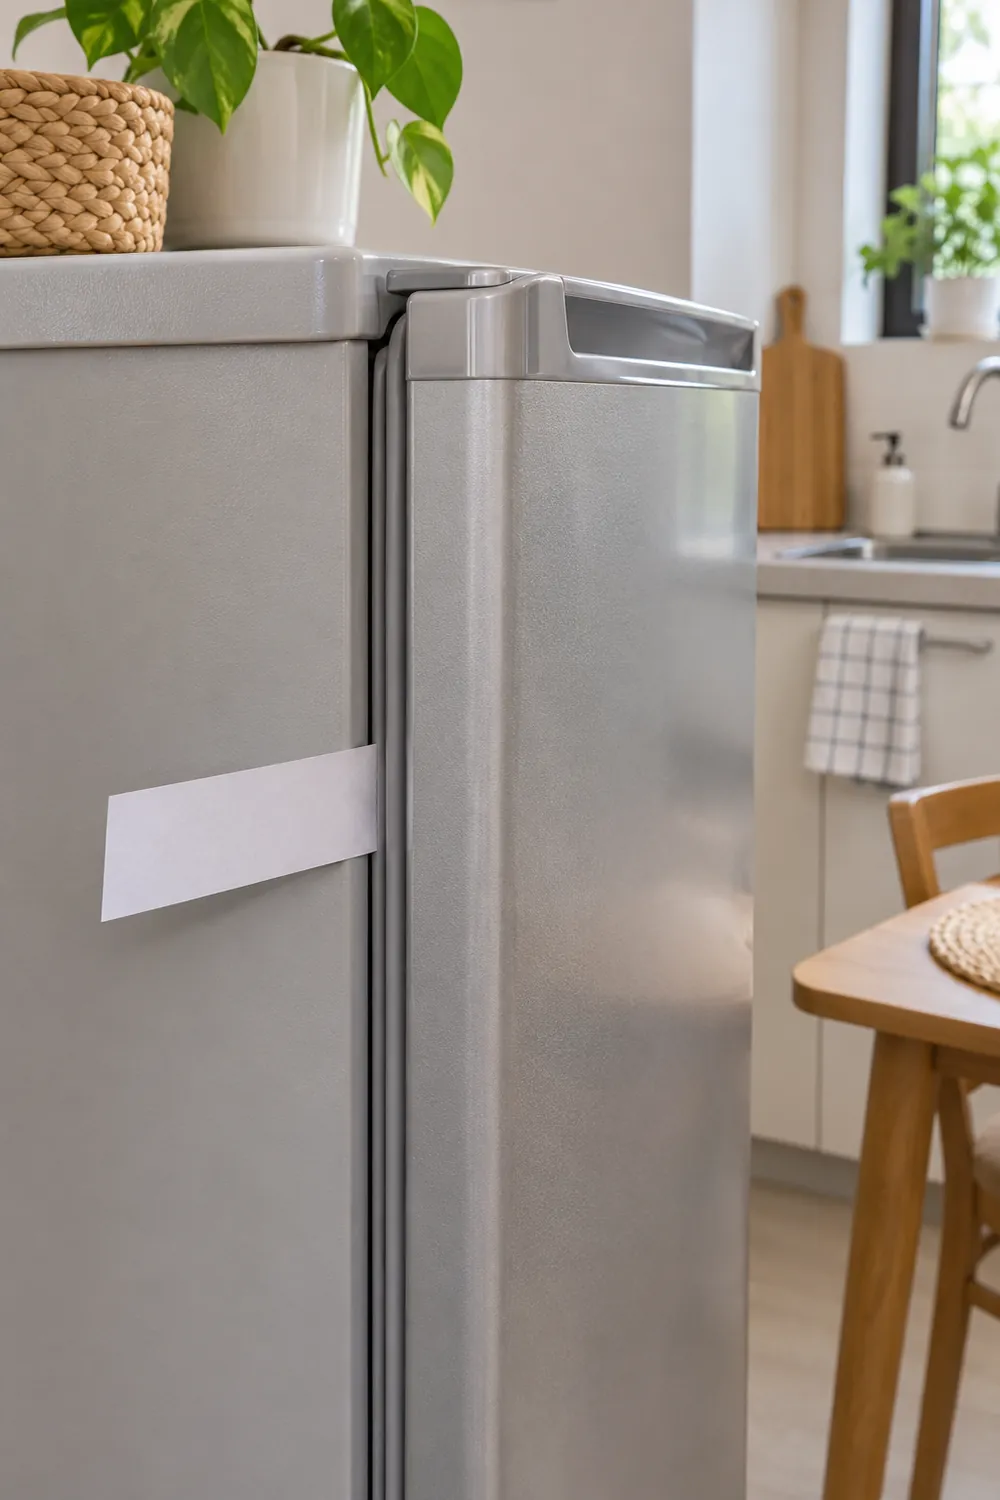
Before blaming the gasket, look for a drawer left slightly open, a bottle projecting past its shelf, or a package caught behind a bin. Check that nearby furniture does not stop the door from closing. Measure door swing and access space before relocating the appliance, maintain manufacturer-required clearances, and request service for damaged seals or hinge problems rather than improvising repairs.
Start with an appliance thermometer and one cleared cooling path. Those two checks tell you whether the next step is rearranging groceries, buying smaller quantities, or getting the refrigerator serviced—not purchasing more organizers.
Leave a Reply