The broom falls when you reach for the vacuum. The mop is still damp, and its only available parking spot is beside the bath towels. Without a broom closet, cleaning equipment tends to occupy whatever gap is left. A better arrangement starts with separating tools that need hanging space, airflow, charging access, or secure storage—not trying to squeeze everything into one cupboard.
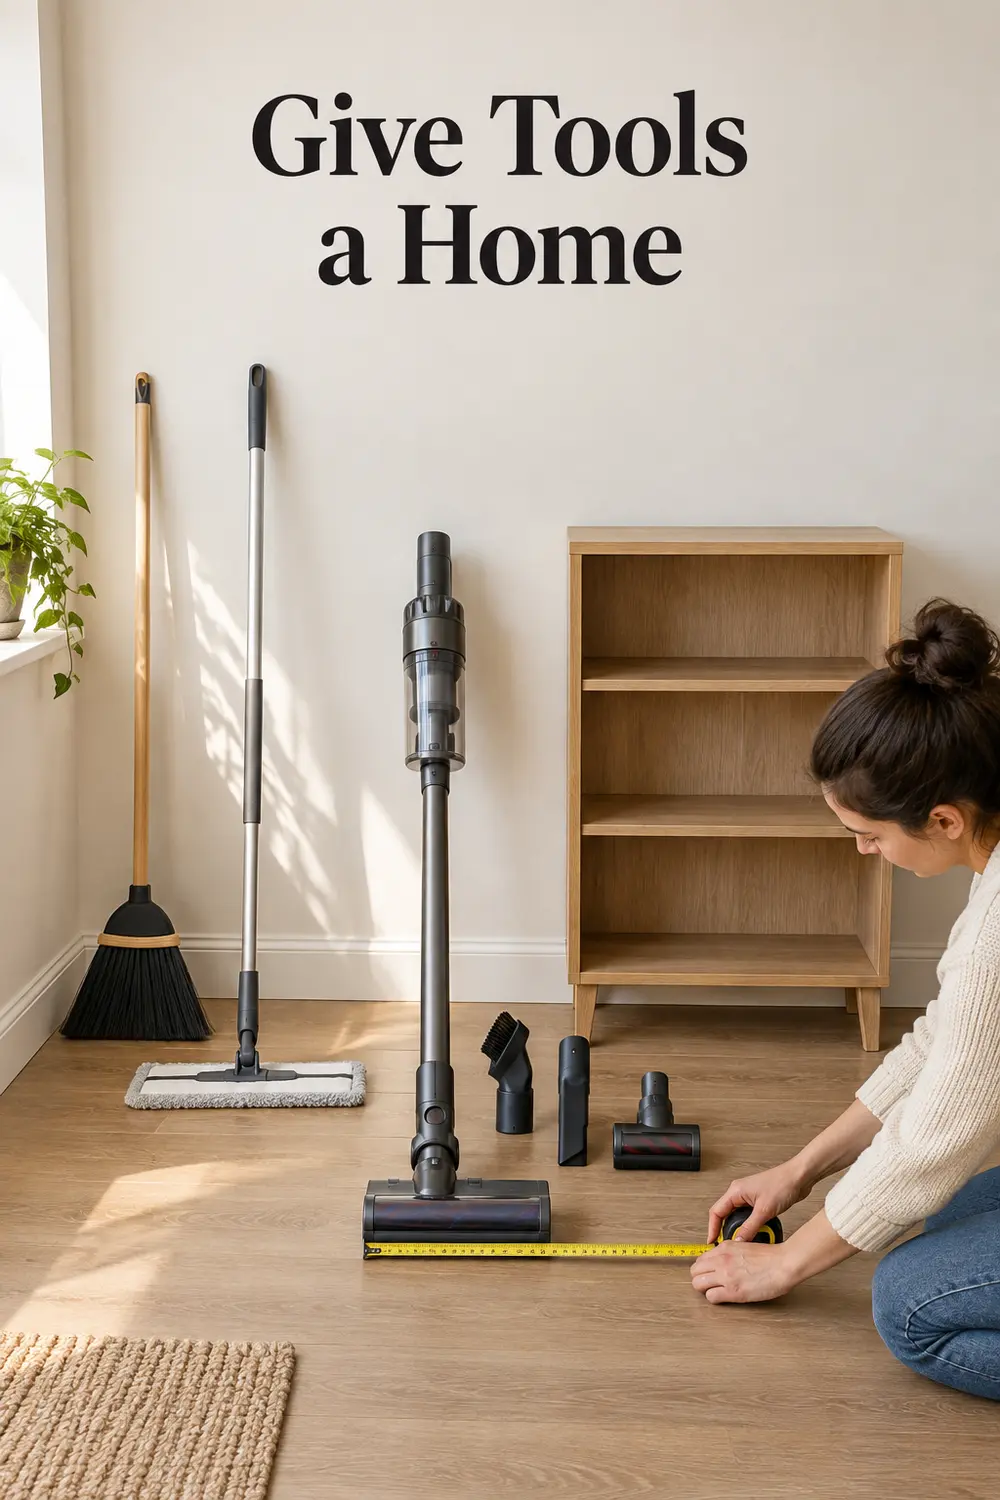
1. Measure the equipment before choosing storage
Gather the tools you actually use and measure their full storage shapes. Record broom and mop lengths, handle diameters, the vacuum’s widest point, and the depth of its floor head. Include anything that sticks out: a trigger grip, hose loop, or dustpan handle can prevent a cabinet door from closing even when the main tool fits.
Then measure the proposed space, including its opening and the route for removing equipment. A roughly 12-inch-wide gap is not useful if the vacuum head cannot turn out of it. Treat dimensions as planning information, not guaranteed fit. Retire broken duplicates, but keep specialized attachments you genuinely use; the goal is an accurate inventory, not a forced minimalist collection.
2. Space tool grippers around the heads, not just the handles
Compatible wall grippers can lift long tools off the floor without requiring a deep cabinet. Check each gripper’s accepted handle diameter, load rating, and mounting instructions. Before installing anything, hold the broom, mop, and dustpan in position together. Their heads need room to hang without overlapping, and each handle needs enough space for your hand to release it independently.
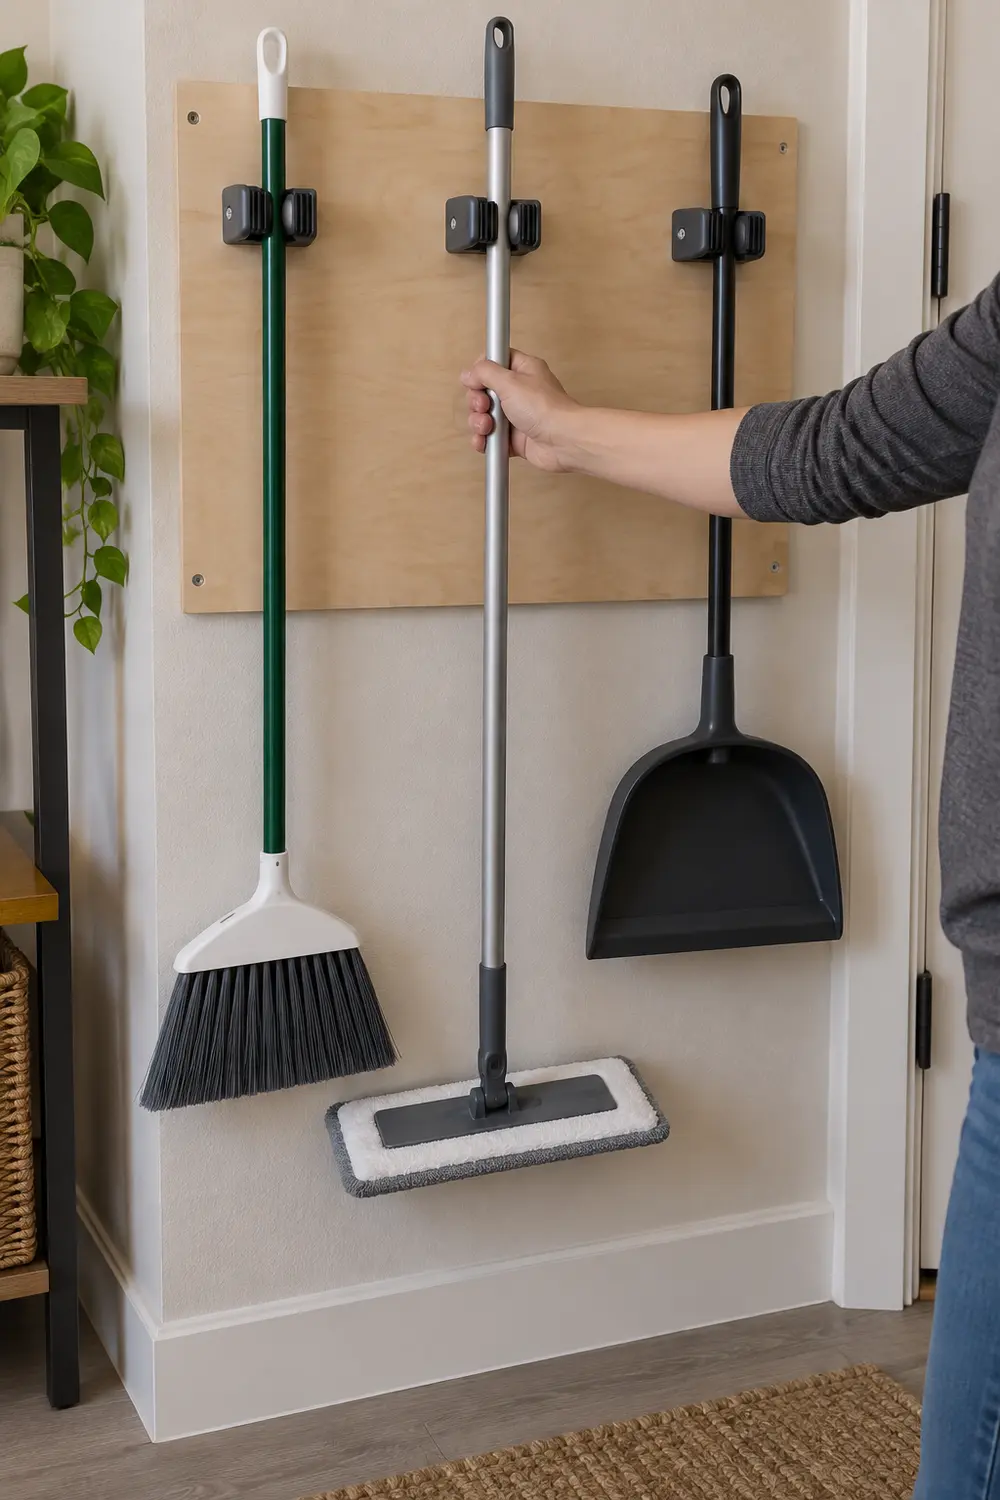
Get any required landlord permission before drilling, and use fasteners suited to the surface and rated load. Adhesive products are an option only when their instructions allow the wall finish, weight, and conditions involved. Behind-door mounting also needs a swing test; the same door-conflict thinking used in these small-bedroom closet-clearance fixes helps identify tools that would strike nearby furniture.
3. Give cleaning equipment a dedicated utility zone
Choose one main parking area outside food and linen storage: a laundry corner, an entry cabinet reserved for utility items, or a narrow freestanding cupboard. It does not have to hold every cleaning product. Its job is to give the daily tools an obvious destination, rather than scattering a broom behind one door and the dustpan behind another.
Mark the proposed footprint with painter’s tape and test normal routines before moving furniture. Check door swings, walking routes, ventilation, heaters, and appliance clearances; follow furniture anchoring instructions too. A curtain can soften the view but cannot secure hazardous supplies. As with storage for daily living-room drop zones, the useful location is one you can reach without rearranging the room.
4. Keep vacuum attachments in one visible container
Give the crevice tool, upholstery brush, and extension pieces a shallow bin or divided tray beside the vacuum. Arrange them so you can identify each piece without emptying the container. Long attachments may fit upright in a sturdy divider, while small brushes are easier to retrieve lying flat. Keep the bin within reach of the vacuum’s parking spot.
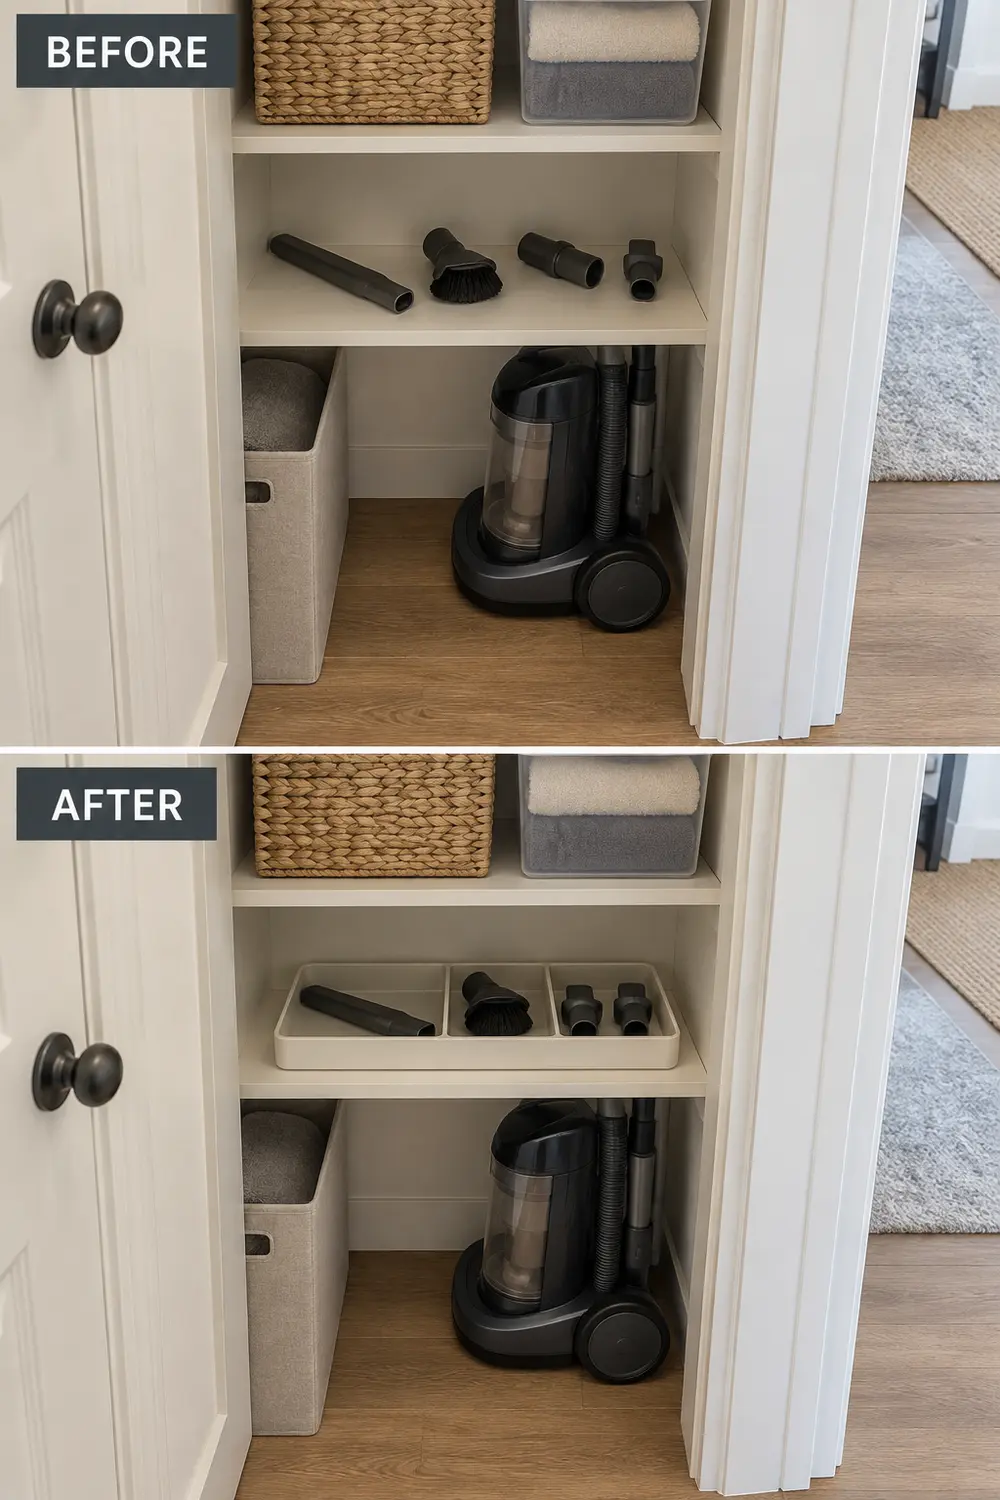
Try a container you already own before buying a fitted organizer. A tray with excessively tall sides can hide short parts, and a deep basket tends to become a second search problem. Clean and dry attachments as their manufacturer directs before returning them. Avoid hanging accessories from the vacuum unless it has designated onboard storage; improvised bundles can obstruct controls or make it awkward to lift.
5. Plan the charging location before installing a dock
A cordless vacuum needs more than an empty wall. Check its instructions for the approved charger, dock mounting, charging conditions, and ventilation requirements. Choose a dry location near a suitable outlet where the cable will not cross a walking route or get pinched by a door. Confirm that the vacuum can lift off its dock beneath any shelf.
Do not assume a closed cabinet is an acceptable charging station; use it that way only if the manufacturer permits the arrangement. If the best storage nook lacks a suitable outlet, separate storage from charging rather than improvising wiring. A model with a removable battery may offer another option, but only within its instructions. Keep the charger accessible instead of buried behind bins.
6. Separate ready-to-use cloths from used ones
Store clean, fully dry cleaning cloths in their own small bin, separate from bath towels, bedding, and kitchen linens. Give used cloths a different collection point so nobody has to guess which stack is ready. Two clearly labeled containers—“Clean” and “Used”—can work on separate shelves, provided used damp cloths are not shut inside a sealed box.
For ordinary water-damp cloths, allow drying in an appropriate ventilated spot before laundry collection rather than leaving a wet pile. Cloths carrying cleaning chemicals need handling and laundering consistent with the product label and cloth instructions. Do not combine incompatible residues in one hamper. Keeping only a manageable number in circulation makes this system easier to maintain than a large, ambiguous stash.
7. Create a temporary drying spot for mop heads
Treat mop drying and mop storage as two separate stages. After cleaning and rinsing according to the manufacturer’s directions, place a removable pad or mop head where air can circulate and drips will land on a water-tolerant surface. A stable drying rack over a shower floor can serve temporarily, without pressing the damp material against towels or a cabinet wall.
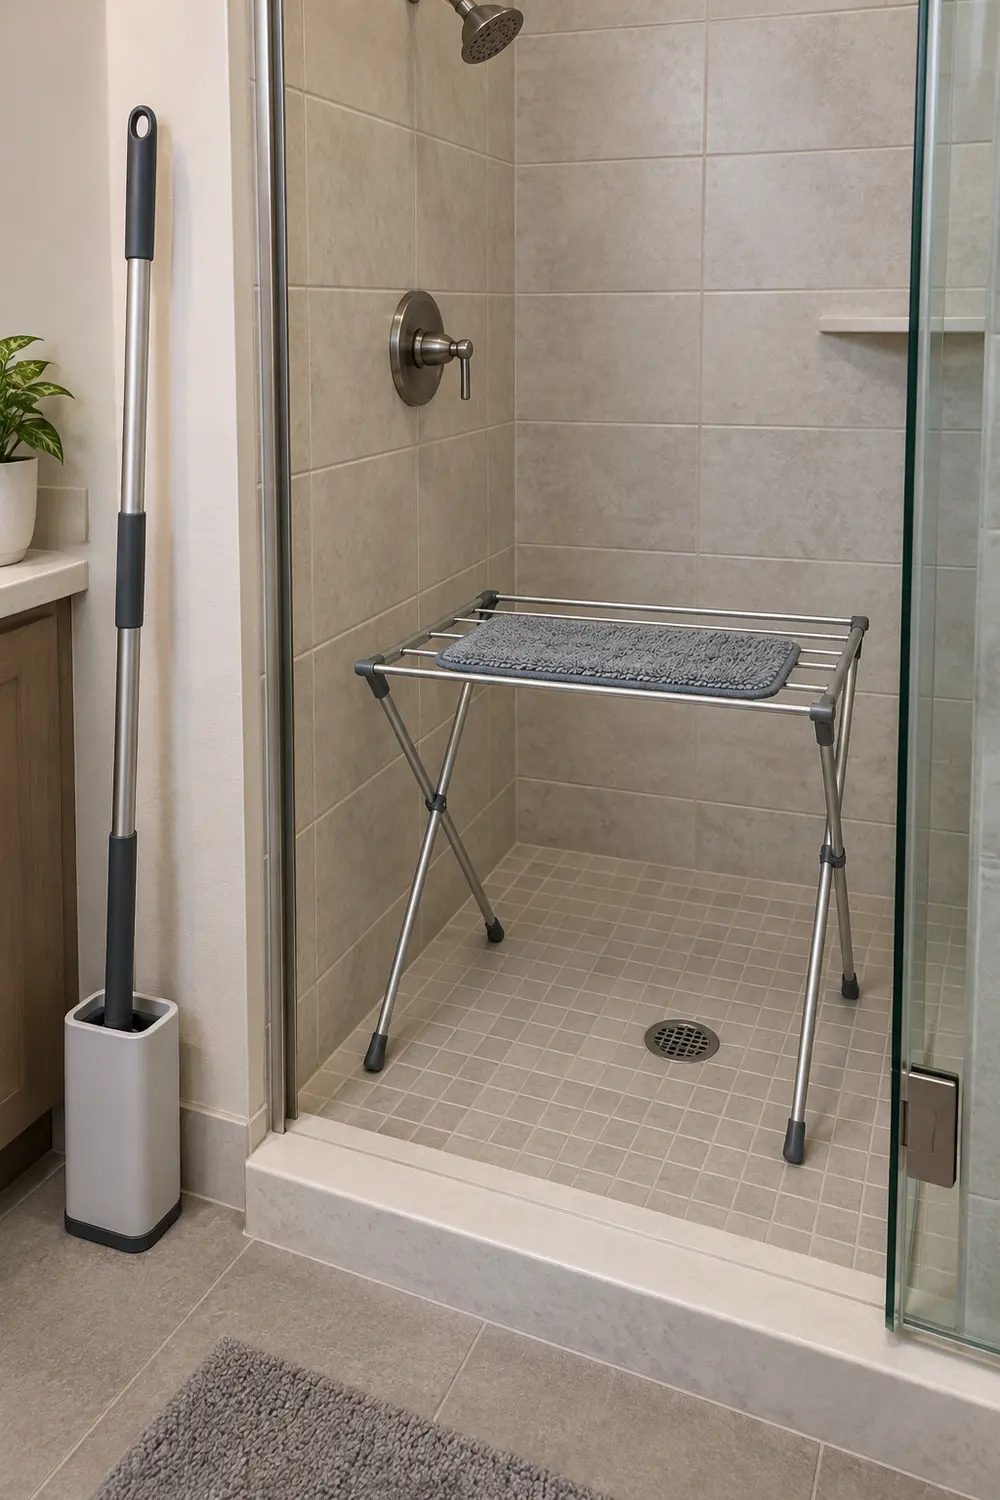
Once the head is completely dry, return it to the utility zone. The temporary arrangement must not obstruct an exit or leave water across a walking path; remove the rack before using the shower. If a head cannot be removed, follow the tool’s drying instructions and provide appropriate drip protection. A closed bucket is storage for a dry tool, not a substitute for drying.
8. Keep products in their labeled containers
Resist decanting cleaners into matching bottles just to make a shelf look calmer. Original labeled containers preserve product identity, directions, warnings, and first-aid information. Keep caps and spray mechanisms attached as intended. A shallow, compatible tray can group bottles and help contain minor drips, but it should not hide labels or force containers onto their sides.
Before organizing bottles together, read their storage directions and any separation requirements. Never mix products to save space, top off one cleaner with another, or reuse a food or beverage container. If the collection exceeds the shelf, reduce unnecessary duplicates through proper use or label-directed disposal rather than compressing everything into one bin. A tray does not make incompatible products safe to store together.
9. Pack a small kit for one recurring task
A portable kit reduces trips without turning every cupboard into supply storage. Choose one task, such as bathroom cleaning, and gather only its needed products and tools in a stable handled caddy. Leave room to grasp the handle securely. Test the loaded weight before committing; a smaller kit you can carry comfortably is more useful than an overfilled tote.
Keep bottles upright, closed, and grouped only as their labels permit. Bring clean cloths with the kit, then route used ones to their separate collection point instead of returning them beside fresh supplies. The caddy is transport, not secure storage: return products to their appropriate storage location afterward. Skip wheeled carts if their footprint would narrow the only practical route through the room.
10. Reserve secured space for hazardous supplies
Where children, pets, or visiting children could reach cleaning products, reserve appropriately secured storage rather than relying on a high shelf alone. A cabinet with a suitable locking mechanism can sit within the utility zone while dry tools remain outside it. Follow product storage labels and the cabinet manufacturer’s installation and anchoring directions; a lock does not address tipping or incompatible contents.
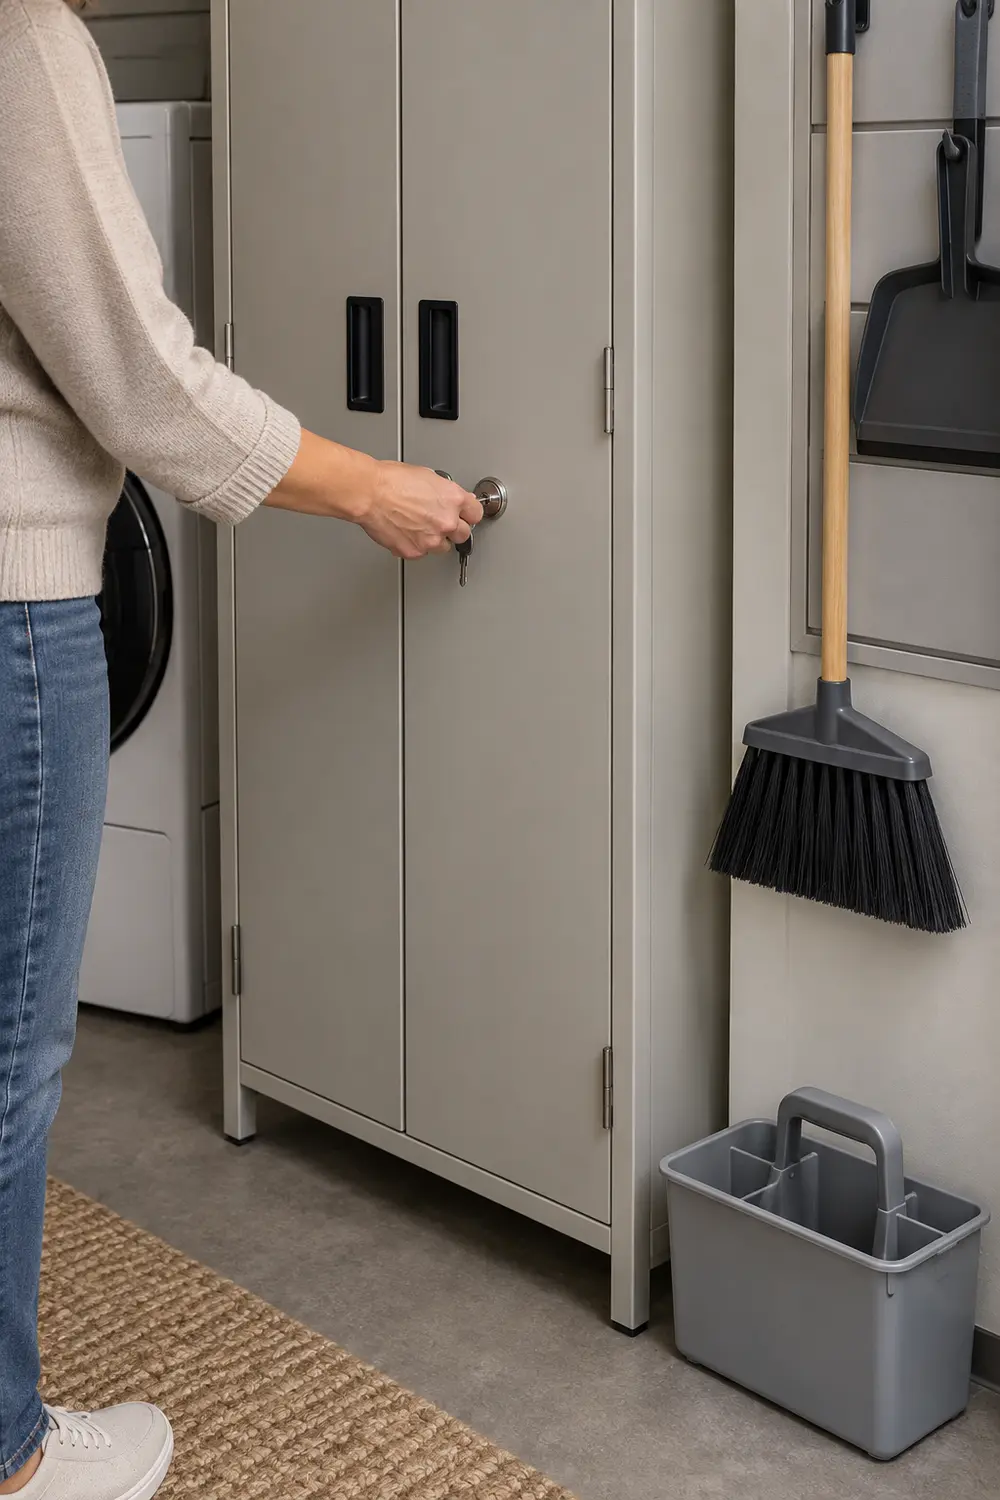
Check that the latch actually engages after each use, and keep keys or release devices inaccessible to children. Under-sink storage is not automatically suitable: plumbing leaks, reachable doors, and product temperature requirements may rule it out. If your small home lacks an appropriate location, reduce the products you keep rather than treating an open basket, curtain, or elevated caddy as a safety barrier.
Start by measuring your largest tool and testing one possible parking spot. Solve its access first, then add attachment storage and a drying routine. Buy mounts or containers only after that trial; anything hazardous needs appropriate secured storage from the outset.
Leave a Reply