The washer finishes, but yesterday’s towels still occupy the rack. You drape a shirt over a chair, squeeze socks between damp sleeves, and wonder why the room feels clammy by dinner. Without an outdoor line or laundry room, drying needs its own plan—not just somewhere to put wet clothes. These ten changes address the bottleneck from both ends: how much water and laundry enter the room, and how comfortably that room can handle them.
1. Size the wash to the space available for drying
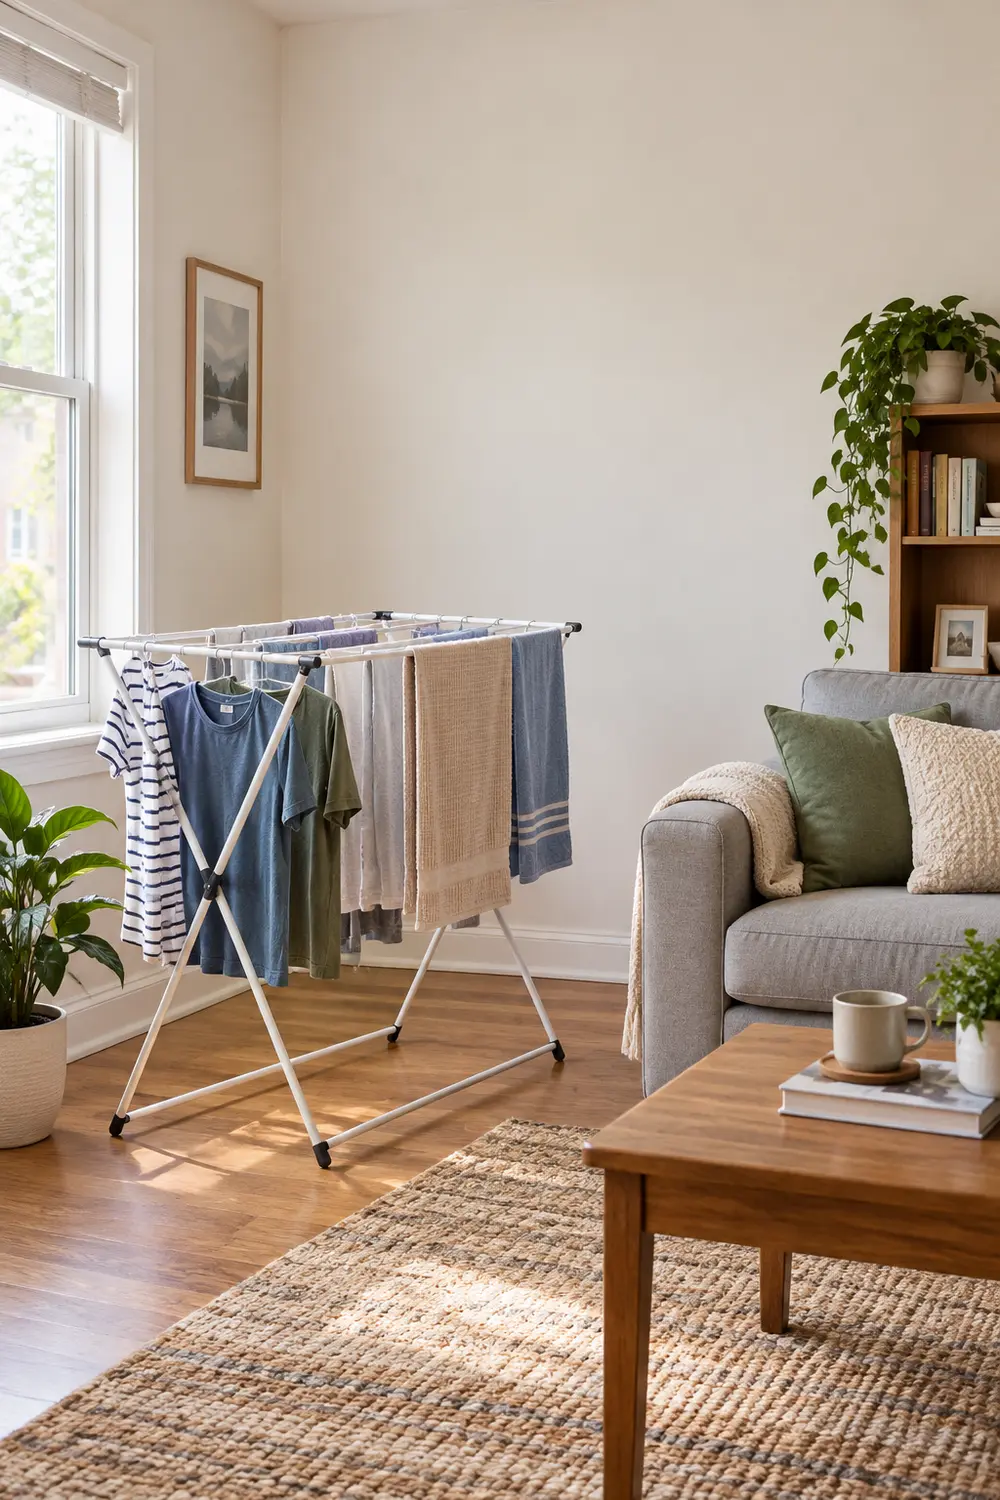
Treat your drying rack, not the washer drum, as the load-size limit. Before starting a cycle, check how many usable bars or hanger positions are actually free. A washer may accommodate sheets, towels, and everyday clothing together, while your apartment can comfortably dry only one of those groups at a time.
Separate bulky items across laundry days: towels today, bedding after the rack clears. This means more scheduling and potentially more cycles, so use appropriate load settings and avoid running tiny loads unnecessarily. If a large blanket has nowhere to open out, an occasional laundromat dryer—when its care label permits—may be more practical than occupying every chair overnight.
2. Choose a rack by its open footprint
Measure the rack fully open, including its feet and wings, rather than judging it by folded size or advertised drying length. Mark its approximate footprint with painter’s tape if your flooring permits. A rack roughly 24 inches deep and 48 inches wide may fit on paper but still block the route between the sofa and kitchen once sleeves hang over its edges.
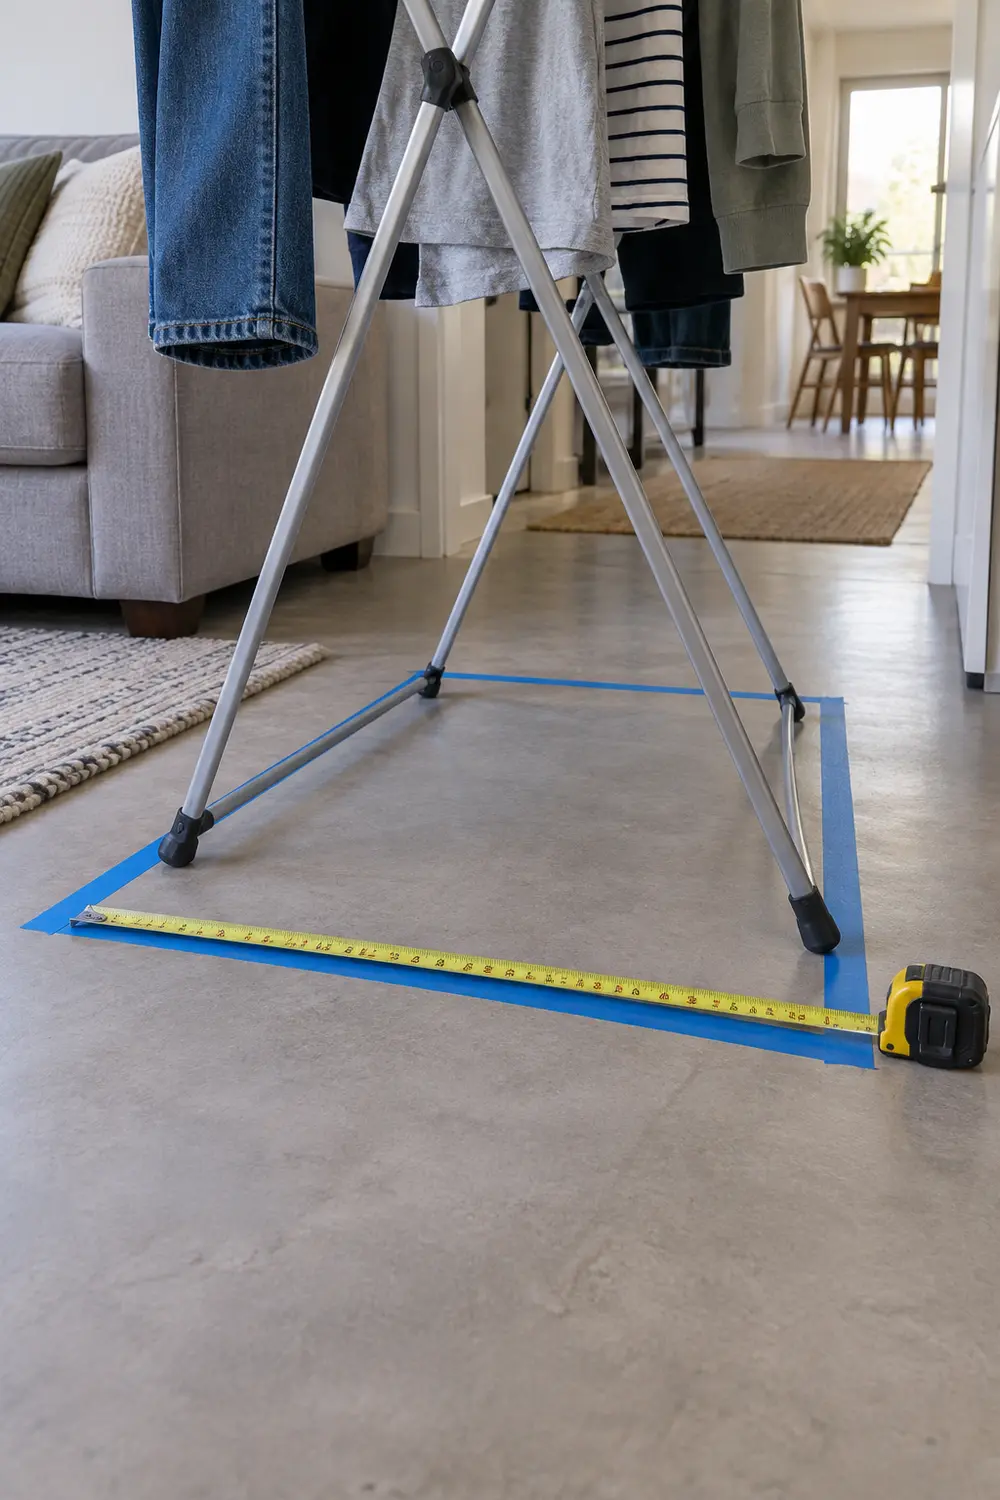
Check door swings, access routes, and space to walk around the loaded rack; these are planning checks, not universal clearance rules. A tall tower can save floor area but needs careful loading for stability. For a multipurpose room, the same route-first thinking used in planning a small living room for everyday activities helps you choose a drying spot that remains usable.
3. Remove more water before clothes reach the rack
When the fabric care label and washer instructions allow it, choose a higher spin setting or an additional spin-only cycle. Less retained water means less moisture has to evaporate into your home. This is especially useful for sturdy cotton items that emerge heavy and wet, but it is not permission to use the fastest setting on every garment.
For a delicate washable item that cannot take vigorous spinning, lay it on a clean, dry towel, roll gently, and press without twisting, provided its care directions allow this handling. The towel absorbs water but becomes another damp item to manage. Avoid wringing sweaters or forcing an unbalanced washer load through repeated spins; redistribute the load and follow the machine’s instructions.
4. Give each garment breathing room
Load the rack so wet surfaces do not press against one another. Use alternating bars for bulky pieces, unfold cuffs, and open bunched waistbands. A few inches between hanging items is a useful starting point, not a fixed requirement: thick sweatpants need more room than thin dish towels. Look along the rack from the side to spot hidden overlaps.
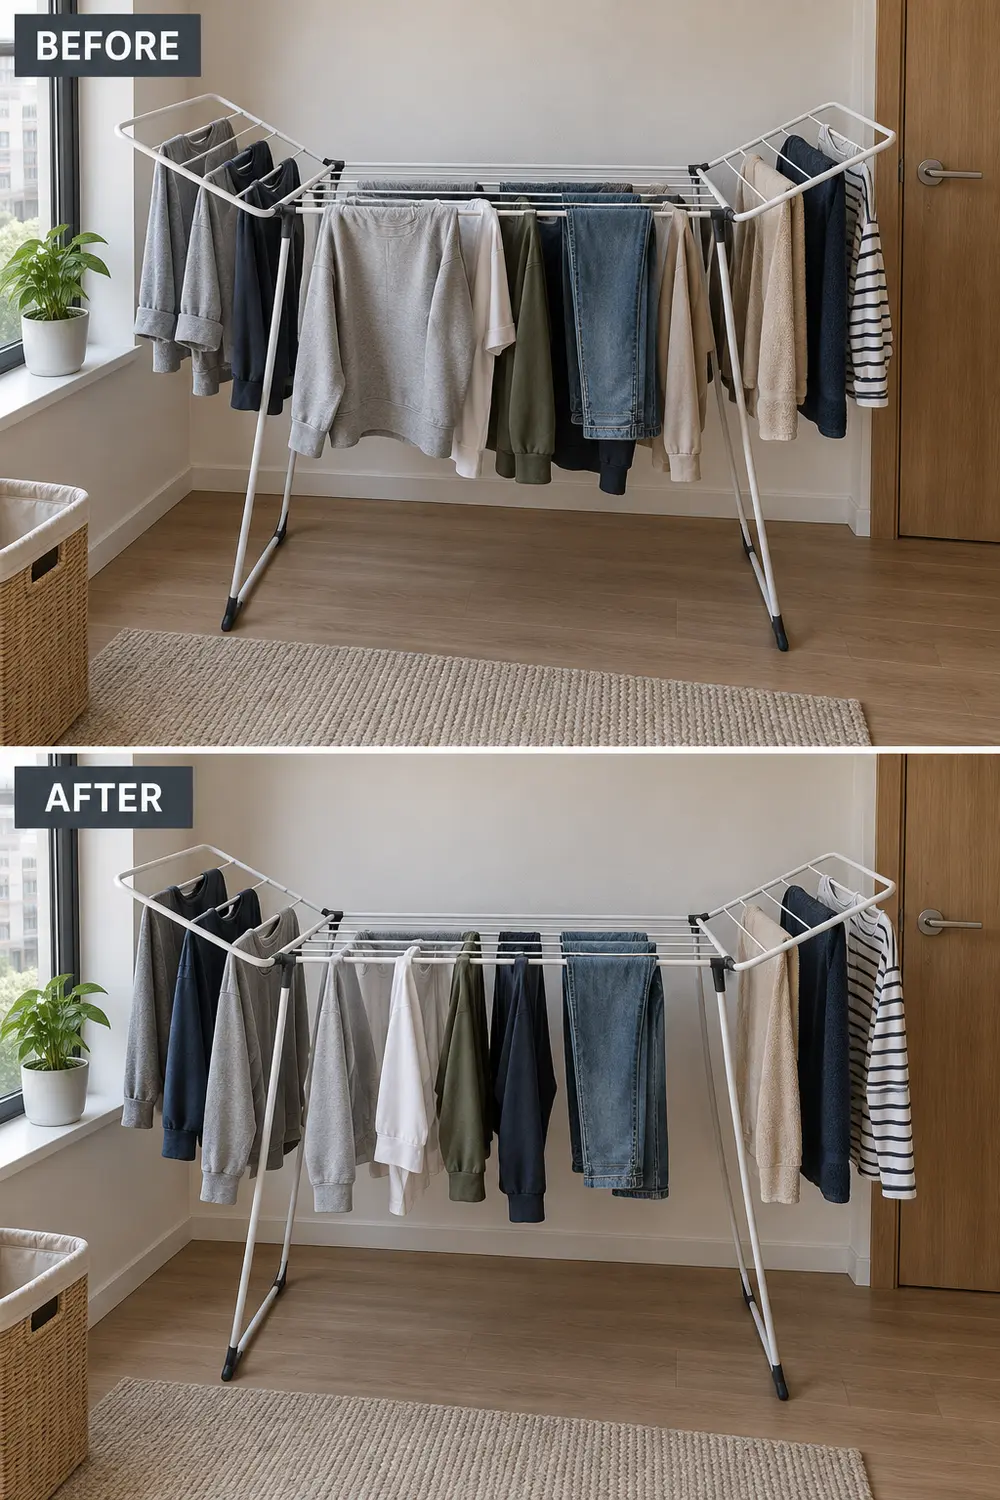
Put smaller pieces on unused outer bars without filling every gap between larger garments. Socks may physically fit beneath a wet sweatshirt, but that does not make it a good drying position. If spacing the load properly leaves a pile in the basket, the answer is a smaller next wash—not increasingly elaborate layers on the same rack.
5. Hang shirts where their shape and access both work
For shirts whose care labels permit hanging, use sturdy hangers that support the shoulders without stretching them. Smooth the placket, straighten the collar, and separate the sleeves from the body. Hang them from a rack’s designated rail with space between hangers; packing six wet shirts shoulder to shoulder recreates a crowded closet rather than a useful drying arrangement.
Keep damp hems away from walls, upholstery, and finished wood. Do not improvise with sprinkler pipes, light fixtures, curtain rods, or an unverified tension rod. An over-door rail also needs a suitable door, adequate load capacity, and unobstructed operation. Hangers can reduce creasing, but heavy, stretchy garments may distort under their own wet weight and need flat support instead.
6. Support knits flat without soaking the furniture
When a sweater’s label says to dry flat, support its whole shape rather than folding it over a narrow rack bar. A mesh drying shelf on a stable frame lets you arrange the shoulders and sleeves without leaving them dangling. Gently reshape the garment to its intended proportions; pulling it wider to cover the mesh defeats the purpose.
A clean towel can provide flat support, but a saturated towel slows the process and should be replaced. Use it on a suitable moisture-resistant surface, not directly on a bed, upholstered seat, or wooden tabletop. Flat drying consumes valuable horizontal space, so plan sweater washing for a time when the support can remain undisturbed by meals, children, or pets.
7. Watch the room’s moisture, not just the clothes
Place a small hygrometer in the drying room, away from direct window drafts and the immediate outlet of a dehumidifier. Check the reading before hanging laundry and again while it dries. Beside a flat-drying sweater, for instance, it can help you notice whether a seemingly modest load keeps the room noticeably more humid than its usual baseline.
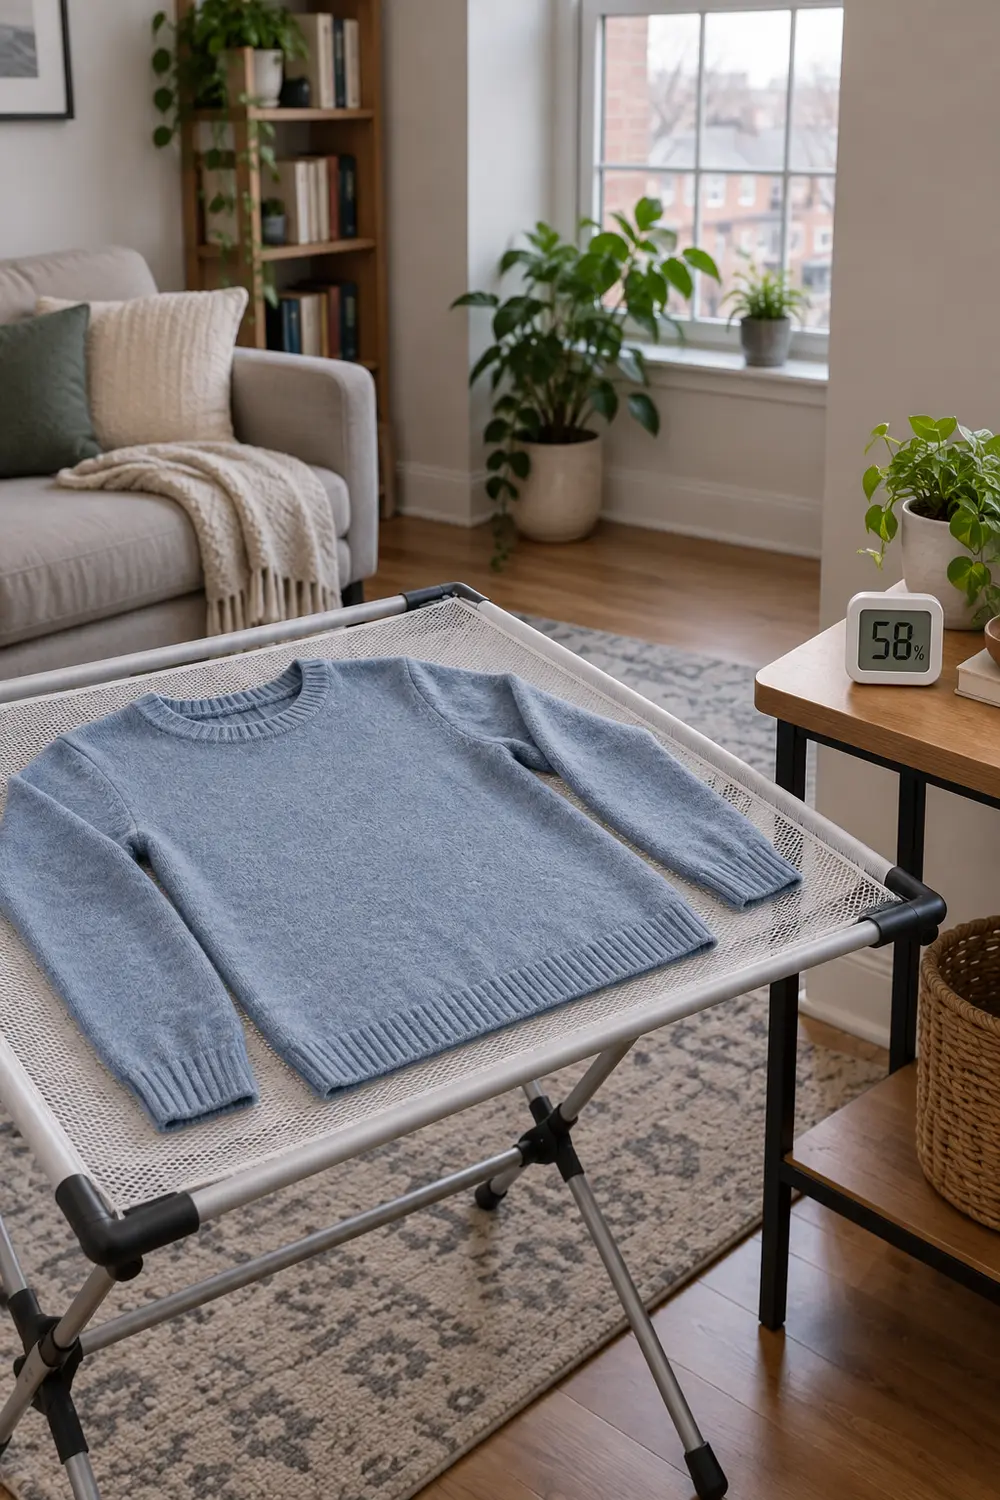
A single reading is less useful than a repeated pattern. Windows that remain misted, damp nearby surfaces, or moisture that lingers after the laundry is dry are reasons to change the setup. Do not assume one small device diagnoses a building problem. Persistent dampness beyond laundry days deserves investigation, including notifying the landlord when appropriate.
8. Turn thick items and check the hidden wet spots
Check towels, jeans, and sweatshirts partway through drying rather than leaving their original arrangement untouched. Turn a towel so the underside faces outward, reposition jeans to expose the waistband, and open a hoodie’s pocket bags where construction allows. Move folds off the same contact point on the bar so a damp stripe does not stay trapped underneath.
Use a routine you already have—finishing dinner or starting your morning coffee—as the reminder. Before putting anything away, feel seams, pockets, waistbands, and the middle of folded areas, not just the exposed surface. This takes a little handling, and it will not rescue an overloaded rack or a damp room, but it prevents apparently dry clothes from carrying wet patches into drawers.
9. Give evaporated moisture a way out
Choose ventilation or dehumidification to suit the conditions. An open window can help when outdoor air is drier, but muggy weather may offer little benefit. A bathroom exhaust fan that vents outdoors may be useful if laundry can stand safely without blocking bathroom use; follow its operating instructions. A circulating fan moves air around garments, but it does not remove water from the home.
If using a dehumidifier, follow its room-size, operating-temperature, placement, and drainage instructions, and keep its intake and outlet clear. Never drape laundry over it, a heater, or another appliance. Observe manufacturer-specified heater clearances rather than treating warmth as a drying shortcut. Dehumidifiers add noise, heat, and electricity use, so they are a practical tradeoff—not a reason to keep overloading the room.
10. Make putting the equipment away part of laundry day
Give the folded rack a specific home before buying it: a measured closet slot, a utility cupboard, or a dry space beside a cabinet. Check its folded height and thickness, including hinges and feet. Keep clips and spare hangers together in a small container so clearing the living room does not become a second organizing project.
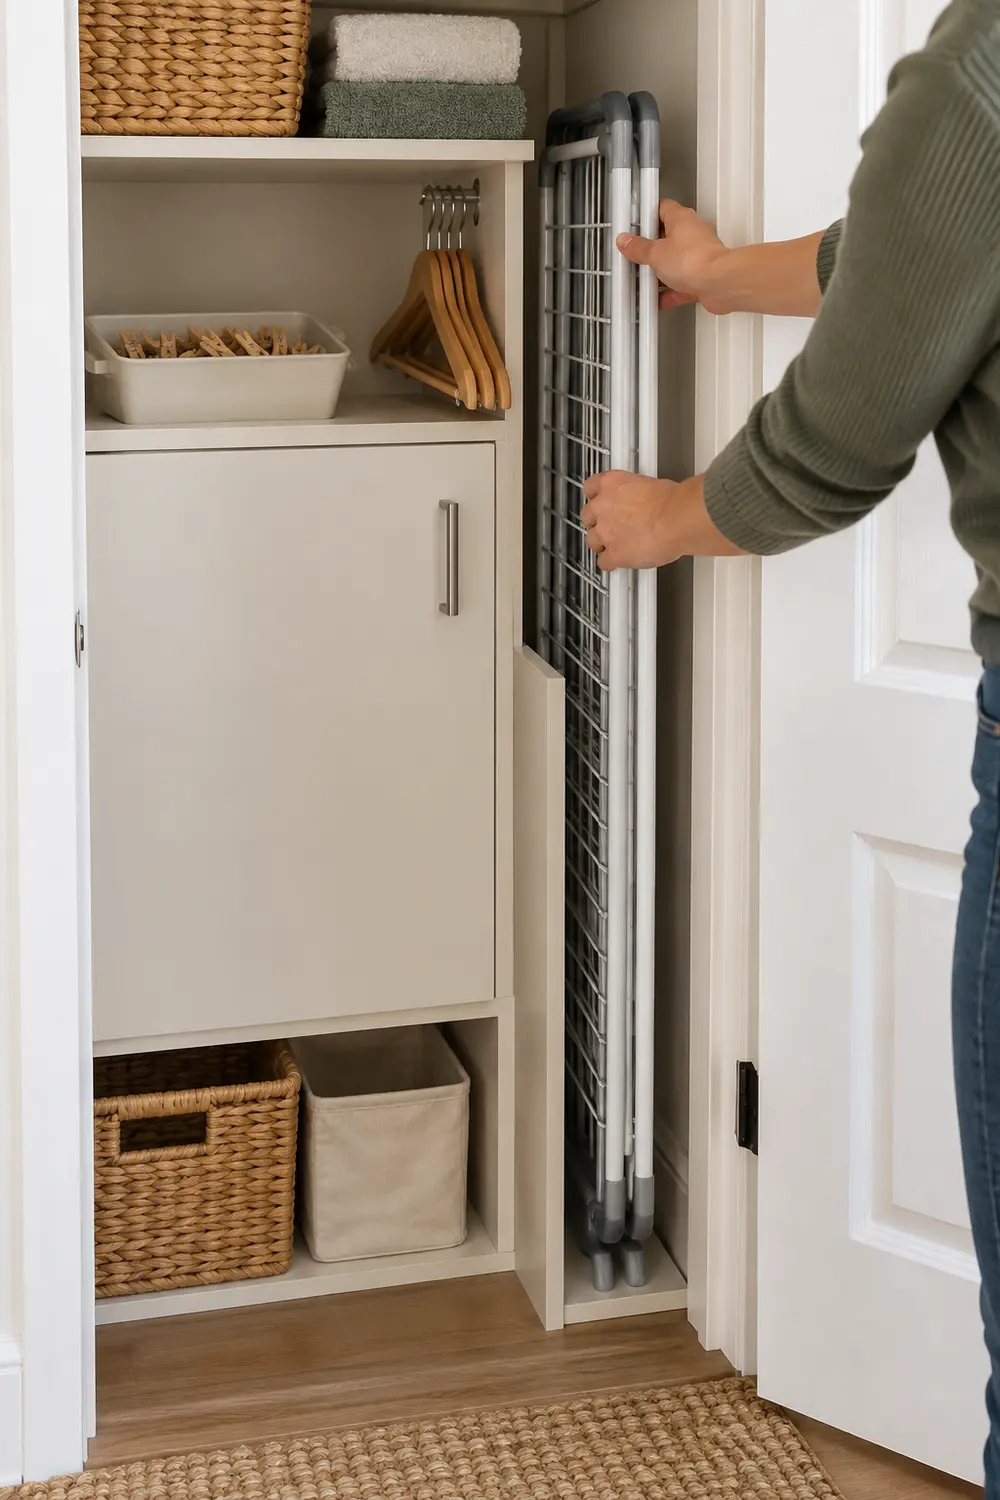
Once clothes are completely dry, put them away and let any damp rack surfaces dry before folding the equipment. Store it so it cannot fall into a walkway or become a climbing temptation. If the proposed storage spot traps a closet door, these small-bedroom clearance fixes offer a useful way to reassess the approach space rather than accepting a daily obstruction.
Before your next wash, open the rack and decide what can fit with space between pieces. Start with that load size, then check how the room responds. Better extraction, a different arrangement, or moisture removal should solve a specific remaining problem—not compensate for a rack that was already full.
Leave a Reply